Right, so you're standing in your bathroom, looking at those tired old tiles and that layout that just doesn't work anymore. You know it’s time for a change. A bathroom renovation is one of the most satisfying projects you can tackle at home, but getting it right all comes down to a solid plan.
Let's walk through it together, from that first spark of an idea to fitting the last towel rail.
Starting Your Bathroom Renovation Journey
Before you even think about picking up a hammer or browsing for taps, we need to lay the groundwork. This is the blueprint phase, where you figure out exactly what you want to achieve and why.
Define Your Core Motivation
First things first: what's the real reason for this renovation? Nailing this down will guide every single decision you make, from your budget to the materials you choose.
- Boosting Property Value: Are you planning to sell soon? If so, your best bet is to stick with neutral, high-quality finishes and classic layouts that will appeal to the broadest range of buyers.
- Improving Functionality: Maybe the family has grown, or you’re just fed up with the lack of space. Your goal might be to add a second sink, build a more accessible walk-in shower, or finally get some decent storage to hide all the clutter.
- Creating a Personal Sanctuary: Is this all about you? If you’re dreaming of a spa-like retreat to escape to, you’ll want to prioritise features like a gorgeous freestanding bath, moody ambient lighting, or the pure luxury of underfloor heating.
Balancing Inspiration with Reality
With your 'why' sorted, it's time for the fun bit – gathering ideas. But it's vital to keep your feet on the ground and match your inspiration to the reality of your space and budget.
A massive trend here in the UK is the move towards bigger, more luxurious showers. It's not just a feeling; a recent Houzz study found that nearly 58% of homeowners renovating their main bathroom made the shower larger. A quarter of them even increased its size by more than 50%. It just goes to show how much we value that feeling of comfort and quality in our homes.
One of the biggest mistakes I see is people falling in love with a Pinterest-perfect design that simply won't work with their existing plumbing or the room's dimensions. Always, always measure your space properly before you get your heart set on a specific layout.
This early stage is also about taking a realistic look at the tools and skills involved. Some jobs are simple enough, but others really need a professional touch. It's a good idea to review some essential tools for homeowners to see what you’ve got and what you might need. The point isn’t to become a master builder overnight, but to get a clear picture of the work ahead. This clarity is what will give you the confidence to turn your vision into a concrete plan.
Practical Planning and Realistic Budgeting
A stunning vision for your new bathroom is a great start, but a successful renovation is truly built on a solid plan. This is the crucial stage where you bring those grand ideas down to earth, making sure every pound and centimetre is accounted for before a single tile is lifted.
This is all about turning creative flair into a structured plan and a budget that actually works.
Getting your measurements and sketches right from the outset is the foundation of a layout that feels right and functions perfectly, helping you sidestep those costly mistakes that can pop up later.
Creating a Sensible Budget
The first question everyone asks is, "How much will it cost?" Getting a handle on typical UK costs is key to setting a budget you can actually stick to. Vague guesses just won't do; you need to break it down.
Cost is, without a doubt, a huge factor. Knowing the averages gives you a solid benchmark. Recent 2025 data shows the average cost to fully renovate a bathroom is around £10,289 (excluding VAT). If you're tackling a smaller space, an ensuite renovation comes in at an average of £8,148, while updating a simple cloakroom WC might be closer to £3,405.
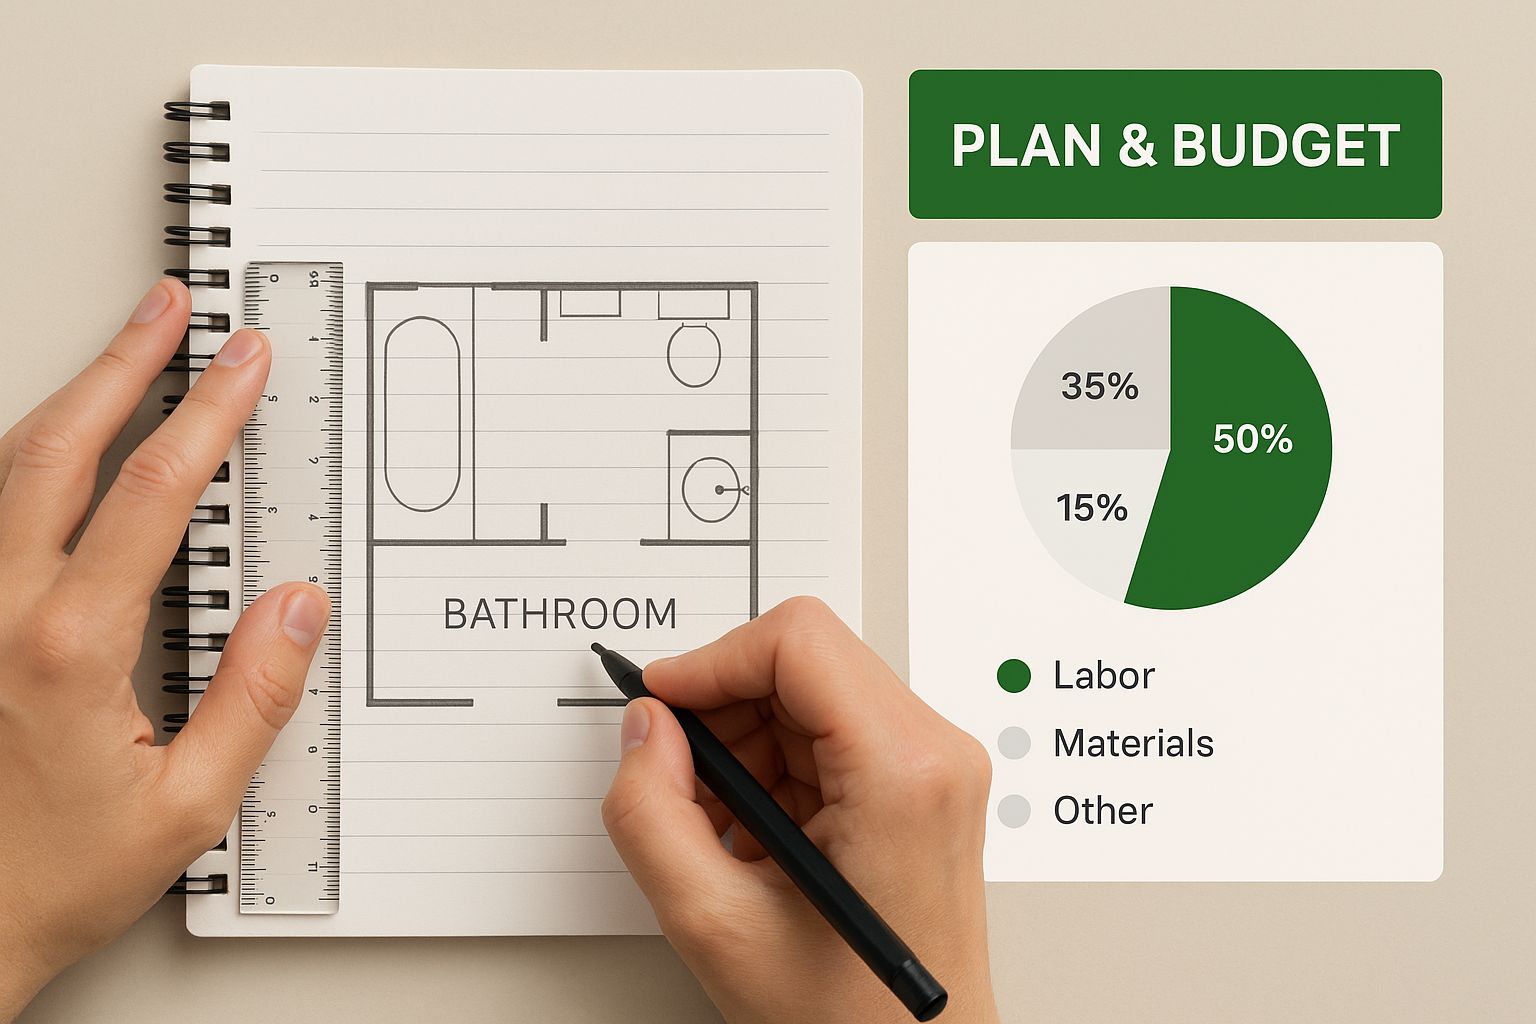
To create a smart budget, you need to earmark funds for three core areas:
- Materials & Fixtures: This is the exciting bit – everything from the tiles and flooring to the bath, toilet, and taps.
- Labour: The cost for certified tradespeople, including your plumber, electrician, and tiler.
- Contingency Fund: This is non-negotiable. Always aim to set aside an extra 10-15% of your total budget for the unexpected. You never know when you might find damp behind old tiles or a wall that needs re-plastering.
It's so easy to get carried away with high-end fixtures, but my advice is to invest your budget in the things you touch and use every day. Quality taps and a reliable shower system will bring you far more long-term satisfaction than splurging on designer tiles when a more affordable alternative would look just as good.
To give you a clearer picture, here’s a rough breakdown of where your money might go in a typical mid-range UK bathroom renovation.
Typical UK Bathroom Renovation Cost Breakdown
| Item / Service | Estimated Cost Range (£) |
|---|---|
| Bath / Shower | £300 – £2,000 |
| Toilet & Cistern | £150 – £600 |
| Basin & Vanity Unit | £200 – £1,500 |
| Taps & Brassware | £100 – £500 |
| Tiling (Walls & Floor) | £800 – £2,500 |
| Plumbing Labour | £1,000 – £3,000 |
| Electrical Work | £300 – £800 |
| Plastering | £300 – £700 |
| Waste Disposal | £100 – £400 |
| Contingency (15%) | £1,000 – £3,000 |
Remember, these are just estimates. Prices can swing quite a bit depending on your location, the quality of materials you choose, and the complexity of the job.
Mapping Out Your Space
Before you even think about buying anything, you need a precise floor plan. This isn't just a quick sketch; it’s a scaled drawing that will become your guide through the entire project.
Start by measuring the room's length, width, and height. Make sure you note the exact location and size of the door, any windows, and crucial existing plumbing like the soil pipe. Use graph paper or a simple online tool to draw this to scale – a common choice is making 1 cm on paper equal to 20 cm in the room.
With a scaled plan, you can start playing around with different layouts. A great tip is to cut out paper shapes representing your bath, sink, and toilet to see how they fit and flow together. This simple exercise is brilliant for visualising the space and making sure you get the most out of every square inch. For more in-depth advice on this phase, this Expert Bathroom Remodel Planning Guide is a fantastic resource.
DIY vs Hiring a Professional
One of the biggest decisions you'll make is what to tackle yourself and when to bring in the pros. It's vital to be honest about your skills, the tools you have, and how much time you can realistically commit.
Jobs a Competent DIYer Can Often Handle:
- The Strip-Out: Tearing out old tiles, flooring, and suites (once the water and electrics are safely off!).
- Painting & Decorating: This is the fun finishing touch – applying paint, sealant, and fitting accessories like towel rails and mirrors.
- Assembling Flat-Pack Furniture: If you can build an IKEA bookcase, you can probably handle a vanity unit.
When to Absolutely Call a Professional:
- All Electrical Work: This is non-negotiable and a legal requirement in the UK. Any new circuits for lighting, extractor fans, or shaver sockets must be installed and signed off by a certified electrician. They’ll provide the safety certificates you need.
- Major Plumbing Changes: While connecting a new tap might be within reach for some, moving waste pipes or altering the main hot and cold supply lines is a job for a qualified plumber. Get this wrong, and you risk major leaks.
- Plastering & Tiling: Getting that perfectly smooth, professional finish on walls and floors is a real skill. A poor tiling job can completely ruin the look of a new bathroom, and badly plastered walls are impossible to hide. It's worth every penny to get this right.
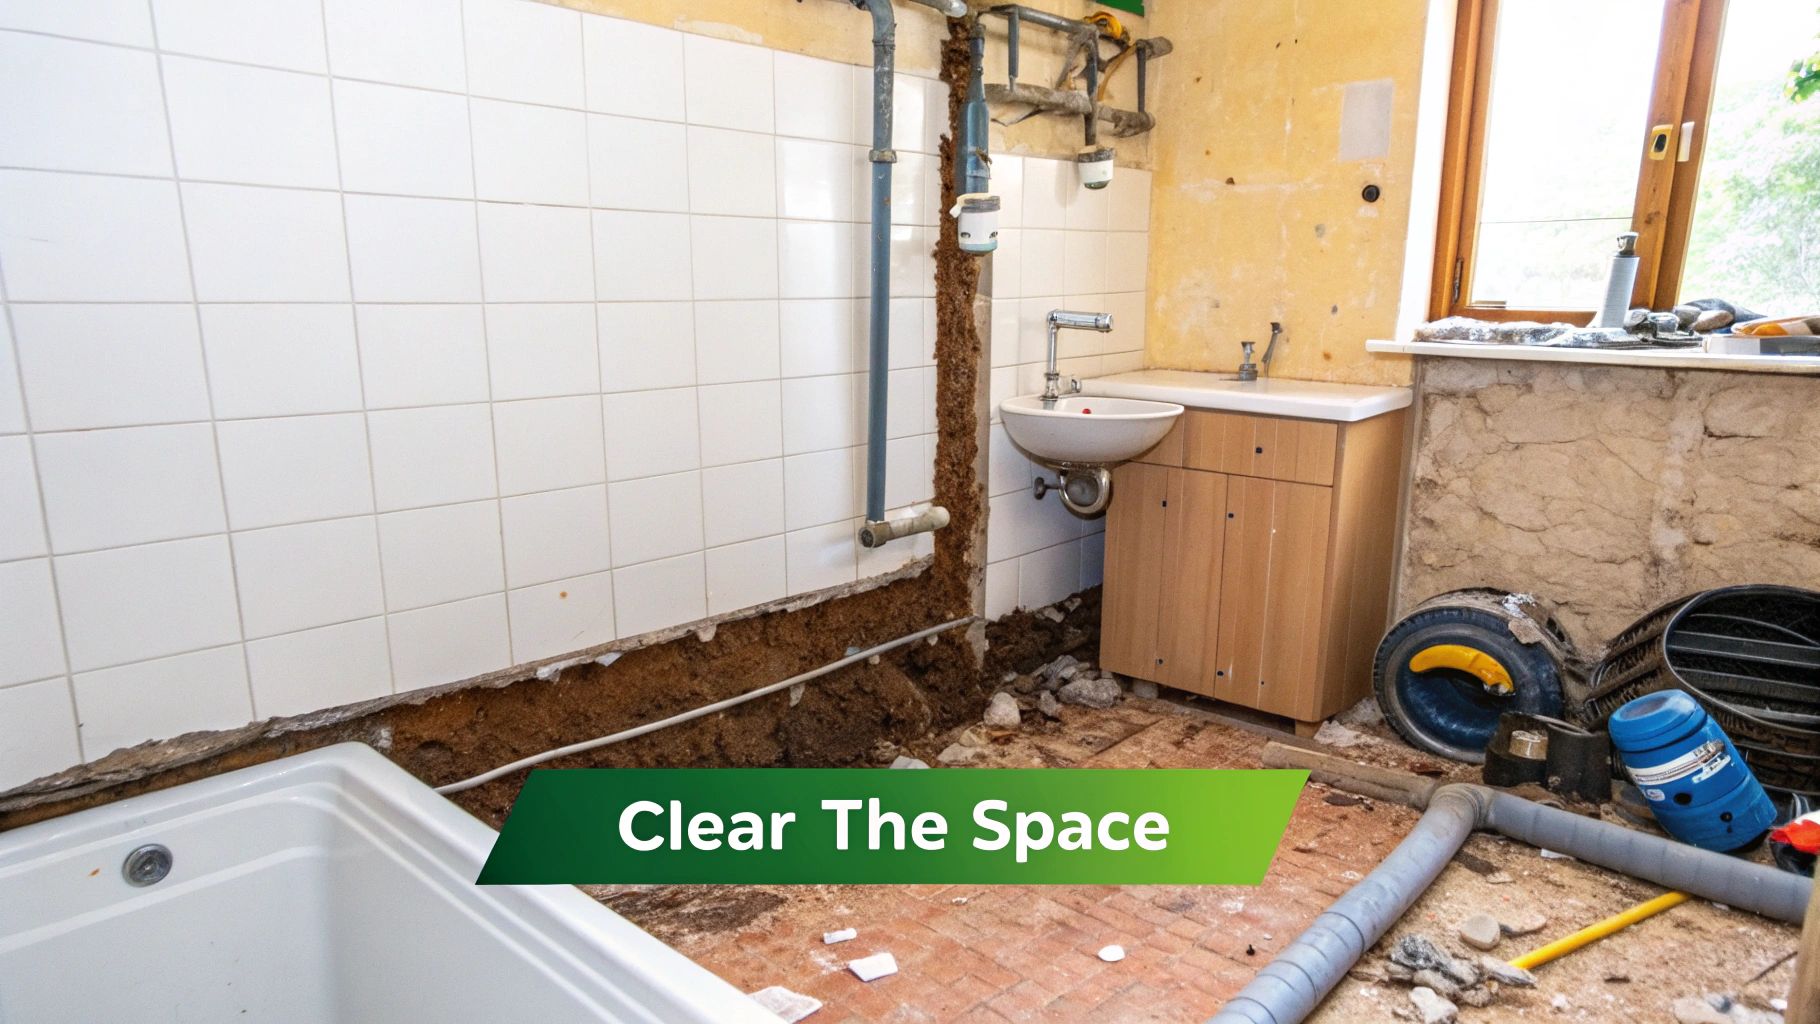
Clearing the Space for Your New Design
With all the planning and budgeting squared away, it’s time to get your hands dirty. The demolition, or ‘strip-out’, is often the most satisfying part of a bathroom renovation. You’re finally clearing out the old to make way for the new, but it’s a job that needs a careful, methodical touch to prevent damage or hold-ups.
Before you even think about lifting a hammer, your first priority is safety. You absolutely must shut off the water and electricity to the room. Find your main stopcock and turn it off completely. Then, open the bathroom taps to let any water left in the pipes drain out. Next, head to your consumer unit (or fuse box) and flick the switch for the circuit that powers the bathroom lights, fan, and any sockets. To be 100% sure, always use a voltage tester before you start disconnecting wires.
A Methodical Approach to Demolition
Once you’re positive the services are safely off, the strip-out can begin. I always find it best to start with the big fixtures – the basin, toilet, and bath are usually the first to go. You'll need a good wrench for the pipework, and be sure to keep a bucket and some old towels nearby. There’s always more water in there than you think!
With the bulky items out, you can focus on the surfaces. Taking old tiles off the wall is hard graft, but it's incredibly rewarding. A hammer and chisel or a power scraper will make short work of it. Just make sure you’re wearing protective goggles and gloves; tile shards are unbelievably sharp.
If you’re dealing with old wallpaper, getting the walls perfectly clean is vital for a good finish later on. You can find some excellent tips on the best way to strip wallpaper to get it all off without gouging the plaster. Finally, pull up the old flooring—vinyl, laminate, or tiles—to get right back to the subfloor.
Responsible Waste Disposal
It’s amazing how quickly the waste piles up, even from a small bathroom. It’s a good idea to sort out your disposal plan before you start, otherwise you’ll be tripping over rubble.
- Skip Hire: For a full renovation, hiring a skip is usually the easiest route. A 4-yard skip is generally big enough for an average-sized bathroom project.
- Council Collection: Check with your local council. Many offer a bulky waste collection service for a fee, which can be perfect for an old bath suite.
- Recycling Centre: You can take most of the waste to your local tip, but it’s wise to check their policy on construction and demolition waste first.
A common mistake I see is underestimating just how much debris comes out of one small bathroom. Getting your waste disposal sorted from the get-go keeps the project moving and stops your home from turning into a building site.
Preparing the Blank Canvas
With the room completely empty, you’re left with a blank canvas. This is your chance to give it a proper inspection before you even think about putting anything new in. It's a critical step that often uncovers hidden problems that need sorting.
Check the state of the plaster on the walls and ceiling. Are there any crumbling patches, damp spots, or uneven surfaces? Small cracks are an easy fix, but if you have larger areas of damaged plaster, you might need to hack it off and get it re-plastered professionally to achieve a perfectly smooth finish.
Next, turn your attention to the floor. Take a close look at the subfloor—whether it's floorboards or concrete—for any hint of rot, water damage, or weakness. Walk all over it, testing for any bounce or creaks. A solid, level subfloor is non-negotiable for a professional tiling job and to stop your new floor from cracking down the line. Any issues you find now must be fixed properly before you move on. This groundwork is the real foundation of a quality, long-lasting renovation.
Laying the Groundwork for Plumbing and Electrics
https://www.youtube.com/embed/cqAgdbp7RGA
Now that you've stripped out the old bathroom, you're looking at a blank canvas. It’s tempting to start thinking about tiles and taps, but we’re now at the most critical part of the entire project: the ‘first fix’. This is where all the hidden infrastructure for your plumbing and electrics goes in.
Getting this stage absolutely right is non-negotiable. It’s all about running new pipework to wherever your sink, shower, or toilet will be, and installing the wiring for lights, extractor fans, and shaver sockets. Trust me, any mistakes made here are a nightmare to fix once the walls are plastered and tiled. Think of it as the nervous system and circulatory system of your new bathroom; everything else depends on it.
Mapping Out the Pipes and Wires
That detailed floor plan you created? It's now the bible for your tradespeople. Your plumber and electrician will use it to pinpoint exactly where every single outlet needs to go. I’m not talking about a general area – we need exact heights and positions for everything.
The plumber will be busy running new hot and cold supply pipes and, just as importantly, the waste pipes. If you’re moving a basin from one wall to another, this is when that new pipework gets chased into the walls or run under the floorboards to its new home. It’s the same story for a new radiator – the pipework has to be perfectly placed. Understanding something like how to install radiator valves really gives you an appreciation for the precision involved.
The electrician's job is just as meticulous. They’ll be fitting the back boxes for light switches, running cables for ceiling lights or wall sconces, and wiring up the extractor fan and any shaver points. This work has to follow strict UK building regulations for electrical zones in bathrooms to guarantee safety.
The Non-Negotiable Need for Professionals
Let’s be clear: this is not a DIY job. While you might have handled the rip-out yourself, the first fix plumbing and electrics must be done by certified professionals. There is simply no room for error.
All electrical work in a bathroom must be carried out by a Part P qualified electrician who can provide you with the necessary safety certificate upon completion. This isn't just a good idea; it's a legal requirement that's vital for your home insurance and, more importantly, your safety.
Hiring certified trades ensures two crucial things:
- Compliance: All the work will meet current UK Building Regulations, keeping everything legal and safe.
- Quality: These experts have seen it all before. They can foresee potential snags and make sure every pipe is perfectly joined and every wire is safely installed.
Scheduling Your Tradespeople Effectively
The secret to a smooth first fix is coordination. Your plumber and electrician often need to work in a specific sequence, and sometimes their jobs overlap. Typically, the plumber runs the main pipework first, and then the electrician follows by installing the wiring.
It’s quite common for them to be on-site around the same time, so good communication between you and your team is essential to avoid any delays. Once their work is finished and properly tested, the walls can finally be closed up, plastered, and made ready for the exciting next stage: bringing the look together with walls and floors.
This groundwork is what ensures your bathroom not only looks fantastic but functions flawlessly for years to come.
Building the Look with Walls and Floors
With the hidden plumbing and wiring now perfectly in place, the shell of your new bathroom is ready. This is where the fun really starts and you begin to see your vision come to life. Getting the walls and floors right is fundamental; it sets the tone for the entire room and provides the backdrop for every sink, tap, and cabinet you’ll install later.
From here on out, it’s all about precision and, most importantly, waterproofing. Every step, from prepping the surfaces to laying the final tile, contributes to a finish that’s not just beautiful but tough enough to handle the daily steam, splashes, and spills of a busy bathroom.
Securing a Watertight Foundation
Before a single tile even comes out of the box, waterproofing is your absolute top priority. This is especially true for the wet areas around your shower and bath. The process is called tanking, and it involves applying a waterproof membrane or a paint-on liquid sealant to the walls and floor to create an impermeable barrier.
Trust me on this: skipping tanking is a false economy. It might save you a few quid and a bit of time upfront, but it can lead to catastrophic leaks, rot, and damp issues down the line. It's an essential shield that stops water from ever reaching the plasterboard or subfloor, ensuring your beautiful new bathroom lasts for years.
Choosing Your Surface Materials
The materials you choose for your walls and floors will really define the room's character. Tiles are the classic go-to, of course, but there are some excellent alternatives out there that offer different looks and practical perks.
- Porcelain Tiles: These are the undisputed champions of durability. Incredibly dense and non-porous, porcelain is brilliant for high-traffic bathroom floors because it's so resistant to water, scratches, and stains.
- Ceramic Tiles: A bit easier on the wallet than porcelain, ceramic tiles come in a dizzying array of colours and patterns. They're perfect for walls, though they can be a bit less hard-wearing on floors.
- Natural Stone: If you're after a touch of luxury, materials like marble, slate, or travertine give you a stunning, one-of-a-kind finish. The trade-off is that they're porous and need sealing regularly to protect them.
- Waterproof Wall Panels: A fantastic, grout-free alternative to tiles. These large panels create a seamless, easy-to-clean surface and are much quicker to install. A real game-changer for modern bathrooms.
- Luxury Vinyl Tile (LVT): A superb choice for flooring. LVT is warm underfoot, completely waterproof, and comes in some incredibly realistic wood and stone effects. It's also a lot more forgiving than tiles if you drop something heavy on it!
A classic mistake I see is people choosing materials on looks alone. You have to think about the practicalities. Those dark, glossy tiles might look chic in the showroom, but in a hard water area, they will show every single water spot and limescale mark. You'll be cleaning them constantly.
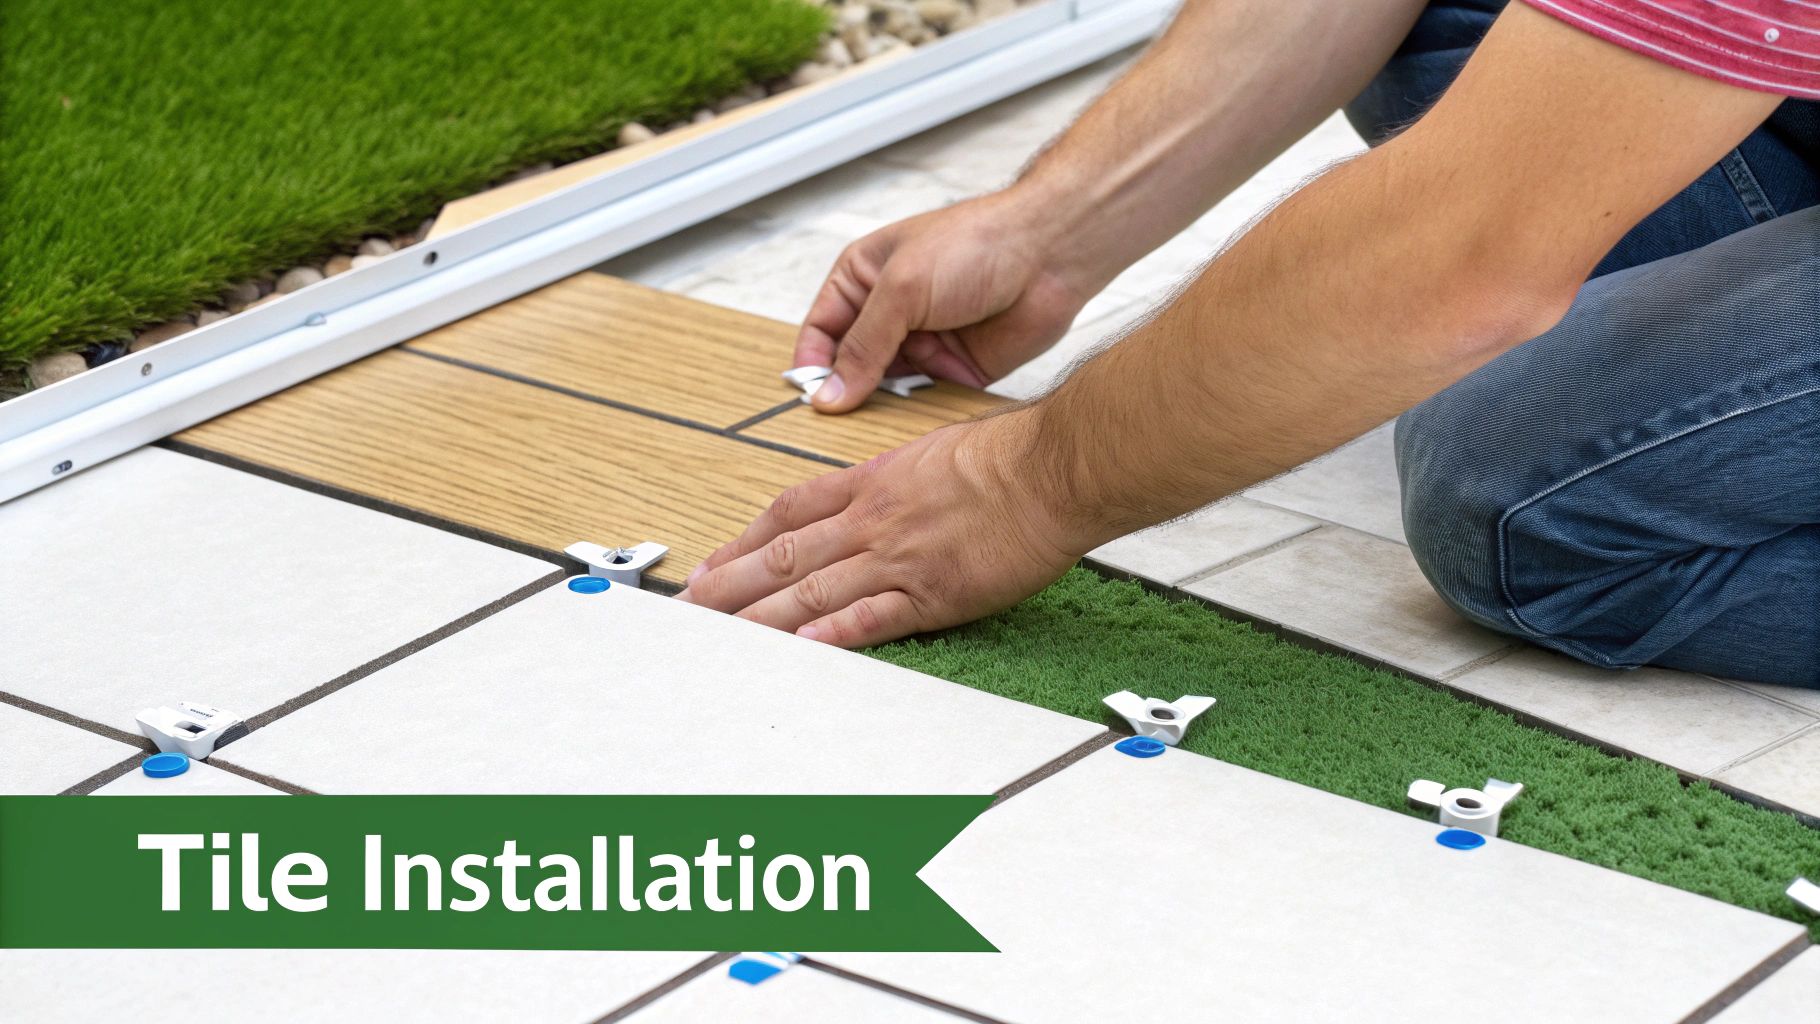
The Art of Tiling and Grouting
If you do go for tiles, the quality of the installation is everything. Any good tiler will tell you the job starts by finding the centre point of the main wall or floor. This is a crucial step to ensure the layout is perfectly symmetrical, so you don't end up with awkward, skinny slivers of tile in the corners, which just cheapens the whole look.
The process involves mixing tile adhesive to just the right consistency, spreading it evenly with a notched trowel, and carefully placing each tile with spacers for those perfectly uniform gaps. Cutting tiles to fit neatly around pipes or into corners takes real skill and the right tools—usually a wet tile saw or a manual scorer.
Once the adhesive has had time to fully cure—give it at least 24 hours—it's time for grouting. Grout fills the gaps, locks the tiles in place, and adds another layer of water resistance. It’s absolutely vital to choose a good quality, mould-resistant grout for a bathroom. After the grout is applied, the excess is wiped away and the tiles are given a final polish.
The very last touch is applying a flexible silicone sealant around all the edges where tiles meet another surface, like the bath, the shower tray, or the floor. This creates a flexible, watertight seal that can handle tiny movements in the building structure without cracking. It's this meticulous finishing that separates a good bathroom renovation from a truly great one.
Final Installations and Finishing Touches
After all the tiling and grouting is done and the dust has settled, you’ve made it to the best part of the whole project. This is what the trade calls the 'second fix' – where all the shiny new fixtures get installed and your bathroom starts looking like a bathroom again. All that planning and hard work is about to pay off.
This last push is all about getting the details right. Every single fitting, from the loo to the towel rail, needs to be installed with care so it not only looks perfect but works flawlessly for years to come.
Installing Your New Bathroom Suite
With the walls and floors looking sharp, it’s time to bring in the main event. Your plumber will be back to connect the toilet, basin, bath, and shower to the pipework they roughed in earlier. This is a job for a steady hand; every connection has to be completely watertight.
- Toilets and Basins: These get carefully positioned, secured to the floor or wall, and then plumbed into the water supply and waste pipes. The taps go on, and the cistern is tested for a proper flush.
- Baths and Showers: Your bath will be sealed along every edge with a quality silicone sealant to stop any water from getting where it shouldn't. The shower enclosure, doors, and tray are all put together and sealed with the same meticulous attention.
If you’re feeling hands-on and want a truly custom look, you might even consider building your own vanity unit. There's a beginner's DIY guide to building a vanity that walks you through the process, allowing for a really personal touch.
Connecting the Electrics
Next up, your electrician returns for their 'second fix'. They’ll connect all the lights and fittings to the wiring they installed behind the walls and ceiling earlier on. This means fitting and testing everything:
- Ceiling lights and wall lights.
- The extractor fan (absolutely essential!).
- Any illuminated mirrors or cabinets.
- Shaver sockets.
Remember, this work must be done by a qualified professional. They'll give you a safety certificate once they're finished, which is your proof that everything is up to code and, most importantly, safe.
The All-Important Finishing Touches
Once the big items are in, the end is finally in sight. Now it’s about those smaller details that really pull the whole room together and inject your personal style.
First, get the painting done. Any non-tiled walls and the ceiling should get a couple of coats of specialist bathroom paint – it’s designed to handle moisture and resist mould. When that’s dry, you can fit all your new accessories like towel rails, toilet roll holders, and shelves. The old saying ‘measure twice, drill once’ has never been more true!
That little bead of silicone sealant is one of the most important parts of the entire renovation. Run a neat, clean line around the base of the toilet, along the top of the bath and shower tray, and where the basin meets the wall. It’s your final line of defence against water damage.
It's no surprise that bathroom renovations are such a popular project. A recent survey showed that 29% of UK homeowners had updated their bathroom, making it the most common interior renovation. It's a real investment, too, with 17% of homeowners planning to spend between £5,001 and £10,000 on their home improvements. You can see more of the latest UK home renovation trends and statistics to see how your project compares.
After a final, deep clean to get rid of every last bit of dust, your new bathroom is officially ready. It’s time to stand back, take it all in, and enjoy the beautiful, functional space you've created.
Your Bathroom Renovation Questions Answered
Even the most watertight plan can spring a leak when it comes to renovation questions. It's totally normal for queries to pop up, especially as you get closer to the finish line. Let's tackle a couple of the big ones we hear all the time.
How Long Will My Bathroom Be Out of Action?
In the UK, a full-scale bathroom renovation—from tearing out the old suite to polishing the new taps—usually takes anywhere from one to three weeks.
Of course, this is just a ballpark figure. A simple like-for-like swap in a small space will be on the quicker end, while a complex job involving moving plumbing and extensive tiling will naturally take longer. The availability of your plumber, tiler, and electrician is also a massive factor. I always recommend building a small buffer of a few extra days into your schedule. You’ll be grateful for it if you hit an unexpected snag.
Do I Need to Get Planning Permission?
For most internal bathroom updates, the answer is a straightforward no. You generally won't need to involve the local planning authority.
The main exceptions are if you live in a listed building or a conservation area, where rules are much stricter. However, don't confuse planning permission with Building Regulations. Any significant new plumbing or electrical work absolutely must comply with UK Building Regulations. This isn't just red tape; it's about ensuring the work is safe and to a professional standard, which is precisely why hiring certified tradespeople is non-negotiable.
One of the most common—and expensive—mistakes I see is poor space planning. People get excited about a fancy freestanding bath but forget to measure properly, leading to a cramped and impractical layout. Always, always finalise your detailed floor plan before buying anything. It’s also wise to keep a contingency fund of 10-15% tucked away for those "just in case" moments.
Ready to get started? For all the materials and tools you'll need to bring your vision to life, from the first pipe fitting to the final tile grout, check out the huge range at Burnt Oak Builders Merchants. You can find everything you need for your project at https://www.burntoaktimber.com.