
Before you even think about picking up a spanner, it’s worth remembering that a good radiator valve job is all about preparation. Get this part right, and you’ll save yourself from a soggy carpet and a massive headache later on. The plan is simple: shut the heating down, get your tools lined up, and make sure you’ve got the right valves for the job.
Gathering Your Tools and Preparing the Space
Alright, first things first: safety. You need to turn off your central heating system completely. Let the radiators go cold. Trying to work on a hot, pressurised system is asking for trouble—and a nasty burn.
Once everything is off and cool, have a proper look at what you’re dealing with. What kind of valves are on there now? Are you just swapping like-for-like, or is this your chance to upgrade to a Thermostatic Radiator Valve (TRV)? TRVs are becoming incredibly popular in the UK as everyone looks to boost their home's energy efficiency. It's a massive trend, with the global market for these clever valves expected to hit nearly £355 million by 2035. This isn't just a gadget; it's a real shift in how we manage home heating.
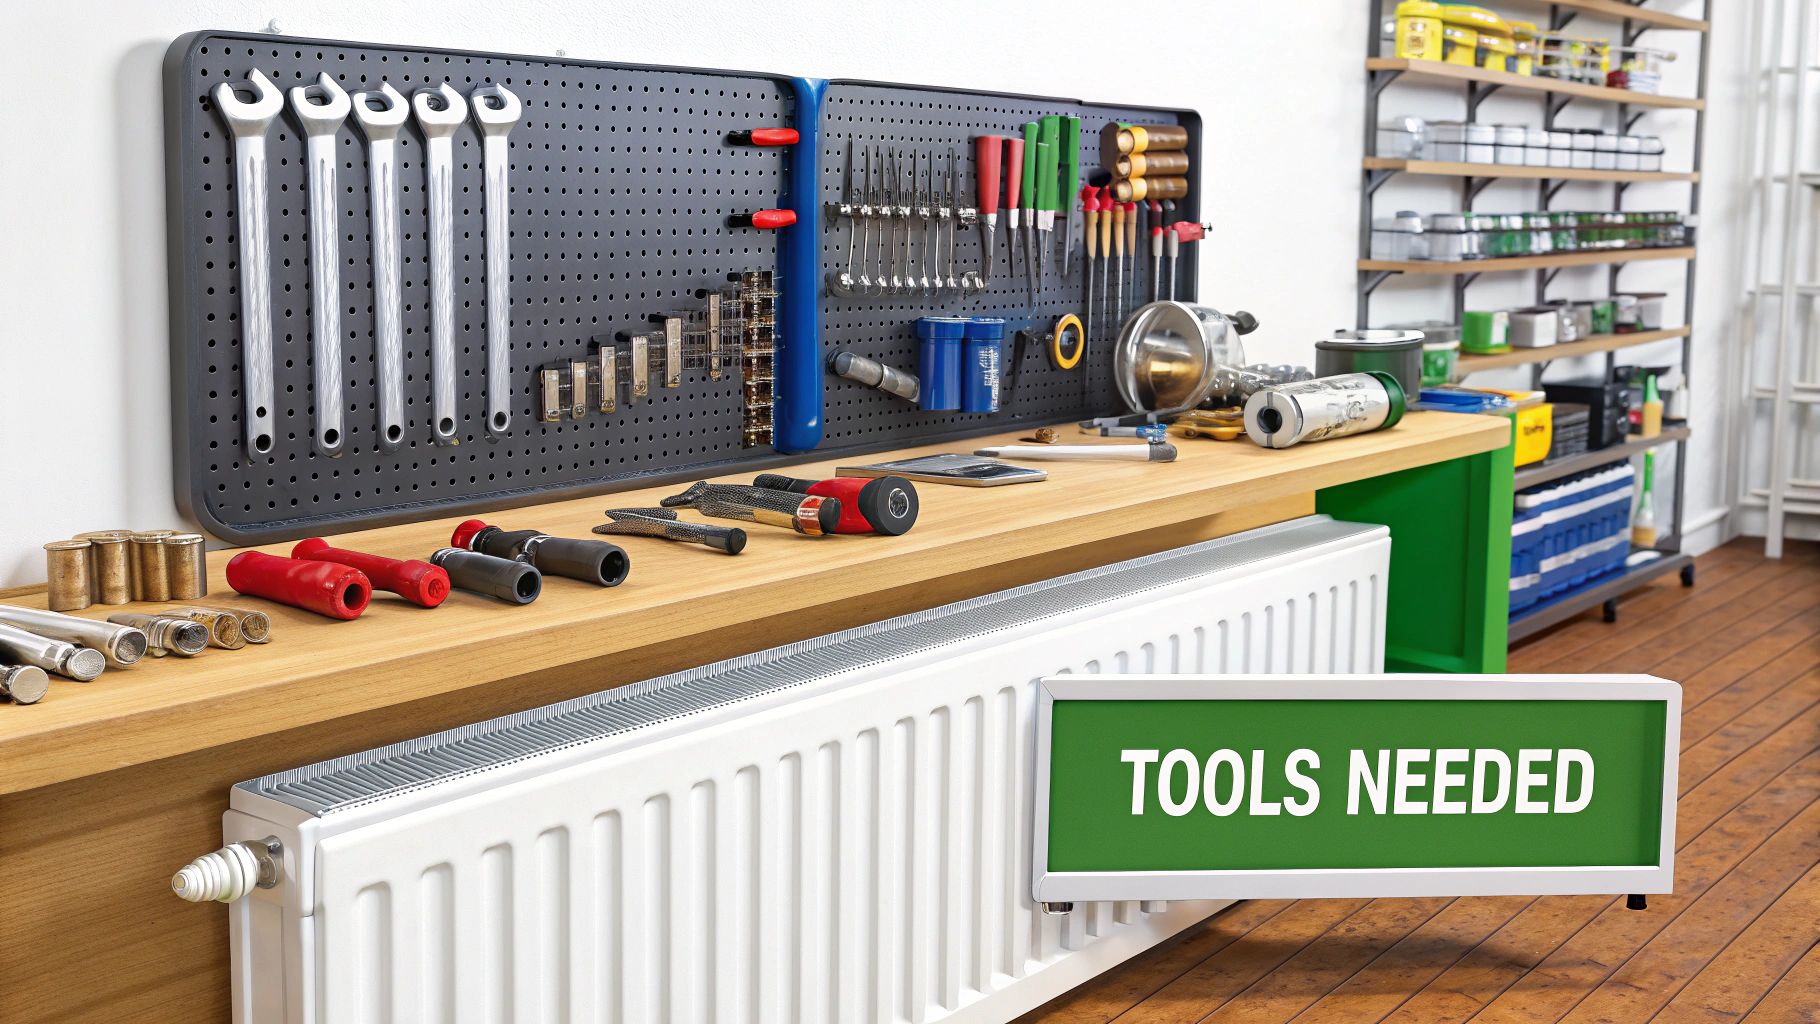
Your Radiator Valve Installation Toolkit
Here is a quick rundown of the essential tools and materials you'll need for a smooth, leak-free installation.
| Tool or Material | Its Role in the Job | Insider Tip |
|---|---|---|
| Adjustable Spanners (x2) | You need two—one to grip the valve body and one to turn the nut. This stops you twisting the pipework. | A good quality, snug-fitting spanner is your best friend here. Cheap ones can round off the nuts. |
| Radiator Bleed Key | For letting out the air and pressure before you start, and bleeding the rad after you're done. | Keep it somewhere you can always find it! Taped to the side of the boiler is a classic spot. |
| PTFE Tape | The secret to a watertight seal. It's wrapped around the threads of the new valve tail. | Don't be shy with it, but don't go mad either. 10-15 wraps in the direction of the thread is usually spot on. |
| Old Towels & a Bucket | Even a "drained" radiator holds a surprising amount of mucky water. | Have them in position before you crack the first nut. A shallow tray or baking dish can be great for catching drips. |
| Gripping Pliers | For those stubborn, rounded-off nuts that your spanner just can't seem to grab. | Use these as a last resort, as they can chew up the nut. A firm, steady grip is key. |
With your new valves and tools at the ready, you’re in a great position. Having everything you need within arm's reach means no panicked dashes for a tool while water is trickling onto the floorboards. If you're building up your general DIY kit, our guide on https://www.burntoaktimber.com/blogs/news/essential-tools-for-homeowners is a great place to start.
The principles of isolating a system and ensuring a watertight connection are universal in plumbing. Interestingly, it's not so different from the challenges faced in more specialised areas, like the work done by professional boat plumbing services, where every connection has to be perfect in a much more demanding environment.
Draining Your Central Heating System
Alright, let's get into what most people see as the daunting part: draining the system. Truthfully, it's not that bad if you take it step-by-step. First things first, you need to find the drain-off valve. Have a look around the ground floor; it's almost always on the lowest radiator in the house or on the pipework right next to it.
Found it? Great. Now, grab a hosepipe and attach it firmly to the valve's nozzle. I always recommend using a jubilee clip to clamp it down—it's the best way to avoid a messy surprise later. Run the other end of the hose outside to a drain. Pop a brick on the end of it to make sure it doesn't flip out and start watering your patio with mucky central heating water.
Getting the Water Moving
With your hose securely in place, it's time to open that drain-off valve. A quick turn with a spanner is all you need. You'll hear the water start to flow, but don't expect a torrent. It’s usually more of a gentle trickle to begin with.
To really get things draining properly, you need to let air into the system to replace the water coming out. Head upstairs to the highest radiator in the house. Using a bleed key, open up its bleed valve. You should hear a satisfying hiss as air rushes in. This is what pushes the water out downstairs.
If you're in a hurry, you can speed the whole thing up by opening the bleed valves on all the upstairs radiators.
A Word of Warning: The water coming out of your system will be black. I mean, properly black and full of sludge. It's perfectly normal, but it will stain absolutely everything. Before you open any valves, double-check your hose connections are watertight and put old towels down just in case.
Once the hissing and gurgling has stopped and the hose is empty, the system should be drained enough to get to work.
Even when you think it's empty, be prepared. A "drained" radiator can still hold a surprising amount of grimy water. Keep a bucket and plenty of towels handy for when you start undoing the old valves. Now that the system is safely empty, you're ready to get the old valves off.
If you're sourcing parts for the job, have a look at our range of quality plumbing and heating supplies.
Removing Your Old Radiator Valves
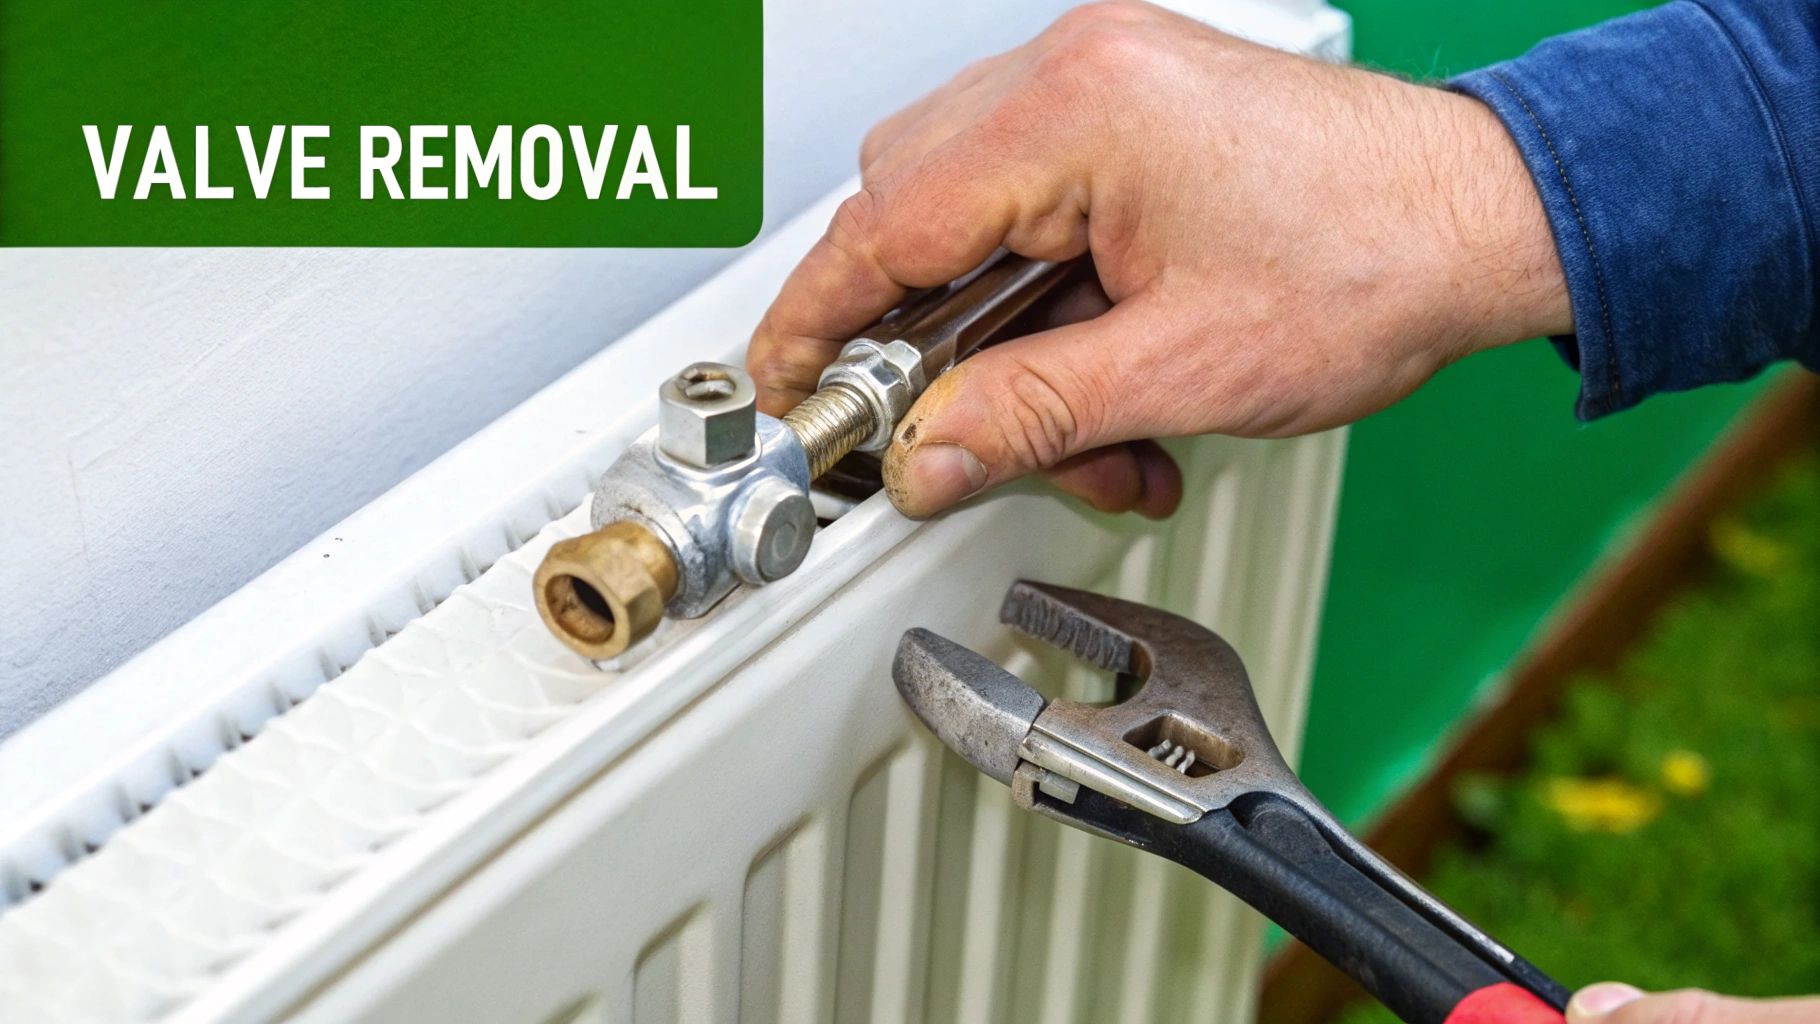
With the system drained, it's time to get the old valves off. The golden rule for this job, and one that'll save you a world of pain, is to always use two spanners. This isn't just for extra leverage; it's about preventing any strain on the copper pipework, which can twist or buckle surprisingly easily.
Grab one spanner to grip the main body of the valve, holding it completely still. Then, take your second spanner and place it on the large nut connecting the valve to the radiator. You'll need to turn this anti-clockwise to loosen it. Repeat the process for the other nut that connects the valve to the pipework coming up from the floor.
What to Do When a Valve Won't Budge
Let’s be honest, old fittings rarely come off without a fight. If a nut is completely seized, don't just keep heaving on it. A good squirt of penetrating oil on the threads, left to soak for ten minutes, can make all the difference. For really stubborn ones, a few gentle but firm taps on the spanner with a rubber mallet can be enough to shock the connection loose.
As soon as you crack the seal, be ready for a bit of water to escape. It's usually black and sludgy – the leftover gunk that a full drain can't shift. This is where those old towels and your bucket really earn their keep.
Top Tip: That final turn on the radiator union nut will release the valve completely. Make sure you’re holding onto the valve body so it doesn't drop and chip your flooring or the radiator itself.
Once the valve is off, give the threads on both the radiator and the copper pipe a good clean with an old rag. Getting rid of any old sealant, grime, or corrosion is crucial for ensuring your new valve seals perfectly and doesn't leak.
Swapping out radiator valves is a standard job in UK homes. Interestingly, while the market for these valves in the UK was a hefty 2.48 million kilograms in 2023, it's actually forecast to shrink over the next five years. This trend points towards a wider shift to smarter, more efficient heating systems. You can find more details on this changing market over at ReportLinker.
Getting a Watertight Seal When Fitting Your New Valves
Alright, the old valves are out of the way. Now for the crucial part: getting the new ones fitted without any leaks. This is where a little care and attention really pays off, and it all starts with prepping the new radiator tail.
The radiator tail is that threaded bit that screws directly into your radiator. To get a perfect, watertight seal, you'll need some PTFE tape. Here’s a pro tip: wrap the tape in the same direction you'll be tightening the tail – clockwise.
Hold the tail with the threads pointing at you and wrap the tape around it about 10-15 times. Doing it this way means the tape gets pulled tighter into the threads as you screw it in, rather than bunching up or unravelling.
Attaching the Valve Body
With the new tail wound with tape and screwed firmly into the radiator, it's time to connect the main valve body to the copper pipe. This connection relies on a tiny but mighty component called an olive.
The olive is a small brass ring that slides over the copper pipe. As you tighten the nut on the valve body, it compresses this ring onto the pipe, creating a rock-solid, watertight seal.
A Plumber's Tip: The 'feel' is everything here. You want to tighten the nut until it's snug, then give it an extra quarter-turn with your spanner. If you go overboard and overtighten, you risk crushing the olive or even damaging the copper pipe itself – a much bigger headache to sort out.
The whole process boils down to a few key actions: preparing the threads, lining everything up correctly, and tightening with care.

This image really helps to visualise how these simple parts come together to create that all-important seal.
Keep in mind that while a lockshield valve is usually a straightforward replacement, a TRV needs a little more thought. Make sure you install the TRV head horizontally. This is so it can accurately sense the room's temperature, not just the heat rising directly from the pipe below it.
Getting a professional finish on any DIY job is what makes the effort worthwhile. If you're looking for more ways to spruce up your home, check out our guide on painting your front door for a project that delivers serious kerb appeal.
Now that your valves are in place, you're on the home stretch. It’s time for the final checks.
Refilling the System and Checking for Leaks
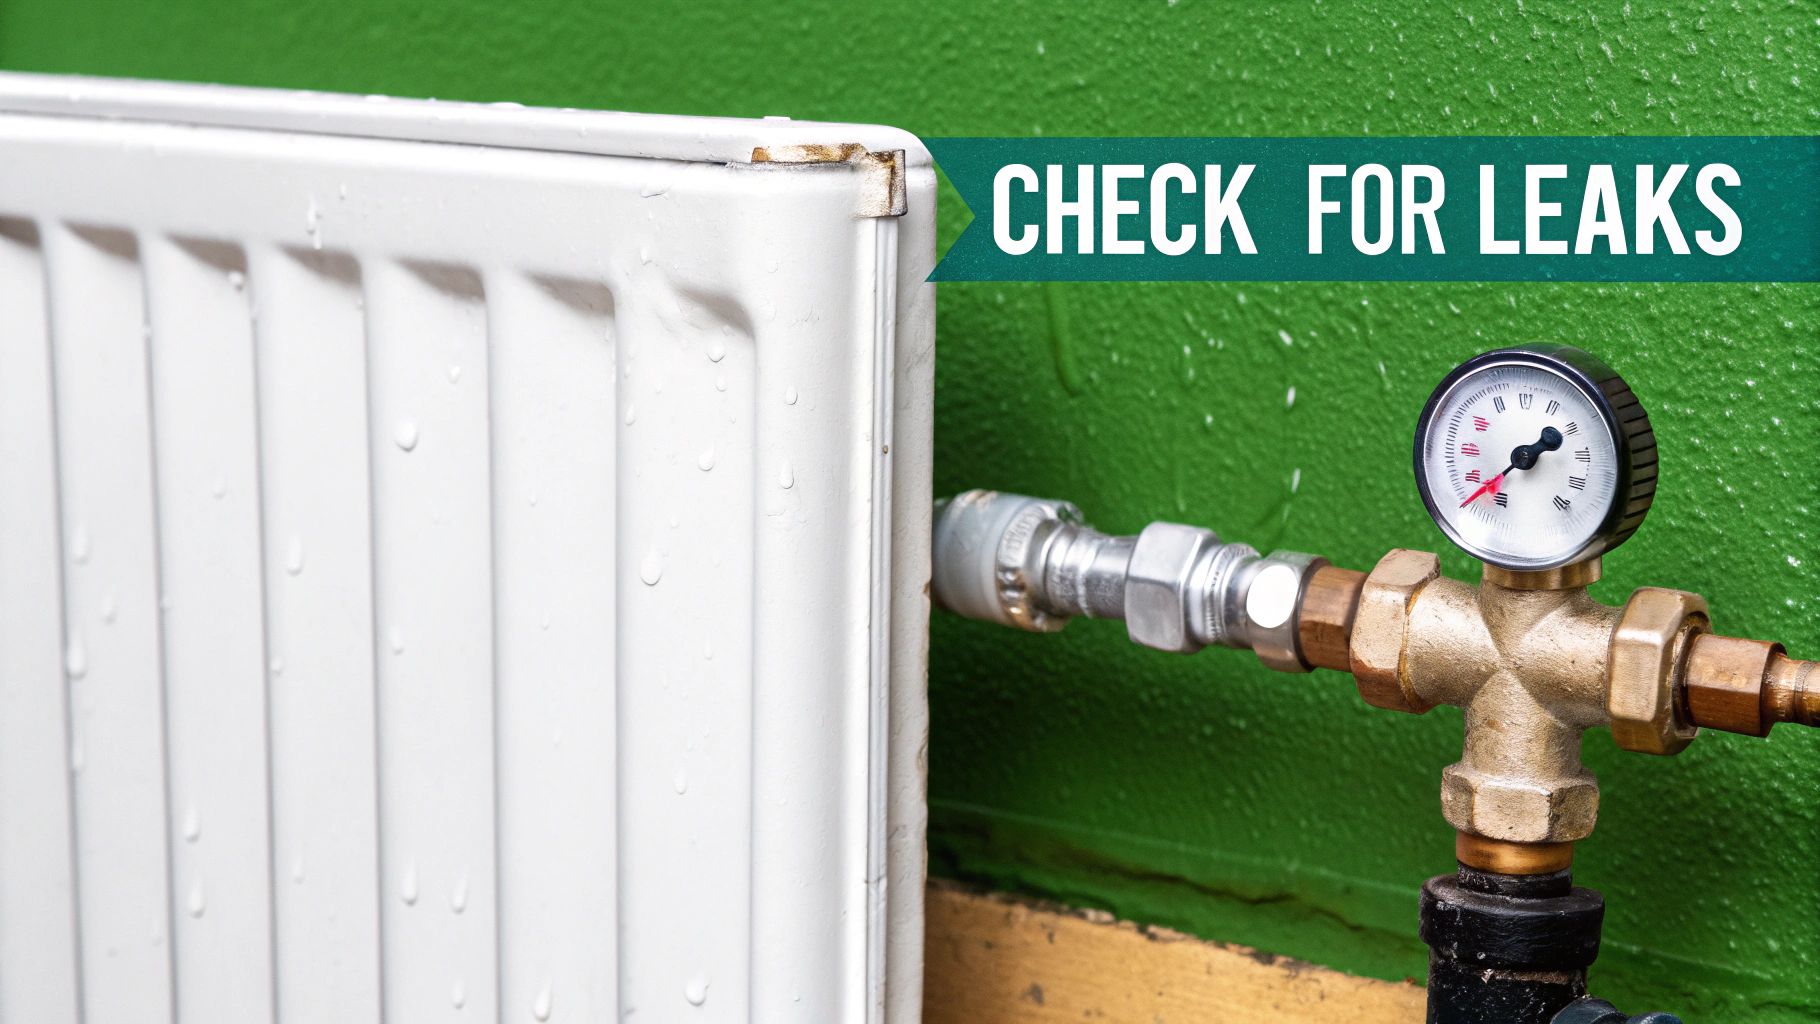
With your new valves securely in place, you’re on the home straight. Now it's time to get the central heating system back up and running. This part needs a bit of patience and a sharp eye to make sure you don't end up with any unwelcome puddles.
First things first, go around and check that every single bleed valve on every radiator is closed tight. Next, find your boiler's filling loop—it’s usually a flexible silver hose. Gently and slowly open the valve. You should hear the sound of water rushing back into the pipes.
Keep a close eye on the pressure gauge on your boiler. For a cold system, you're aiming for the sweet spot, which is typically around 1.5 bar. Don't overshoot it.
Purging Trapped Air
As water fills the system, air inevitably gets trapped inside the radiators, which stops them from heating up properly. You’ll need to "bleed" them to get this air out. The best way to do this is to start with the radiator on the lowest floor of your home and work your way up to the highest one.
Grab your radiator key and gently open the bleed valve on each radiator. You'll hear a hissing sound as the air escapes. As soon as water starts to spit out, quickly close the valve. After bleeding a few radiators, you'll probably notice the boiler pressure has dropped, so you may need to top it up again.
Crucial Final Check: This is the most important part. With the system fully pressurised, you need to meticulously check every single joint you've touched. Get right in there and inspect the valve nuts and the new radiator tails. A great tip is to use a piece of dry kitchen roll to wipe around each connection—it will instantly show up even the smallest trace of moisture.
If you spot a drip, don't panic. It happens. Knowing when to call for professional pipe repair is important, but often, a simple quarter-turn with a spanner is all it takes to nip it in the bud.
For any really stubborn little weeps, a good quality jointing compound from our range of sealants can give you that extra bit of security. It's worth remembering that upgrading radiator controls is a big part of the UK's push for energy efficiency. In fact, government schemes are set to install around 68,100 similar measures in early 2025 alone. You can read more about these national energy-saving initiatives and see the bigger picture.
Even with the best guide in hand, a few questions always pop up when you're on the tools. Let's tackle some of the common head-scratchers that DIYers run into when changing radiator valves.
Do I Really Have to Drain the Whole System?
For most standard central heating systems in the UK, yes, you absolutely do. You’ve got to get the water level below the radiator you're working on, otherwise, you'll have a major flood on your hands.
The only real workaround is a pipe freezing kit. These clever bits of kit create an ice plug inside the pipe, letting you swap the valve without draining a drop of water. It’s much faster, but it does take specialist equipment and a bit of nerve to get right the first time.
Which Way Do I Wrap PTFE Tape?
Ah, the classic question! Getting this right is the difference between a perfect seal and a persistent drip. Always wrap the PTFE tape in the same direction you'll be tightening the fitting: clockwise.
Think of it this way: as you look at the end of the threaded pipe, wrap the tape away from you in a clockwise spiral. This ensures the tape tightens into the threads as you screw the valve on, rather than unravelling and bunching up.
A weeping valve connection is one of the most common snags after installation. A tiny, slow drip from the compression nut often just needs a gentle quarter-turn tighten. Resist the urge to use brute force, as overtightening can crush the internal olive and cause more significant problems.
What if My New Valve Leaks?
Don't panic if you spot a small weep from the pipe connection after you've refilled the system. First thing's first, turn the heating off. Grab your two spanners and give the nut a very slight extra tighten—a quarter-turn is usually all it needs.
If it still drips, you’ll likely have to undo the joint. Check that the small brass olive inside is sitting straight and hasn't been squashed or damaged, then carefully put it all back together and retighten it.
While this guide covers the DIY essentials, some plumbing jobs can be unexpectedly tricky. If you run into trouble or would feel more comfortable with an expert eye, you might consider reaching out to professional plumbing repair services to handle more complex issues.
For all the tools, valves, and plumbing supplies you need for your project, trust Burnt Oak Builders Merchants. Visit us at https://www.burntoaktimber.com to find everything you need to get the job done right.