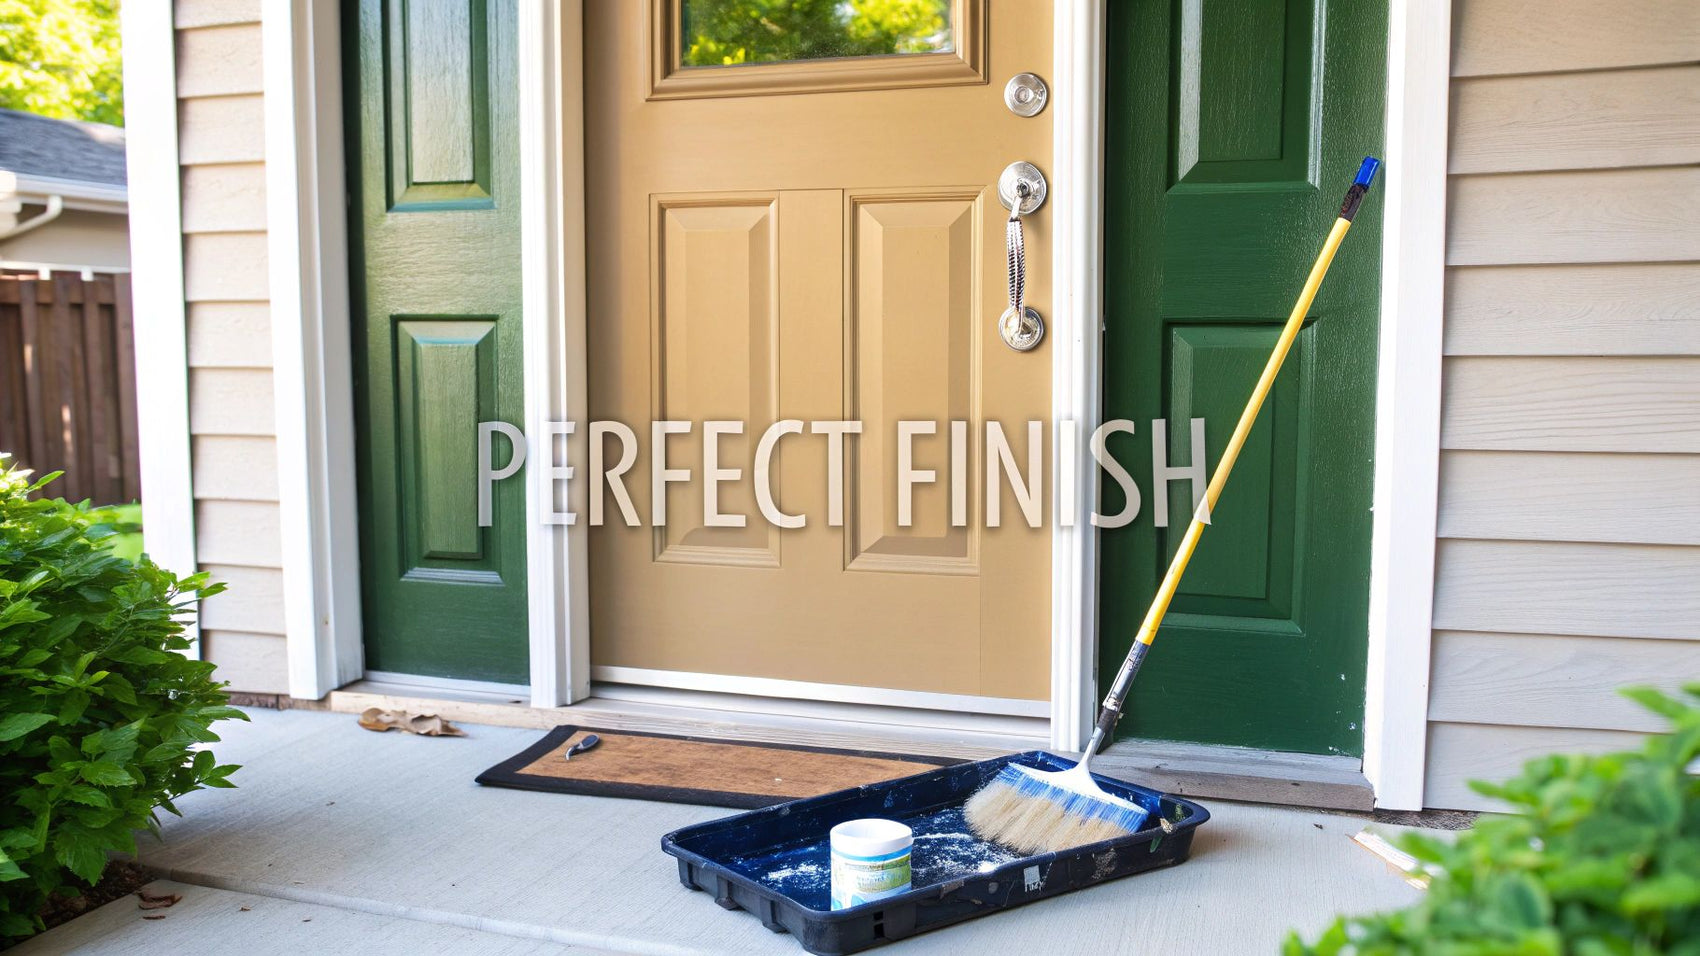
Of all the DIY jobs you can tackle, painting your front door has to be one of the most rewarding. It’s a project that delivers a huge boost to your home's kerb appeal without a massive investment of time or money. But getting that professional, long-lasting finish is about more than just slapping on a coat of paint—it’s all in the preparation and using the right materials.
Think of this as your complete playbook for getting it done right.
Giving Your Home Instant Kerb Appeal
A freshly painted front door does more than just smarten up the outside of your house; it sets the entire tone. It's the first thing guests see and a feature you use every single day. Getting this simple update right can reflect your personal style and create a welcoming entrance that you'll be proud of every time you come home.
This project isn’t just about looking good, either. It’s a crucial bit of maintenance. A quality paint job shields your door from the famously unpredictable UK weather, preventing rot in wooden doors and stopping uPVC or composite ones from deteriorating.
The Power of a First Impression
You can't overstate the impact a front door's colour has on kerb appeal. It's one of those rare jobs where a small change delivers huge results for relatively little effort. The data backs this up, with certain colours consistently proving popular with homeowners across the country.
- Grey and black have consistently topped the charts for exterior colour searches in multiple UK regions.
- These shades hit that sweet spot of being modern yet completely timeless.
- They also work beautifully with a massive range of brickwork and architectural styles.
In fact, the 2022 Weathershield Home Exterior Trends Report found that front doors were a top priority for homeowners looking to renovate, highlighting just how important they are. If you're curious, you can dig into the full Dulux exterior trends report for more insights.
Of course, a lick of paint is just one part of the puzzle. You could also consider other upgrades like installing a new screen door to let fresh air in while keeping bugs out.
A new coat of paint is one of the quickest ways to transform your entrance. It's a weekend project that pays dividends in satisfaction and style, creating a focal point that breathes new life into your home's facade. This guide will walk you through every step to ensure a flawless result.
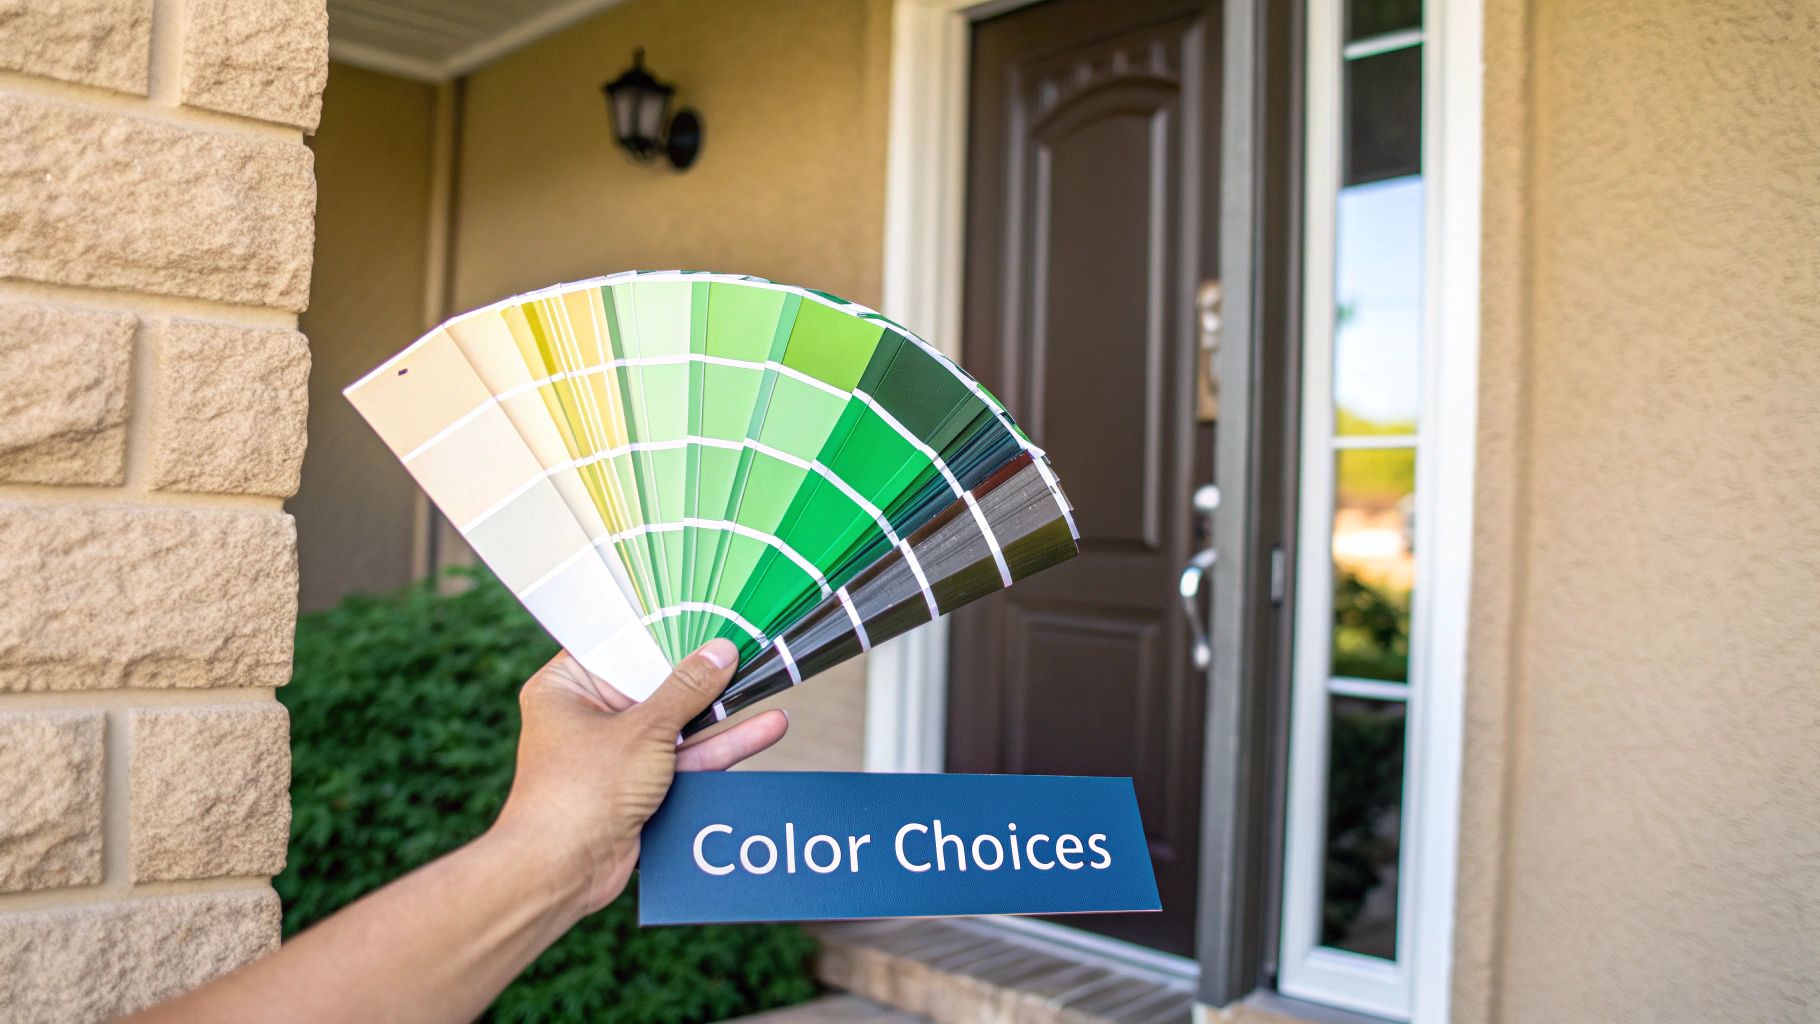
Choosing the Right Colour and Paint
This is the fun part. Picking the colour and paint for your front door is where you really get to put your stamp on your home's exterior. It’s the first thing visitors see, so the right choice can create a welcoming vibe, a bold statement, or something quietly sophisticated. A great colour choice should complement your brickwork, windows, and the general style of your house.
Think of it this way: the colour you choose sets a mood. A classic black or a contemporary grey can feel solid and chic, while blues and greens often give off a more relaxed, natural feel. It’s all about finding a shade that you’ll love coming home to and that feels right for the building itself.
Getting to Grips with Paint Types
Once you've got a colour in mind, the next decision is the type of paint. This is a big one, as it dictates how well the finish will hold up against the glorious British weather. Your main options are usually the traditional oil-based paints or the more modern water-based ones.
- Oil-Based Paints: These are known for giving a wonderfully smooth, tough finish. They tend to level out beautifully, which is great for hiding brush marks. The downside? They have a strong smell and take an age to dry.
- Water-Based Paints: Often called acrylics, these are a popular choice for good reason. They have a low odour, dry quickly, and you can clean your brushes with just soap and water. Modern formulas are also incredibly durable and flexible, so they’re less likely to crack or peel over time.
A quick but crucial note: if you have a uPVC or composite door, you absolutely need a specialised paint. Your standard exterior wood paint just won't stick properly. Always check the tin to make sure it's designed for these surfaces to get a finish that actually lasts. You can find a great selection of suitable exterior paints and finishes designed for all sorts of door materials.
Can a Colour Really Add Value to Your Home?
Believe it or not, your front door colour can have a real impact on your home's value. Studies have shown a surprising link between certain colours and what buyers are willing to pay. For instance, some research suggests homes with grey front doors might see their value jump by around 20%, while a smart black door could add about 11%. It just goes to show that a simple can of paint can be a surprisingly smart investment.
A well-chosen front door colour is more than just a personal preference. It's a strategic move that boosts your home's kerb appeal and can even affect its market value. It’s one of those rare DIY jobs where a little effort can make a massive visual and financial difference.
To help you decide which paint is best for your door, here’s a quick comparison of the most common types available in the UK.
Paint Type Comparison for UK Front Doors
| Paint Type | Best For | Durability & Finish | Drying Time | Clean-up |
|---|---|---|---|---|
| Oil-Based | Traditional wooden doors requiring a super-smooth, hard-wearing finish. | Excellent durability; high-gloss, smooth finish. Can yellow over time in low light. | Slow (8-24 hours to touch-dry) | Requires white spirit or turpentine. |
| Water-Based | Most door types, including wood and primed metal. Great for a faster job. | Very durable and flexible (resists cracking). Available in various sheens. | Fast (1-4 hours to touch-dry) | Simple soap and water. |
| uPVC Paint | Specifically for uPVC and composite doors where standard paints won't adhere. | Formulated for a strong bond to plastic. Extremely weather-resistant. | Varies by brand, but generally fast. | Usually water-based, so soap and water. |
Ultimately, the best paint depends on your door's material and how much time you have. For a classic wooden door and a flawless finish, oil-based is a strong contender if you can handle the drying time. For almost everything else, a quality water-based exterior paint is a fantastic, user-friendly choice.
Before you get anywhere near opening a tin of paint, remember that preparation is everything. The image below gives a realistic idea of where your time will go.
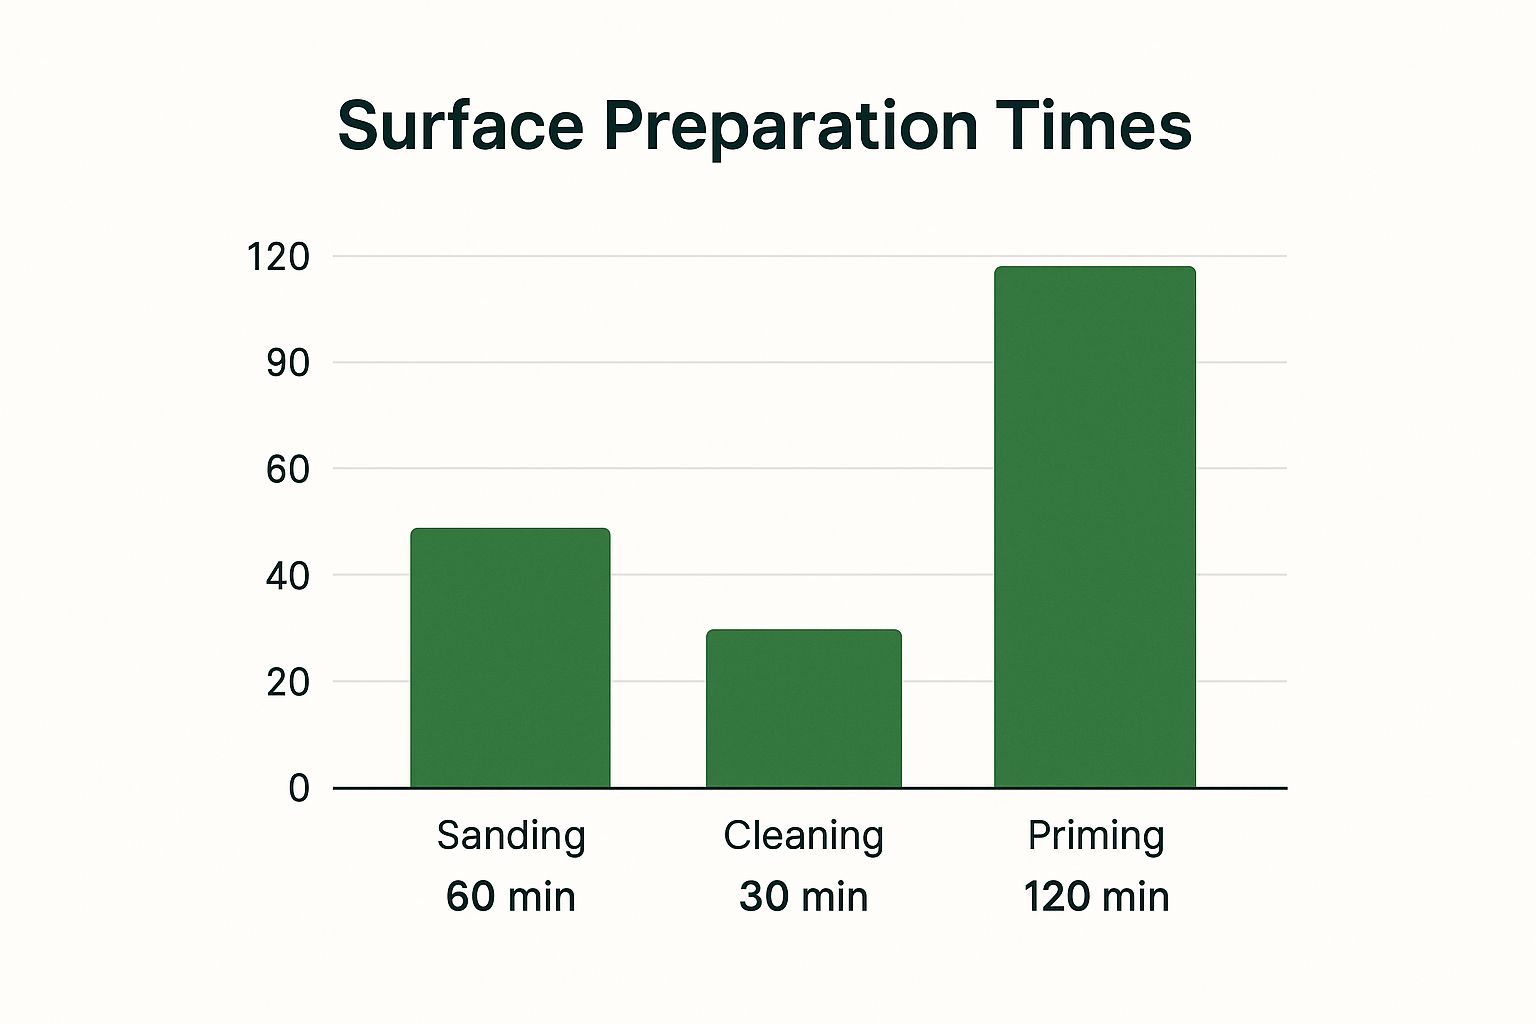
As you can see, the priming stage often takes the longest. It's tempting to rush these early steps, but trust me, getting the prep right is the secret to a professional-looking finish that will last for years.
Getting Your Door Ready for a Flawless Finish
Ask any seasoned painter, and they’ll tell you the secret to a great paint job is 90% preparation and only 10% painting. This is where most DIY projects go wrong. Rushing the prep is a surefire way to get a disappointing result, but get it right, and you'll have a finish that not only looks professionally done but will stand up to the British weather for years.
To Remove or Not to Remove?
First things first, you need to decide whether to paint the door in place or take it off its hinges. Honestly, there's no single right answer; it just depends on your situation.
- Leaving it on: This is the quicker, easier route. You avoid the heavy lifting and the faff of getting it perfectly re-aligned later. The trade-off is that you'll be working vertically, so you have to be extra careful to avoid drips, and you'll need to meticulously tape off the frame, floor, and any hardware you can't remove.
- Taking it off: This is the professional's choice. Laying a door flat on a pair of trestles in a garage or workshop is the best way to get a perfectly smooth, drip-free finish. The big downside, of course, is that your home will be open to the elements while you work.
For most weekend projects, leaving the door on its hinges is the most practical option. Just be prepared to take your time.
Creating the Perfect Canvas
Right, with your approach decided, it's time to get that surface spotless. Your front door has faced years of traffic grime, pollution, and greasy fingerprints, and new paint will simply refuse to stick to that. The classic solution is still the best: a bucket of warm water with a good glug of sugar soap. Get a sponge and give the entire door a proper scrub, paying special attention to the nooks and crannies in any panelling.
Once it's clean and has had time to dry completely, it's time to take off the hardware. Yes, all of it – the handle, letterbox, knocker, everything. It feels like a shortcut to just tape around them, but trust me, you'll never achieve those clean, sharp lines. Taking a few minutes to unscrew everything makes a world of difference to the finished look.
"Don't ever be tempted to just paint over old, flaky paint. You're not saving time; you're just building a new finish on a failing foundation. Taking the time to sand properly is non-negotiable for a job that lasts."
Sanding and Filling for a Silky-Smooth Surface
This is the most critical part of the whole process. If the existing paint is cracked or peeling, you have to get the loose stuff off. Start with a medium-grit sandpaper (around 80-120 grit) to sand back any rough patches and flaky areas. If your door is in pretty good nick, you can probably just go over the whole thing with a finer 180-220 grit paper. The goal isn't to remove all the old paint, but to create a 'key' – a slightly roughened surface for the new primer and paint to grip onto.
After sanding, the door will be covered in fine dust. You need to get rid of every last speck. Wipe the whole thing down with a tack cloth or a slightly damp microfibre rag. Now, have a really close look at the surface. See any little dings, dents, or old screw holes? Grab some good-quality exterior wood filler and a flexible putty knife. Push the filler into the blemishes, leaving it slightly proud of the surface as it'll shrink a little when it dries.
Once the filler is rock hard, sand it back with your fine-grit paper until it’s perfectly flush and you can't feel the repair. You've now created the ideal canvas for your new door colour.
If you're gathering your supplies, you can find a great selection of high-quality preparation and cleaning products to help you get the job done right.
Right, you've done all the hard graft with the prep work. Now for the fun bit – getting some colour on the door. This is where you see all that effort pay off, but getting a truly professional-looking finish isn't just a case of slapping on the paint. The right technique is what makes the difference between a decent job and a stunning one that lasts.
I know it’s tempting to skip the primer to save time, but trust me, it’s a false economy. Primer is the essential groundwork for your paint job. It gives the topcoat something to grip onto, preventing chips and peeling down the line, and it ensures your chosen colour looks as rich and true as it did on the tin.
It's absolutely non-negotiable in a couple of key situations. If you're painting bare wood, a primer is crucial for sealing the grain and stopping it from drinking up all your expensive topcoat. It’s also a must if you're making a bold colour change, like going from a dark, moody blue to a light, airy grey. The primer hides the old colour, so you'll get the job done with fewer coats of your new paint.
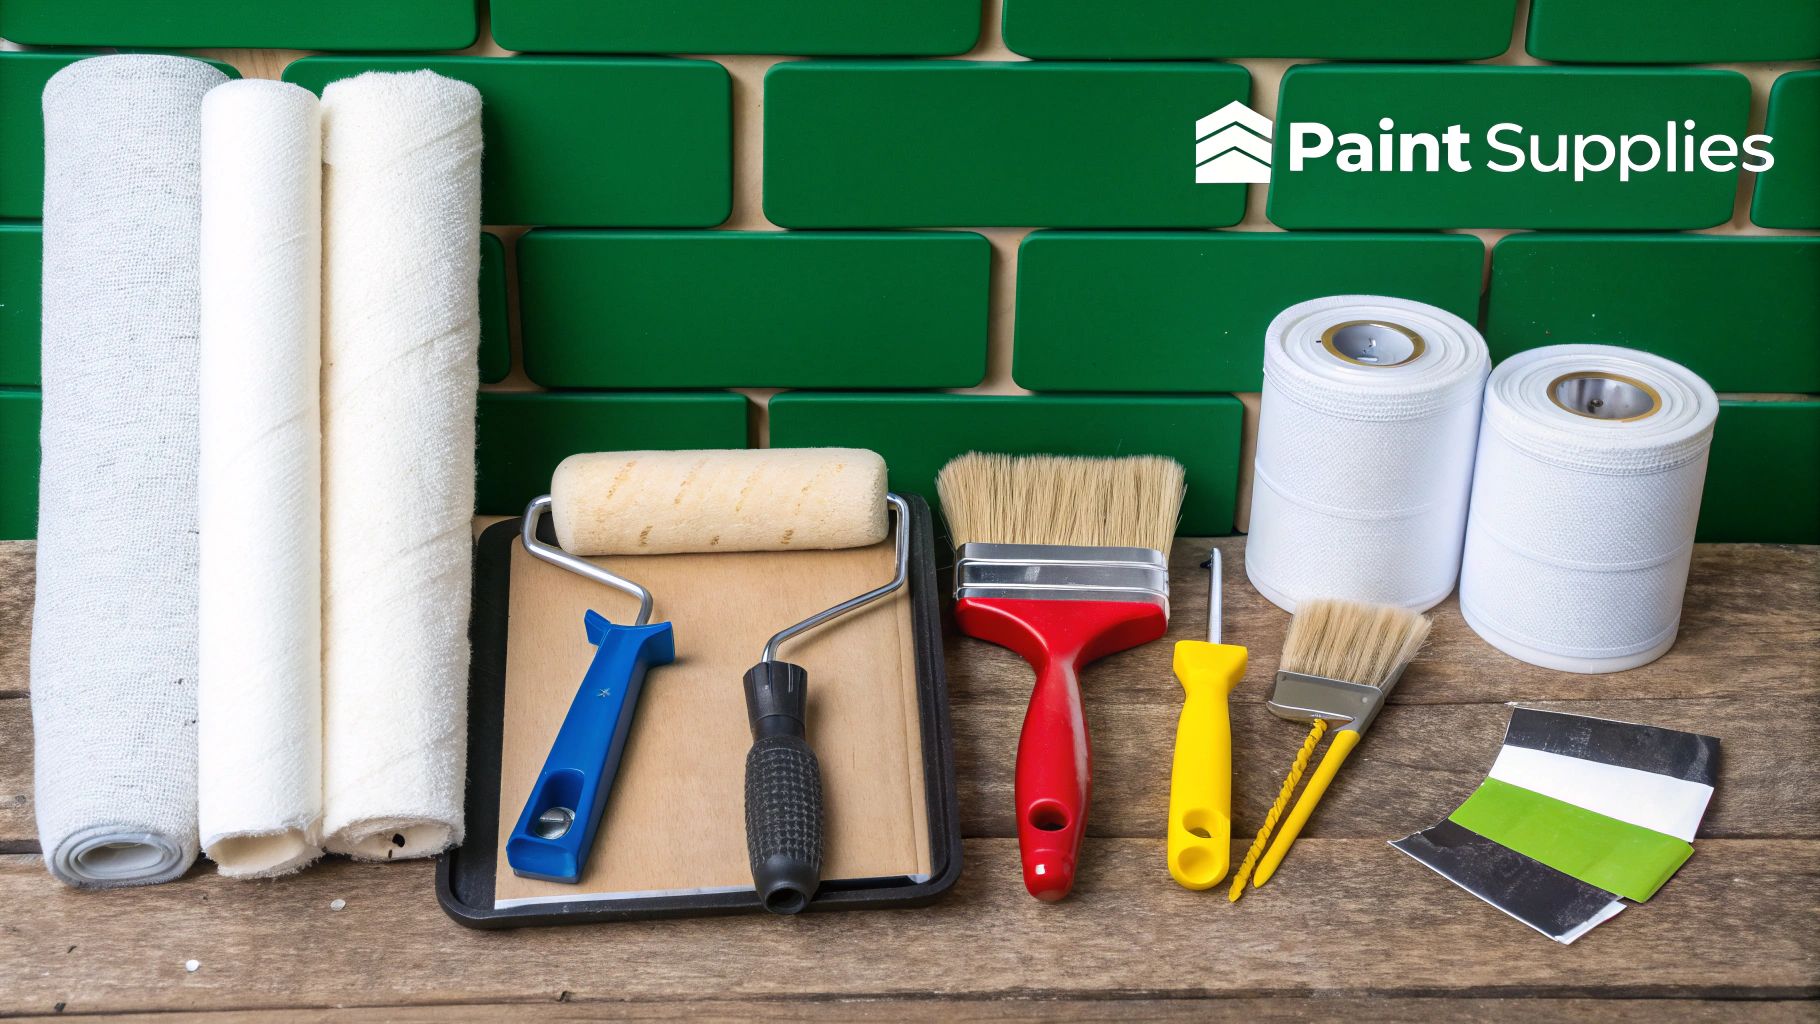
The Right Tools for a Flawless Application
Getting a smooth finish without any distracting brush marks isn't about magic; it's all about having the right kit. For a front door, I’ve found that a mix-and-match approach with a brush and roller works best.
- A decent angled brush: Don't skimp here. A good quality synthetic brush, maybe 2-3 inches wide, is perfect for cutting in around any glass panes and getting into the fiddly mouldings on panelled doors. The angled tip gives you so much more precision.
- A mini foam roller: This is the game-changer for the flat sections. A small, high-density foam roller glides the paint on quickly and leaves a wonderfully smooth finish, almost like it's been sprayed. It's the secret to avoiding that 'hand-painted' look.
Using both lets you work smart, giving every part of the door the attention and finish it needs. You can find quality brushes and rollers among other essential painting tools and workwear to make sure you're properly equipped.
My top tip for a pro finish? Use the mini foam roller on the flat areas, then immediately and very lightly, drag the tip of a dry, high-quality brush over the surface. This is called 'laying off', and it knocks down any roller texture, leaving it perfectly flat.
Painting a Panelled Door in the Correct Order
If you've got a panelled door, there’s a proper sequence to follow. It sounds a bit fussy, but it stops paint from pooling in the corners and gives you those sharp, clean lines that scream quality.
Think of it as working from the inside out.
- The Mouldings: Begin with your angled brush and paint the decorative mouldings around each of the inset panels.
- The Panels: Next, fill in the panels themselves. You can use your brush for this or the mini roller if they're large enough.
- The Centre Rails: Now, tackle the horizontal cross-pieces, known as rails. Start at the top and work your way down.
- The Outer Stiles: Lastly, paint the long vertical sections on either side, called stiles. Don't forget the edges of the door where the hinges and lock are!
Following this order helps you manage the paint, prevents drips, and ensures you get even coverage everywhere. You’ll be left with a finish that looks like it was done by a seasoned professional.
Achieving the Perfect Finish and Long-Term Durability
With the primer and first coat of paint on, you're on the home stretch. Getting these final details right is what really elevates a good DIY job into a professional-looking one, giving you a finish that will stand up to the British weather for years.
The Crucial Second Coat
Don't be tempted to skip the second coat of paint. I’ve seen it happen, and the result is never as good. While the first coat lays down the base colour, the second is where the magic really happens. It’s what gives the door that deep, rich, and completely even appearance. More importantly, it adds a vital extra layer of protection.
This is also your final chance to correct any minor mistakes. Look at the door from different angles to spot any thin patches, drips, or runs from the first coat. Stick with the same technique you used before—a quality brush for the fiddly mouldings and a mini foam roller for the flat panels. This combination is your best bet for a flawless, streak-free result.
Drying vs. Curing: The Waiting Game
Here’s a detail that many people get wrong, and it makes all the difference to how long your paint job lasts. Paint might feel dry to the touch in just a few hours, but it’s a long way from being fully hardened, or ‘cured’.
- Drying Time: This is simply the stage where the solvents evaporate, making the surface safe to touch without leaving a fingerprint. In the UK, depending on the day, this can take anywhere from 1 to 8 hours.
- Curing Time: This is the much longer chemical process where the paint molecules cross-link and harden into a durable, tough film. This can take anywhere from a few days to a full 30 days, depending on the paint and the weather.
It's essential to be gentle with your newly painted door during this curing period. Try to avoid any harsh cleaning or accidental knocks, as the surface is still soft underneath and can be easily scuffed or dented. A little bit of patience now pays off massively in durability later.
Re-installing Hardware and Final Touches
Once that second coat is properly dry to the touch (always check the time recommended on the paint tin), you can get on with the final steps. It’s time to carefully put the handle, letterbox, and any other hardware back on.
A quick tip for removing masking tape: do it while the final coat is still a little bit soft, but not wet. Pull it away from the paint at a sharp 45-degree angle. This helps create a really clean, crisp line and stops the new paint from peeling off with the tape.
To keep your beautifully painted front door looking its best, you should think of it as part of your home’s wider upkeep. Integrating it into a plan of proactive maintenance solutions will make a huge difference. Proper ongoing care, including using the right wood care products, will extend its life significantly.
Thinking about colour trends can also be a smart move. Recent search data in the UK shows grey has been the top choice for the last five years. However, black started to overtake it in mid-2022, hinting at a shift towards bolder, darker front doors. This reflects a desire for a more personal touch, with sophisticated shades like anthracite grey still being a hugely popular choice.
Got Questions About Painting Your Front Door?
Even a job that seems simple on the surface can have its tricky moments. When it to comes to giving a front door a new lease of life, a few questions always seem to pop up. We’ve pulled together the most common ones to give you the straightforward, practical answers you need for a brilliant finish.
https://www.youtube.com/embed/SAgDwFDqxVM
When’s the Best Time of Year to Paint a Front Door in the UK?
This is a big one, especially with our classic British weather. You’re looking for the Goldilocks of days: dry, mild, and ideally a bit overcast. If you try to paint in direct, hot sunshine, the paint can dry far too quickly, leaving you with ugly brush strokes and a patchy finish.
The sweet spot is a run of days where the temperature sits somewhere between 10°C and 25°C with low humidity. Cold, damp days are a no-go; they slow down the drying and curing process so much that the paint’s durability can be seriously affected. In my experience, late spring and early autumn usually offer the best window of opportunity.
Is Using a Primer Really Necessary?
If you want a professional-looking finish that will actually last, then yes, absolutely. I know it feels like an extra, time-consuming step, but skipping the primer is a false economy. It does a few critical jobs that your topcoat simply can't handle on its own.
Primer seals porous surfaces like bare wood, and it’s brilliant at stopping old stains or tannins from wood knots bleeding through and ruining your new colour. Most importantly, it creates a surface for the topcoat to grip onto properly, which is your number one defence against the paint chipping and peeling down the line.
Think of it this way: if you're making a dramatic colour change, say from a dark, foreboding green to a fresh, light grey, a good primer is essential. It helps you get to that true new colour with fewer coats, saving you time, effort, and paint.
How Do I Avoid Leaving Brush Marks?
Ah, the holy grail of door painting: that perfectly smooth, almost factory-sprayed finish. The secret isn't one thing, but a combination of the right kit and the right technique. First off, don't skimp on your tools. Get a high-quality synthetic brush, and resist the urge to load it up with too much paint.
A great trick for the flat sections of a door is to apply the paint with a small, high-density foam roller and then, immediately after, lightly run the very tip of your brush over the wet paint. This is called 'laying off', and it magically smooths out any texture left by the roller. Always work in the direction of the wood grain, and live by this rule: two thin coats are always better than one thick one.
Can I Actually Paint a uPVC or Composite Door?
You certainly can, but you can’t just grab any old tin of exterior paint. Standard wood paint won't stick to the non-porous surface and will peel off before you know it. The trick is all in the prep work and using the correct, specialised products.
It breaks down into a few key stages:
- A Proper Clean: Get started by giving the door a deep clean with a dedicated uPVC cleaner to shift all the grime and traffic film.
- A Light Scuff: You’re not trying to strip the surface, just create a ‘key’ for the paint. Gently go over the whole door with fine-grade sandpaper (something around 240-grit is ideal).
- The Right Primer: This is the most important part. You need a primer specifically designed for multi-surface or uPVC applications. It’s formulated to bond with plastic.
- The Correct Topcoat: Finish the job with a paint made for uPVC. These paints are more flexible and are designed to adhere chemically to the door for a lasting finish.
At Burnt Oak Builders Merchants, we stock everything you need for your project, from specialised primers to high-quality brushes and rollers. Find all your building and decorating supplies at https://www.burntoaktimber.com.