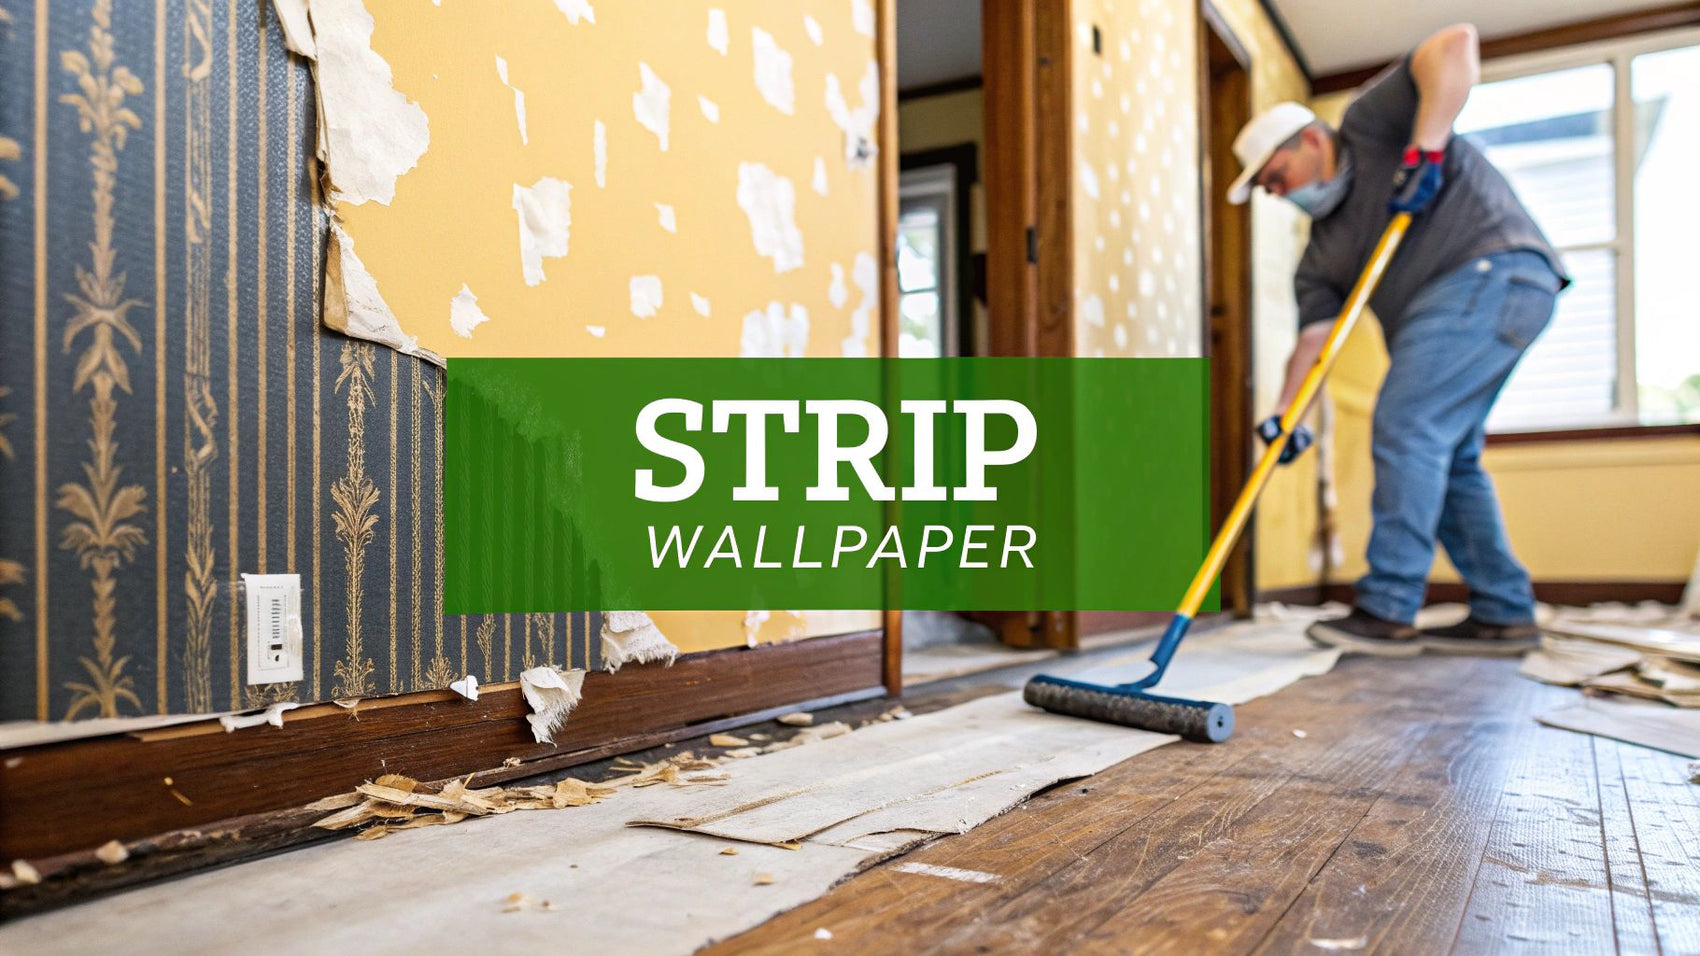
Let's be honest, stripping wallpaper is one of those jobs nobody really looks forward to. But with the right approach, it doesn’t have to be a nightmare. The best method almost always involves a three-step dance: scoring, soaking, and scraping.
For most standard wallpapers, hot water and a bit of elbow grease will do the trick. However, if you're up against something more formidable, like stubborn vinyl or decades of layered paper, a wallpaper steamer is your best friend. It cuts through the adhesive like nothing else, saving you hours of scraping and preventing you from gouging the plaster underneath.
Your Guide to Flawless Wallpaper Removal
Before you can get to the exciting part of painting or putting up new paper, you've got to deal with what's already there. Taking a moment to figure out the best way forward is crucial. A little bit of planning now will save you a world of frustration and potential wall damage later on.
This guide is all about helping you make the right call from the start. We'll walk through the different techniques so you can match the method to your specific wallpaper and wall condition for a clean, smooth finish.
Choosing Your Wallpaper Stripping Method
Not all wallpapers are created equal, so the removal technique that worked a treat in the living room might be completely useless in the hallway. Deciding on your strategy upfront is the single most important step.
This quick table breaks down the main options to help you decide which path to take.
| Method | Best For | Pros | Cons |
|---|---|---|---|
| Soaking & Scraping | Older, porous papers that absorb water easily. | The cheapest method, requiring minimal specialist tools. | Can be slow, messy, and ineffective on waterproof or vinyl papers. |
| Steaming | Stubborn, multi-layered, or vinyl-coated wallpapers. | Highly effective and fast; melts adhesive for easier removal. | Requires hiring or buying a steamer; can be a bit cumbersome to use. |
| Dry Stripping | Modern 'peelable' or 'strippable' wallpapers. | The easiest and cleanest method by far—no water or chemicals needed. | Only works on specific types of modern wallpaper. |
Once you’ve identified your wallpaper type, you can confidently pick the right tool for the job. This simple choice can turn what feels like a monumental task into a surprisingly manageable project.
Thinking of getting a professional in? In the UK, the cost to have a room's wallpaper stripped typically ranges from £150 to £650, depending on the size of the room and how difficult the paper is to remove. This is exactly why mastering the DIY approach can save you a significant amount of money.
One final, but critical, safety note. If you're working in an older property, it's vital you know how to identify asbestos in your home. It was sometimes used in textured wall coatings or even in the adhesive behind old wallpapers. A quick check before you start is a non-negotiable safety precaution.
Preparing Your Space and Assembling Your Toolkit
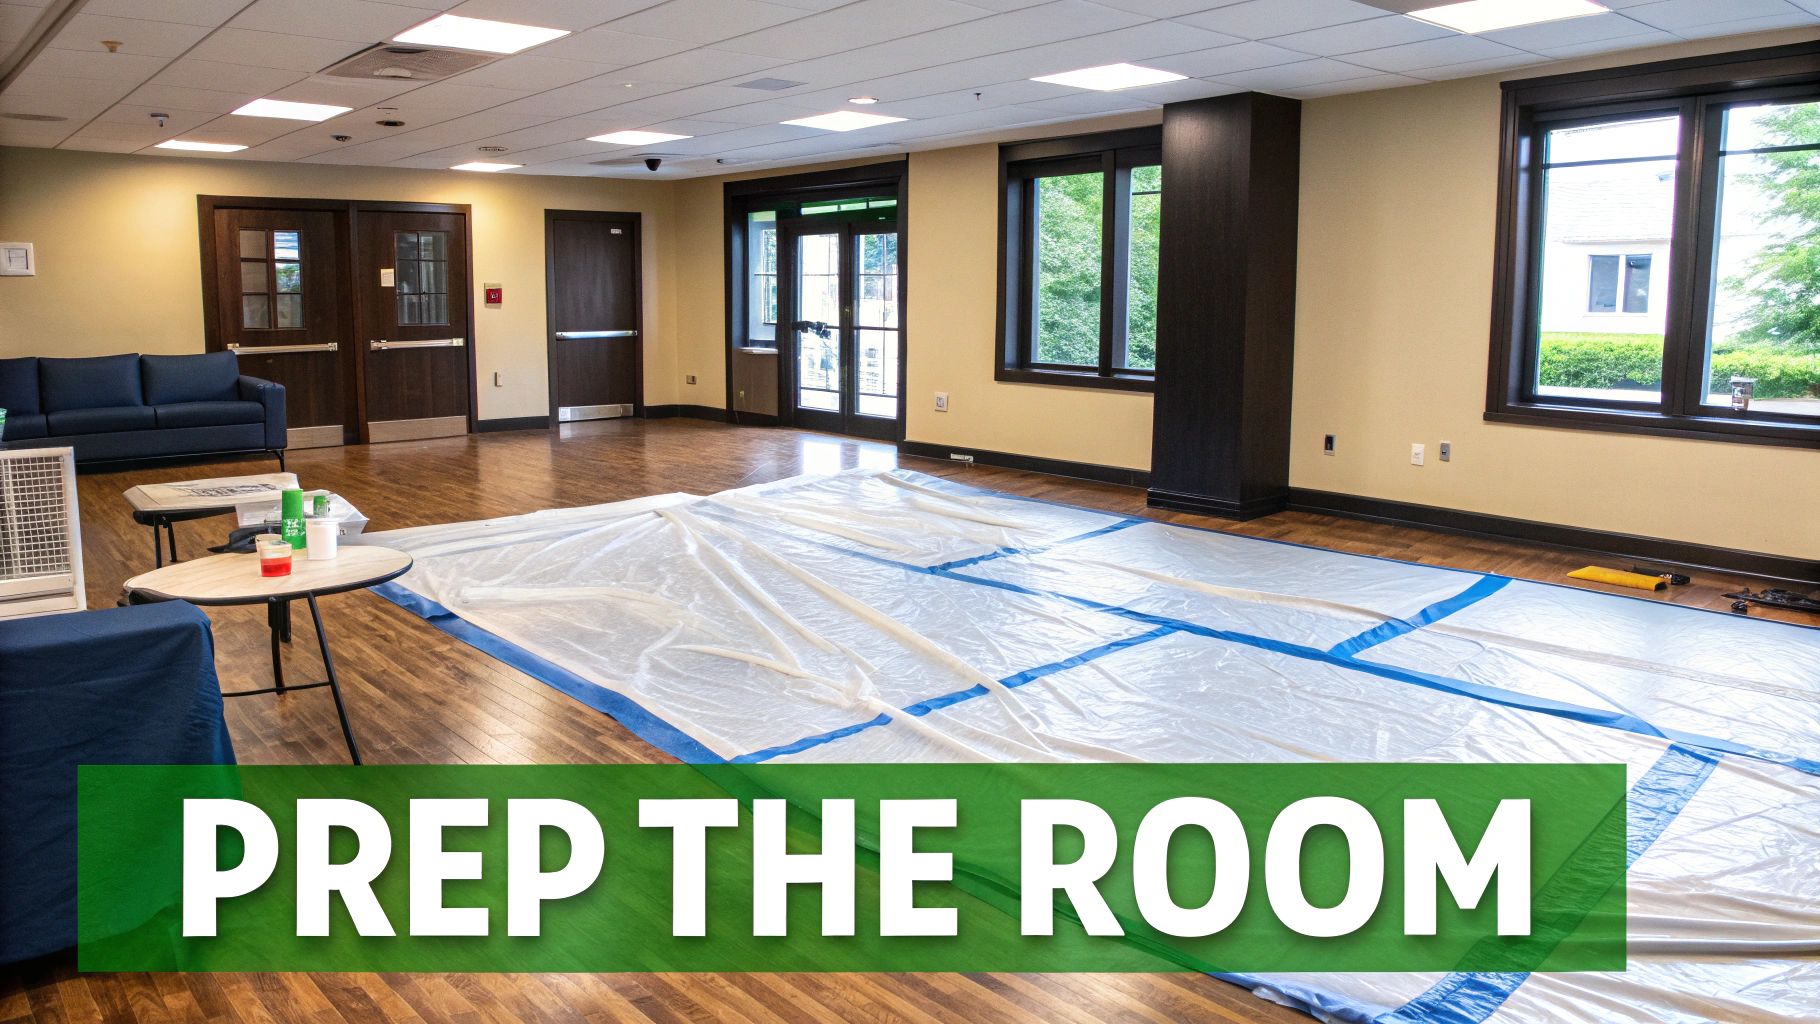
Before you even touch a scraper to the wall, a bit of prep work will save you a world of pain later on. Honestly, getting organised first is the secret to stripping wallpaper without creating a chaotic, sticky mess. Think of it as setting the stage for a smooth performance.
The first job is to clear the room as much as you can. If moving all the furniture out isn't an option, pull everything into the centre and cover it completely with heavy-duty dust sheets. The floor is just as important—put down a plastic or canvas dust sheet and tape it securely around the skirting boards. Trust me, wallpaper stripping is a wet job, and rogue adhesive is a nightmare to get off carpets and floorboards.
Finally, protect your trim. Meticulously run masking tape along the tops of skirting boards and around all your window and door frames. It’s also absolutely critical to protect electrical fittings. Shut the power off to the room at the consumer unit, then completely cover any light switches and plug sockets with masking tape.
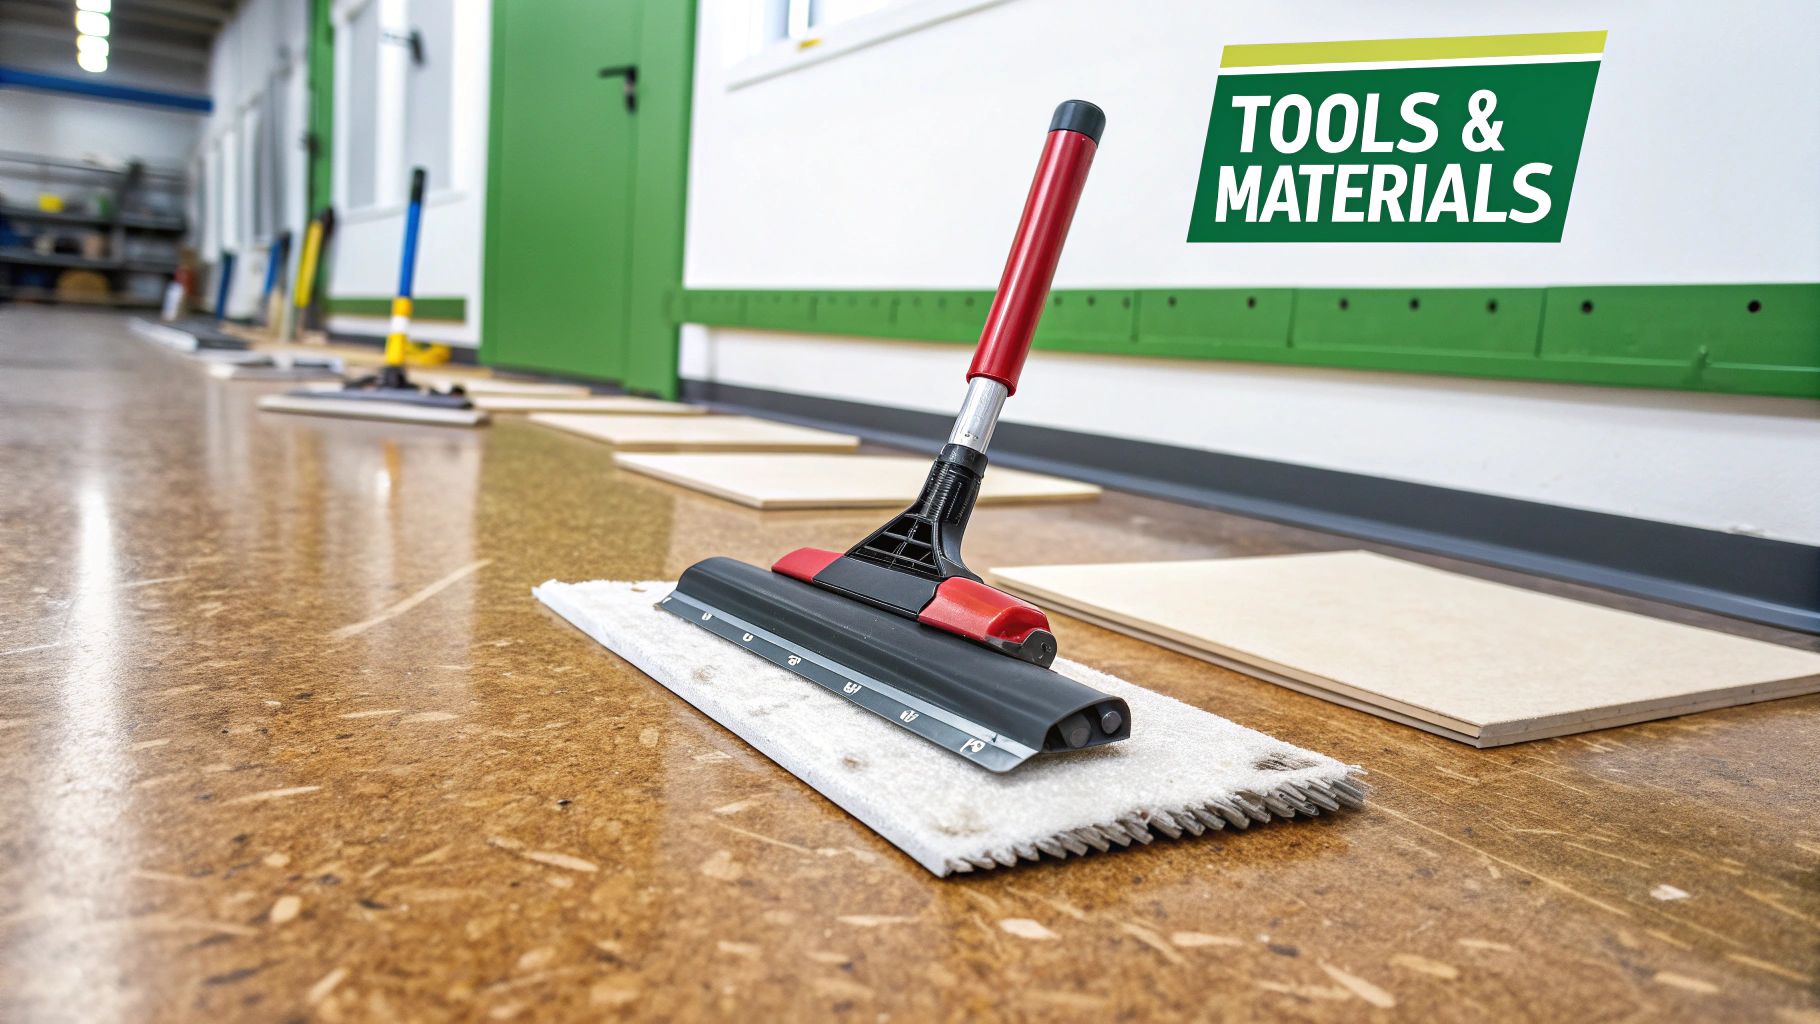
Your Essential Wallpaper Stripping Kit
There's nothing more frustrating than having to down tools mid-job to hunt for something you forgot. Having the right kit ready to go makes all the difference. For a solid overview of what every DIYer should have in their arsenal, our guide on the essential tools for homeowners is a great place to start.
For this specific task, you'll want to have these core items within arm's reach:
- A Wallpaper Scoring Tool: This nifty gadget punches tiny holes in the wallpaper, which is the only way your stripping solution can get behind it to dissolve the adhesive. It’s a must-have for vinyl or painted-over papers.
- A Pump Sprayer or Large Sponge: A simple garden sprayer is perfect for applying your soaking solution quickly and evenly. For smaller areas, a big decorator's sponge will do the trick just fine.
- A Quality Scraper: Don't be tempted by a cheap, flimsy one. A good scraper with a comfortable grip and a firm (but not razor-sharp) blade will lift the paper without gouging chunks out of your plaster. A 3-inch or 4-inch blade is a good all-rounder.
- Safety Gear: It's not the most dangerous job, but at a minimum, you'll want protective gloves to stop your hands from getting waterlogged and a pair of goggles to keep debris and splashes out of your eyes.
Pro Tip: I always keep a bucket of warm water and a spare sponge right by my side, purely for cleaning my scraper blade as I go. A clean blade is so much more effective and stops you from smearing old, gooey adhesive back onto the wall.
Should You Invest in a Wallpaper Steamer?
While the classic soak-and-scrape method works well most of the time, a wallpaper steamer can be an absolute game-changer, especially on more stubborn projects. It’s worth thinking about hiring or buying one if you’re up against:
- Multiple Layers of Wallpaper: It’s common in older houses to find decades of paper layered one on top of the other. A steamer makes short work of this.
- Painted-Over or Vinyl Wallpaper: These surfaces are designed to repel water, which makes it nearly impossible for a soaking solution to do its job.
- Woodchip or Anaglypta: The sheer thickness and texture of these papers make them notoriously difficult to remove without the penetrating power of steam.
For these tougher jobs, a steamer can easily turn what would have been a long, frustrating weekend into a single day's work.
Mastering the Soaking and Scraping Method
With your room prepped and tools at the ready, it's time to get stuck into the main event. The soak and scrape method is a tried-and-true classic for a reason – it works. It’s definitely a physical job, but with the right approach, seeing that old paper peel away is incredibly satisfying.
The whole process boils down to one simple idea: getting enough moisture through the paper to dissolve the adhesive holding it to the wall. For some older papers, this is easy enough, but most modern or painted-over wallpapers will put up a fight.
Why Scoring Is Your Secret Weapon
Ever tried to soak a wall covered in vinyl or washable paper? It’s like pouring water on a duck's back. These papers are designed to repel liquid, so you need to give your soaking solution a way in. This is where scoring becomes essential.
A scoring tool, like the popular Paper Tiger, punches thousands of tiny holes into the wallpaper's surface. Think of it as creating little doorways for the water to get through. Use firm, even pressure in a circular motion across the entire wall. You want to perforate the paper, not gouge the plaster underneath.
Choosing Your Soaking Solution
You don't necessarily need to rush out and buy a specialised chemical stripper. For many jobs, the best solution is already in your kitchen cupboard.
Simply mix very hot water with a generous squirt of washing-up liquid. The heat is brilliant for softening old paste, and the soap helps the water penetrate the paper instead of just running down the wall. Another great DIY option is a 50/50 mix of hot water and white vinegar.
If you hit a really stubborn patch, a dedicated wallpaper stripping solution from a DIY shop will give you that extra chemical muscle. I find a garden pump sprayer is the best way to apply any solution quickly and evenly, but a big sponge will do the job too. Just focus on one section at a time so it doesn't dry out.
Here's a tip born from experience: patience is everything. The biggest mistake people make is getting impatient and scraping too soon. Let the solution work its magic for at least 10-15 minutes. The paper should look and feel completely saturated before you even think about picking up your scraper.
The process is quite straightforward, whether you're using a liquid solution or a steamer.
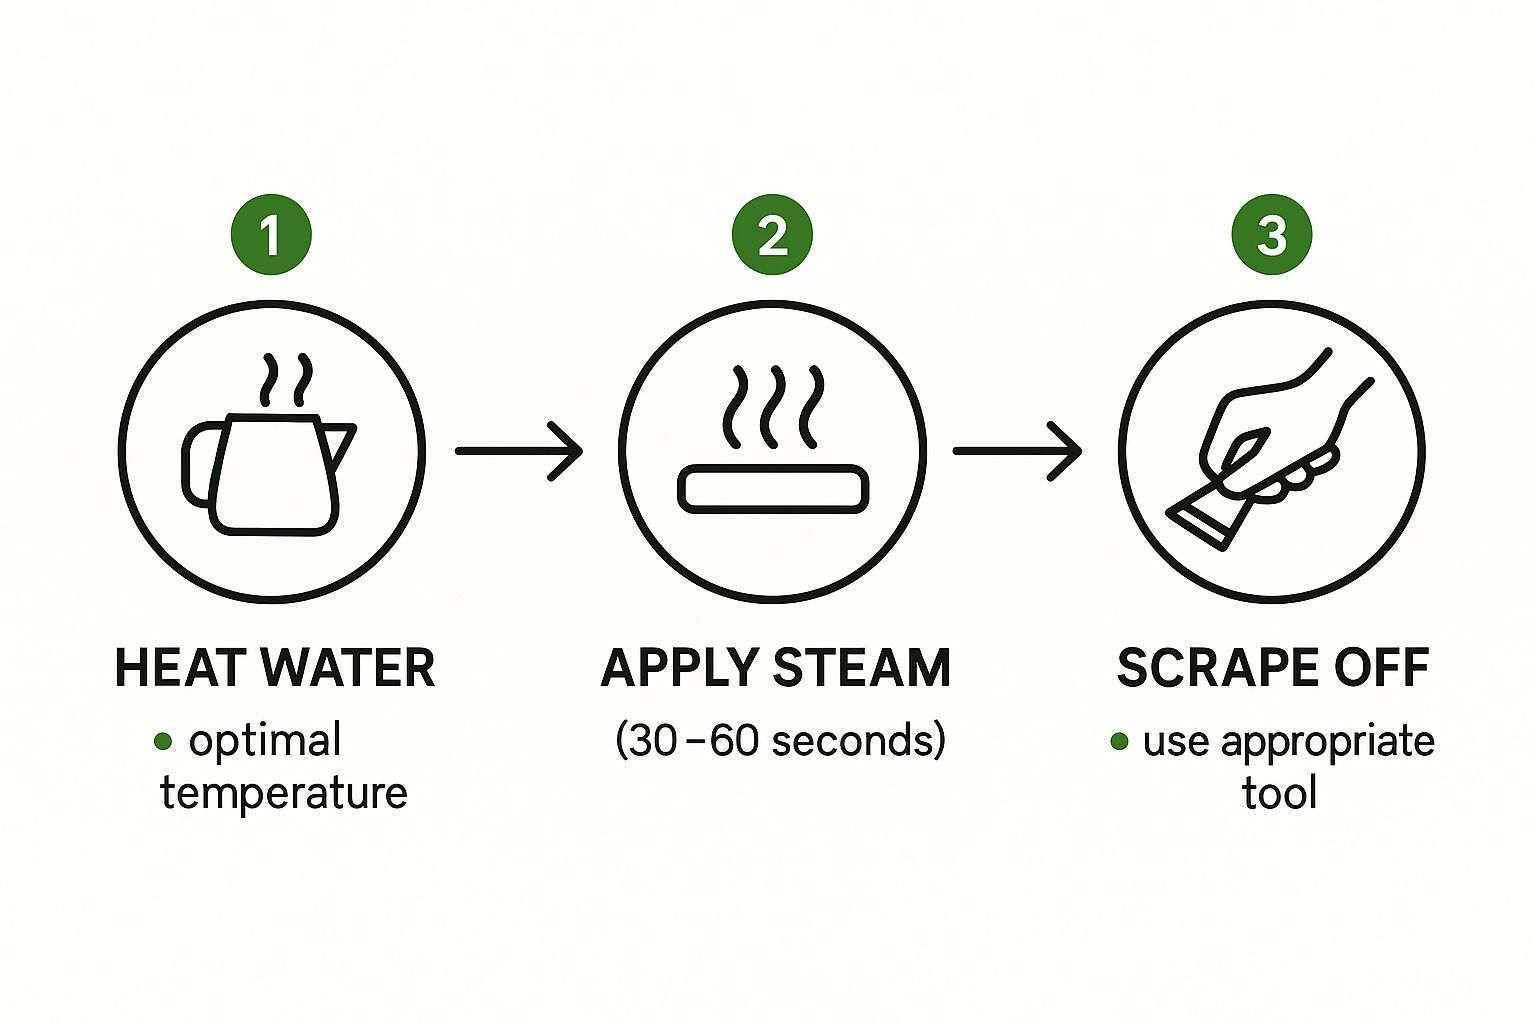
As you can see, it's all about preparing your wall, applying the solution thoroughly, and then getting to work with the scraper.
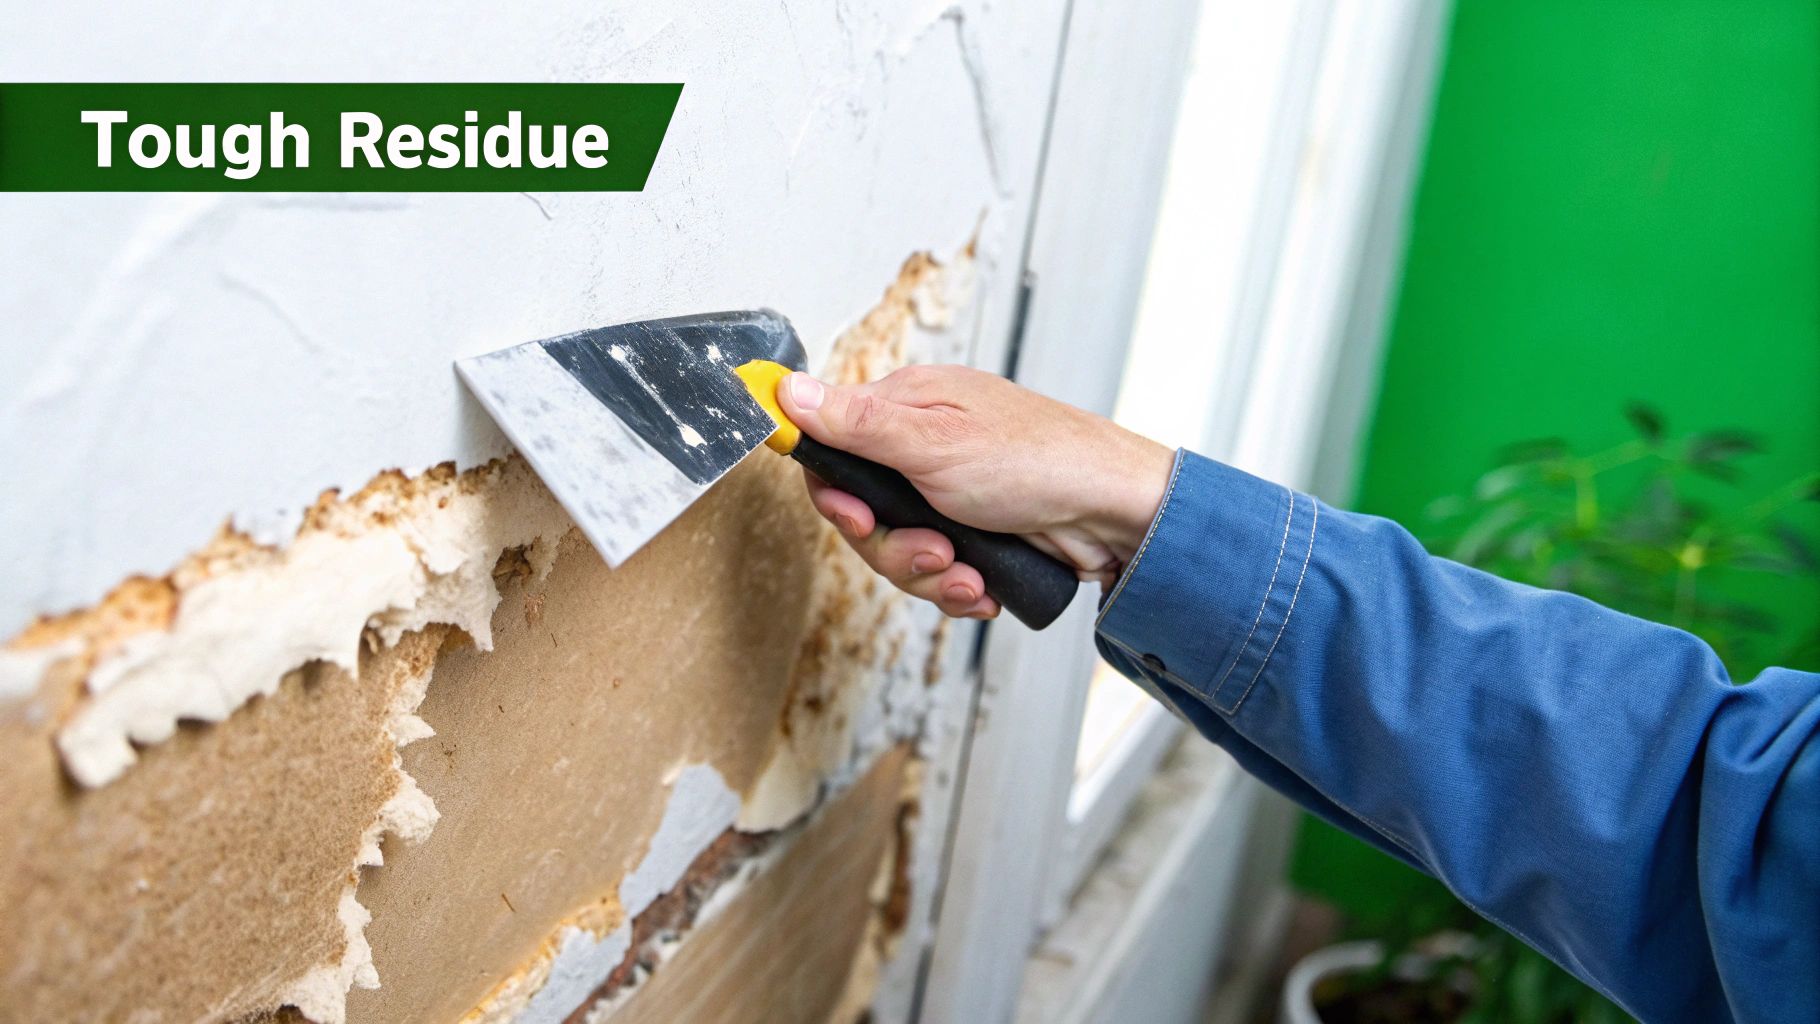
The Art of Effective Scraping
Once the paper is properly soaked, it’s time for the satisfying bit. Grab your stripping knife and hold it at a low angle to the wall—about 30 degrees is perfect. This helps you get under the paper to lift it, rather than digging into the plaster.
Find a loose edge or a seam to start, and gently push the blade forward. If you've timed it right, the paper should come away in long, glorious sheets.
What if it only flakes off in tiny, infuriating pieces? That's a sure-fire sign it needs more soaking time. Don't fight it. Just spray the area again, give it another ten minutes, and have another go. You’ll find all the kit you need, from scrapers to dust sheets, in a good selection of decorating and tiling supplies.
Troubleshooting Common Stripping Issues
Even with the best technique, you can run into a few snags. Below is a quick table to help you identify and solve some of the most common issues people face when stripping wallpaper.
| Problem | Likely Cause | Solution |
|---|---|---|
| Paper comes off in tiny pieces | Insufficient soaking time | Re-apply your solution and wait another 10-15 minutes. Patience is key. |
| The top layer peels off, leaving the backing paper | This is common with vinyl wallpapers | Score the backing paper again and re-soak it thoroughly before scraping this second layer. |
| The plaster is getting damaged | Scraping angle is too steep, or you're using too much force | Lower your scraper to a 30-degree angle. Let the soaked paper do the work; use gentle, steady pressure. |
| Stubborn patches won't budge | Old, very strong adhesive or multiple layers of paper | Switch to a dedicated chemical stripper or consider hiring a wallpaper steamer for extra power. |
Running into problems is a normal part of any DIY project. The trick is to correctly diagnose the issue and adjust your approach, rather than just trying to force it. With a bit of troubleshooting, you'll get those walls clean and ready for a fresh start.
Turning Up the Heat with a Wallpaper Steamer
When you’ve tried soaking and scraping and the wall just isn't cooperating, it’s time to call in the big guns. For those truly nightmarish wallpaper jobs—we're talking multiple layers from decades gone by, painted-over vinyl, or the dreaded woodchip—a wallpaper steamer is your best friend. It blasts hot steam deep into the paper, melting stubborn old adhesive where cold water simply can't reach.
You’ll quickly realise if you're facing a long, soul-destroying battle of scraping. At that point, hiring or buying a steamer becomes a no-brainer. While it’s another piece of equipment to get your head around, the hours of back-breaking labour it saves is more than worth it. You can usually hire a decent steamer from a local tool shop for around £20-£30 a day. Trust me, it's a small price to pay to keep your sanity intact.
How to Use a Steamer without Damaging Your Walls
Using a steamer isn't complicated, but you need to respect the heat and moisture. First things first: read the instructions that come with your specific model. The basic setup is a tank that boils water, connected by a hose to a steam plate. The real skill is in the application.
Your aim is simply to soften the glue, not to cook the plaster. Getting carried away and over-steaming can easily damage the plasterboard underneath, so a bit of finesse is required.
- Keep it flush: Press the steam plate flat against the wallpaper, making sure the whole surface is making contact.
- Don't overdo it: Hold it in place for roughly 10-20 seconds. You’ll see the paper darken and wilt a little as it takes on the steam.
- Listen for the magic: Often, you'll hear a faint crackling sound as the ancient glue finally lets go. That's your signal to move to the next spot.
A classic rookie error is holding the steamer on one spot for too long. You risk forcing so much moisture into the wall that the plasterboard starts to bubble and weaken. It’s always better to make two quick passes on a tough patch than one long, risky one.
The ‘Steam and Scrape’ Rhythm
The secret to steaming efficiently is to work methodically. Don't just randomly steam bits of the wall and hope for the best. Get into a rhythm, tackling one manageable section at a time.
I find this approach works best:
- Work from the top down: Heat rises, so start steaming at the top of a wallpaper strip. Any escaping steam will drift upwards and start softening the area above where you’re working.
- Tackle it in chunks: Steam an area about twice the size of your steam plate. Then, while it's still hot and damp, put the steamer down and get scraping. The paper should lift away with minimal effort.
- Control the drips: Steamers produce a lot of condensation, which will run down the walls. Keep a few old towels or a dust sheet pressed tight against the skirting board to catch the runoff and protect your flooring.
Working this way stops you from getting overwhelmed and ensures the paper you're scraping is always perfectly prepped. By pairing the sheer power of the steamer with the scraping techniques we’ve already discussed, you’ll find even the most stubborn wallpaper will eventually surrender.
The Final Step: Cleaning and Preparing Your Walls
Getting that last piece of paper off the wall feels like a massive win, but hold off on grabbing the paint roller just yet. The job isn't quite done. This final stage—a thorough clean and prep—is what really sets the stage for a flawless new look. Trust me, skipping this is the number one reason for a poor finish. Any leftover adhesive will almost certainly cause new paint to bubble or your next lot of wallpaper to fail.
First things first, you need to wash the walls down to get rid of every last trace of that sticky, old paste. A bucket of warm water mixed with a good quality sugar soap is your best friend here. Grab a large decorator's sponge and wash the entire surface, working your way from the top down in manageable sections.
You’ll literally feel the tacky residue coming away. As soon as you’ve washed a section, rinse it immediately with a fresh bucket of clean water and a clean sponge. This is crucial—it stops the dissolved glue from simply drying back onto the wall, which would undo all your hard work.
Inspecting and Repairing the Surface
Once the walls are clean and have had plenty of time to dry completely, it’s time to play detective. Run your hand over the surface to feel for any rough patches and have a close look for any nicks, gouges, or cracks that might have appeared during the scraping process. It’s incredibly common, so don’t panic if you find a few battle scars.
For minor dings and scrapes, you’ll just need a few basic supplies:
- Multi-purpose filler: I'd recommend a ready-mixed tub for convenience.
- A flexible filling knife: This lets you press the filler properly into the blemish.
- Fine-grit sandpaper: Something around 120-grit is perfect for getting that perfectly smooth finish.
Press the filler firmly into any cracks or holes. It's a good idea to leave it sitting slightly proud of the surface, as it will shrink a bit as it dries. Once it’s completely hardened, sand it back until it’s perfectly flush with the wall. If you've uncovered larger areas of damage, you might need to look at repairing or replacing sections of plasterboard to ensure you have a sound surface to work on.
A Nod to Wallpapering History
If you found yourself battling through multiple layers of stubborn paper, you’re not alone. It’s a common challenge in older British homes, really a legacy of wallpaper's long and popular history here in the UK. Production absolutely boomed between 1900 and 1939, with output doubling from 50 to 100 million rolls a year. That means many properties have seen more than a few decorative schemes over the decades.
Taking the time to properly fill and sand every little imperfection is what separates an amateur finish from a professional one. Your final coat of paint or new wallpaper will only ever look as good as the surface underneath it.
Once your walls are spotless, smooth, and ready for their next chapter, you’re on the home straight. If this project is part of a wider home refresh or you're preparing for a move, a more comprehensive guide can be a lifesaver. For a complete rundown on getting every corner of your home immaculate, it's worth checking out an ultimate end of tenancy cleaning checklist.
Now, just give the walls a final wipe with a damp cloth to remove any sanding dust, and you’re finally ready for a fresh start.
Common Questions About Stripping Wallpaper
Even the best-laid plans can hit a snag, and stripping wallpaper is no exception. It’s one of those jobs where you’re bound to have a few questions pop up along the way. Knowing how to handle these common issues is what keeps a project moving smoothly. Here are the answers to the queries we hear most often from people getting stuck in.
Before you even think about soaking or scraping, it's worth figuring out what you’re up against. The best way to strip wallpaper always starts with a quick diagnosis of the paper itself.
How Can I Tell What Type of Wallpaper I Have?
The easiest way to identify your wallpaper is with a simple peel test. Find a hidden corner—maybe behind the sofa or a door—and try to lift the edge with your fingernail or a putty knife.
- Strippable Wallpaper: If the paper comes away from the wall in one big, satisfying sheet without tearing, you’ve hit the jackpot! This is strippable vinyl.
- Peelable Wallpaper: Sometimes, the decorative top layer peels off but leaves a thin paper backing stuck to the wall. This is peelable paper, and that backing will need to be soaked and scraped off separately.
- Standard Paper: If it refuses to peel and a drop of water from a sponge soaks right in, you’re likely dealing with a standard, porous wallpaper.
- Water-Resistant Paper: Does a drop of water bead up and roll right off the surface? That means you’ve got a washable or vinyl-coated paper. This type absolutely must be scored before you try to soak it, otherwise the water will never get through to the glue.
Can I Just Paint Over Old Wallpaper?
It’s tempting, isn’t it? The ultimate shortcut. But honestly, painting directly over old wallpaper is almost always a bad idea. The moisture from the new paint can soak through and reactivate the old adhesive, causing the paper to bubble up and peel away at the seams. It can be a real mess.
Beyond that, any pattern or texture on the wallpaper, no matter how faint, has a nasty habit of showing through the paint. It just ends up looking cheap and unprofessional. For a proper, long-lasting finish, taking the time to strip the old paper first is always the best bet.
What's the Best Way to Remove Stubborn Wallpaper Adhesive?
So, you've got the paper off, but the walls feel tacky. That sticky residue is the old glue, and if you leave it, it will cause problems for your new paint or wallpaper. It has to go.
The most reliable method is to wash the walls with a bucket of hot water and a good measure of sugar soap. Grab a big sponge and work in manageable sections, giving the walls a gentle scrub to dissolve the paste. If you hit a really stubborn patch, a non-abrasive scouring pad can give you a bit more bite.
Once you’re done, rinse the wall with a second bucket of clean water to get rid of any soapiness, then let it dry completely.
Here's the real test: run your hand over the dry wall. If it feels smooth and clean, with no stickiness at all, you're good to go.
I've Damaged the Plasterboard While Scraping. What Should I Do?
First off, don't panic. This happens to the best of us. Scrapers can easily catch and cause minor nicks, gouges, or tears in the paper facing of the plasterboard. The good news is that it’s a simple fix.
Start by making sure the damaged spot is clean and there’s no loose paper or debris. For small dings and scrapes, a flexible filling knife and a bit of multi-purpose filler is all you need. Apply a thin layer, smoothing it so it sits flush with the rest of the wall. If you’re dealing with a deeper gouge, you might need to apply a second coat after the first one has dried.
Once the filler is rock-hard, sand it down with fine-grit sandpaper until you can’t feel the join between the patch and the wall. Wipe away the dust, and you're ready for priming. For all your repair needs, you can find a great selection of essential fixings and fillers to get the job done right.
At Burnt Oak Builders Merchants, we're committed to providing you with the tools and materials you need for a successful project. Whether you're a seasoned professional or a weekend DIY warrior, find everything you need at https://www.burntoaktimber.com.