Before you can even get your hands dirty with the installation, you have to make the most important decision of the entire project: choosing the right wood for your floor. This goes way beyond just picking a colour that catches your eye. It's about finding the perfect match for your lifestyle, your budget, and the unique conditions of your home.
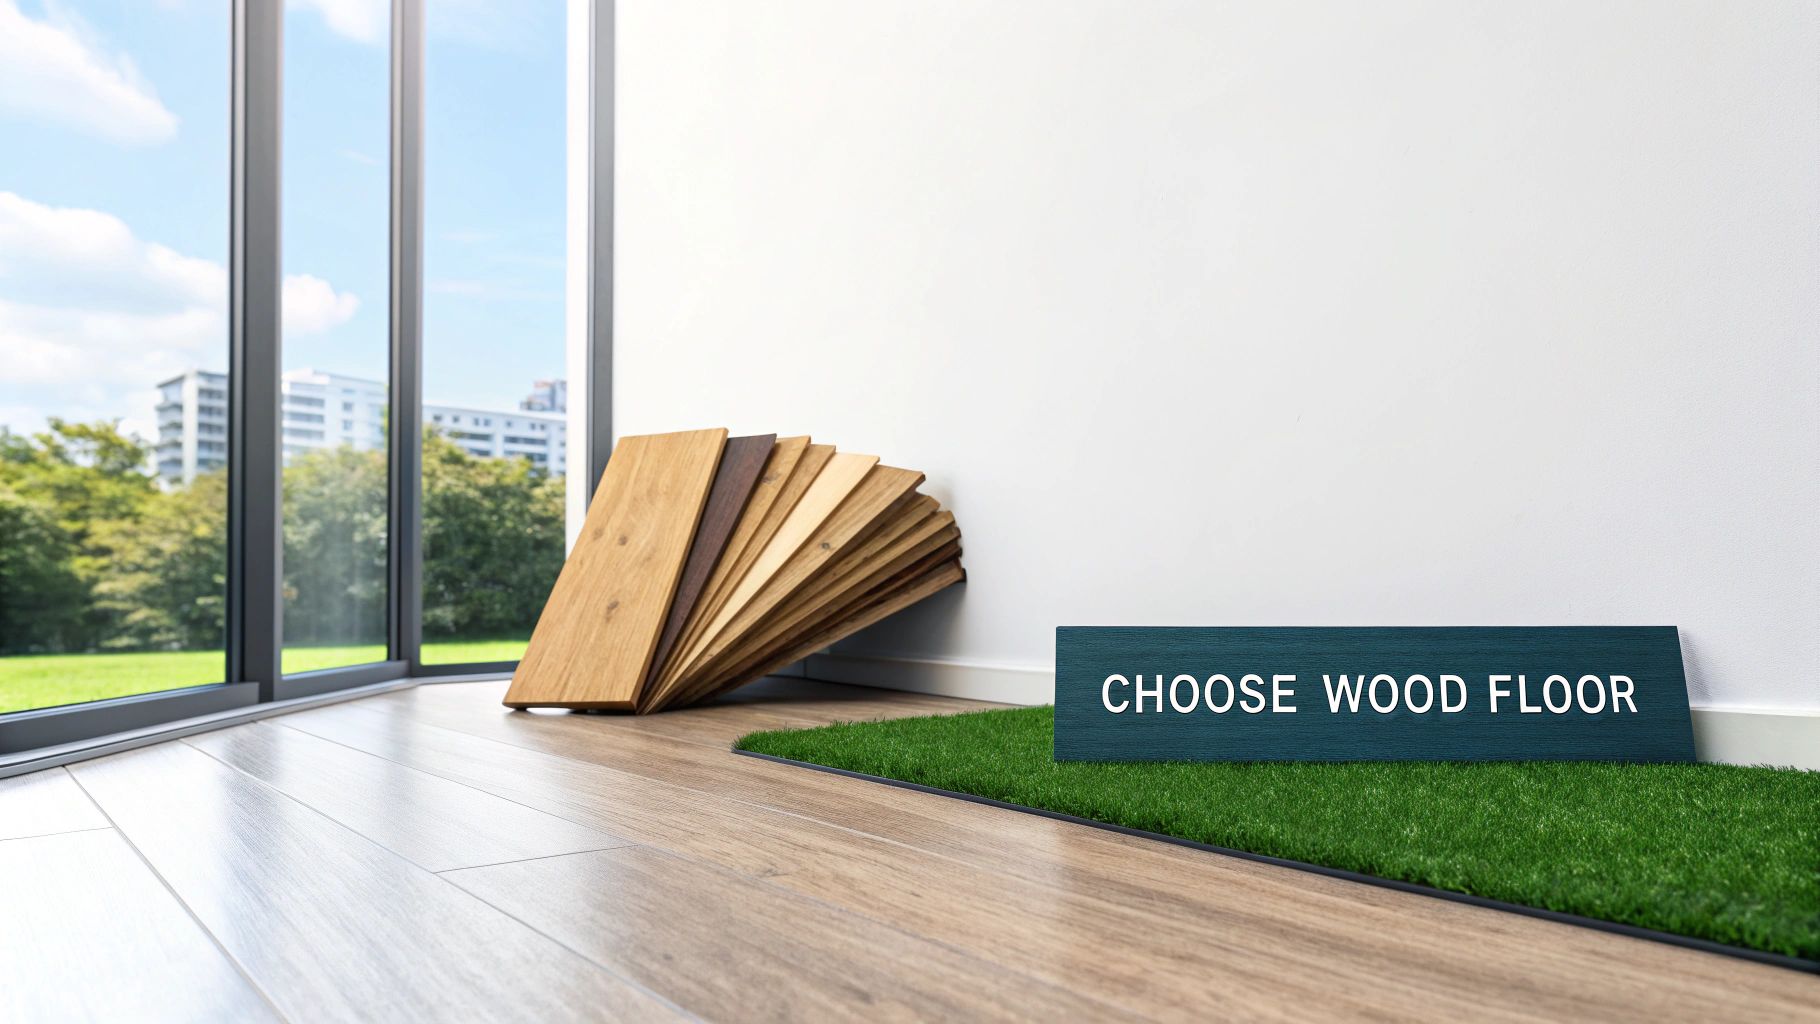
Getting this part right from the outset saves you a world of pain later on. Think warping, unsightly scratches, or discovering your beautiful new floor can't handle the underfloor heating. Let’s break down the main contenders on the market.
Solid vs Engineered vs Reclaimed Wood
Your first big choice is between three main types of wood flooring, each with its own personality and practical considerations.
Solid wood is the classic, traditional choice. Each plank is milled from a single, solid piece of timber. Its biggest selling point is longevity; you can sand and refinish it over and over again, making it a floor for life. The trade-off? It’s sensitive to moisture and humidity changes, so I'd steer clear of it for bathrooms or damp basements.
Engineered wood is a clever bit of construction. It has a top layer of real, solid wood, but this is bonded to a core of multiple plywood layers. This structure makes it far more stable than solid wood. It's my go-to recommendation for kitchens, conservatories, or any room where temperatures might fluctuate. It’s also the undisputed champion for homes with underfloor heating.
Then there's reclaimed wood. This is timber with a past life, sourced from old barns, factories, and warehouses. It brings an instant sense of history and character that you just can't replicate with new materials. It’s also a fantastic eco-friendly choice, and its naturally aged, distressed look is brilliant at hiding the daily knocks and scrapes of a busy home.
To help you weigh the options, here’s a quick comparison of the most common wood flooring types.
Wood Flooring Type Comparison
| Feature | Solid Wood | Engineered Wood | Reclaimed Wood |
|---|---|---|---|
| Durability | High, but can scratch | Very high, stable core | Extremely high, aged wood is tough |
| Refinishing | Can be sanded multiple times | 1-3 times, depending on top layer | Yes, but may lose original patina |
| Best For | Living rooms, bedrooms, hallways | Kitchens, conservatories, UFH | High-traffic areas, unique designs |
| Moisture Resistance | Low - prone to warping | High - very stable | Moderate to High, depending on source |
| Cost | Mid to High | Mid to High | High |
This table should give you a clearer picture, but the final decision really comes down to your specific home environment.
Practical Considerations for Your Home
The conditions inside your home will heavily influence which floor is right for you. Before you commit, take a moment to explore the various different hardwood types for floors to get a feel for their individual strengths.
Here are a few pointers I always give my clients:
- Durability and Traffic: For a busy hallway or a family kitchen, you’ll want a harder wood like oak. It can take a beating. Softer woods like pine look lovely but will show every dent and scratch.
- Underfloor Heating: I can't stress this enough – if you have underfloor heating, engineered wood is almost always the only sensible choice. Its stability is essential to prevent gapping and warping when the heat is on.
- Sustainability: We're seeing a real shift towards sustainability in the UK. If this is important to you, look for timber with FSC certification. This mark is your guarantee that the wood comes from responsibly managed forests.
Choosing a floor isn’t just a purchase; it's an investment in your home. Try to picture it not just on day one, but how it will look and feel after twenty years of family life, muddy boots, and moving furniture around.
Ultimately, the best floor is one that finds that sweet spot between stunning looks and everyday practicality. By thinking through these factors, you can confidently choose from the huge range of beautiful and durable wood flooring options available at https://www.burntoaktimber.com/collections/flooring and find something that will truly transform your space.
Gathering Your Tools and Materials
Before a single plank is laid, the success of your project really hinges on having everything you need right there with you. Trust me, nothing kills your momentum more than having to down tools and dash to the hardware shop mid-job. Getting organised now is the secret to a smooth, stress-free installation. Think of it as your pre-flight checklist.
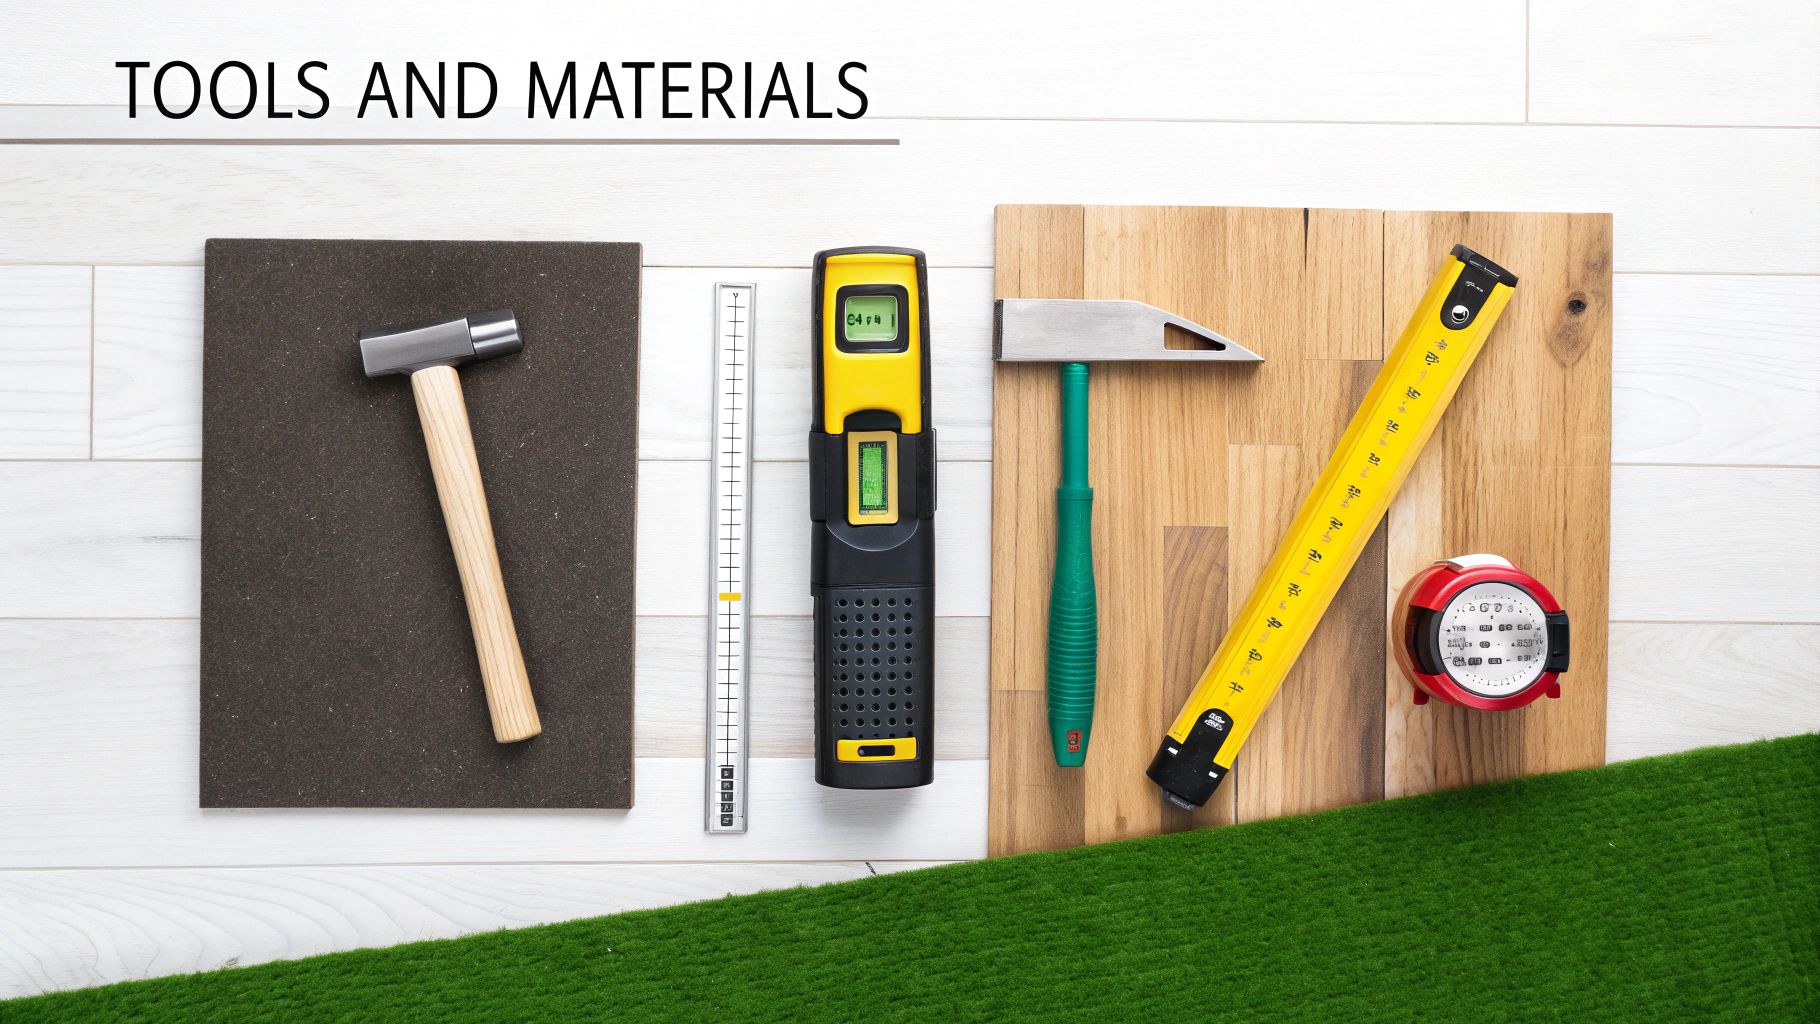
It’s easy to remember the big things like a saw and a tape measure. But from experience, it’s the specialist flooring tools that really separate a DIY job from a professional-looking finish. Getting the right gear on hand isn’t just a recommendation; it's essential for a floor you'll be proud to walk on for years.
Your Essential Tool List
Here’s a rundown of the absolute must-haves, including a couple of items that often get overlooked. For the bigger, pricier kit like a mitre saw, it’s often far more cost-effective to hire one for the weekend instead of buying it outright.
- Measuring & Marking: A reliable tape measure, a combination square for perfect right angles, and a good old-fashioned pencil are the bedrock of accuracy.
- Cutting Tools: A mitre saw will give you surgically clean, straight cuts every time. For those fiddly cuts around radiator pipes or architraves, a jigsaw is your best friend.
- Installation Helpers: This is where the real magic happens. You’ll absolutely need a tapping block to gently knock boards together without damaging them, a pull bar to tighten up that final plank in a row, and a bag of flooring spacers to ensure you maintain that crucial expansion gap.
- Safety First: Don't even start without safety glasses, a dust mask, and some decent kneepads. Your body will thank you later.
- The Pro's Secret Weapon: A moisture meter. Honestly, skipping a moisture check on your subfloor is a gamble you just don't want to take. It's a small step that prevents a world of problems.
If you're looking to build out your general toolkit, this guide on the essential tools for homeowners is a great place to start.
More Than Just Planks
Your shopping list doesn't stop at the flooring. Every component you lay plays a crucial role in how your floor performs and how long it lasts.
I always tell people to think of their flooring system like a sandwich. The beautiful wood planks are the filling, but the underlay and damp-proof membrane are the bread. They hold it all together and protect what's inside. Get those layers wrong, and the whole thing can fail.
Here’s what your materials list should look like:
- Your Chosen Wood Flooring: The golden rule is to always order 10-15% more than the actual square meterage of your room. This covers you for any mis-cuts and general wastage.
- Underlay: This isn't just padding. It provides crucial sound insulation, a bit of cushioning underfoot, and a thermal barrier. Make sure you get the right type for your subfloor, whether it's concrete or timber.
- Damp-Proof Membrane (DPM): If you're laying over a concrete subfloor, a DPM is non-negotiable. It's a simple plastic sheet that stops moisture from seeping up and warping your lovely new wood.
- Finishing Touches: To cover the expansion gap around the edge of the room, you’ll need either scotia trim (if you're keeping your old skirting) or brand-new skirting boards.
- Fixings: This will depend entirely on your installation method. You'll need a quality flooring adhesive for a glue-down job or specialist flooring nails or cleats if you're nailing it down.
Prepping Your Subfloor for a Flawless Finish
I've seen it time and time again: people get so excited about laying their beautiful new wood flooring that they rush the prep work. But let me tell you from experience, the real secret to a quiet, solid, and professional-looking floor lies in what you do before you even open the first box of planks.
This foundational work is what prevents those annoying creaks, bounces, and gaps from showing up later. Getting the subfloor right is genuinely the single most important part of the entire job.
Whether you're starting with concrete or old floorboards, the goals are always the same. Your subfloor needs to be clean, flat, and dry. Get these three things right, and you're well on your way. Ignore them, and you're just asking for trouble down the line. Even a tiny lump of old adhesive can create a hollow-sounding spot underfoot that will drive you mad.
Creating a Perfect Canvas
First things first, get the area spotlessly clean. I don't just mean a quick sweep, either. You need to vacuum thoroughly, getting right into every corner to pull up all the dust and grit. Take a scraper to any old patches of adhesive, plaster droppings, or paint splatters. You want a completely clear surface so your underlay can sit perfectly flush.
Next, you need to check for flatness. Don’t trust your eyes on this one. Grab a long straightedge or a spirit level and lay it across different parts of the floor. You’re hunting for any significant dips or high spots.
As a rule of thumb, you shouldn't have any dips or bumps greater than 3mm over a 2-metre span. It's a small tolerance, but it makes a huge difference.
If you're working with a concrete subfloor that has low spots, a self-levelling compound is your best friend. It’s a pourable mix that fills in the dips and dries to a perfectly smooth, level finish. For a straightforward DIY solution, something like a one-pack self-levelling compound works wonders.
For wooden subfloors, you might need to sand down any high points. If you have any squeaks, now is the time to drive in some extra screws to secure those loose boards for good.
This simple infographic breaks down the essential workflow.
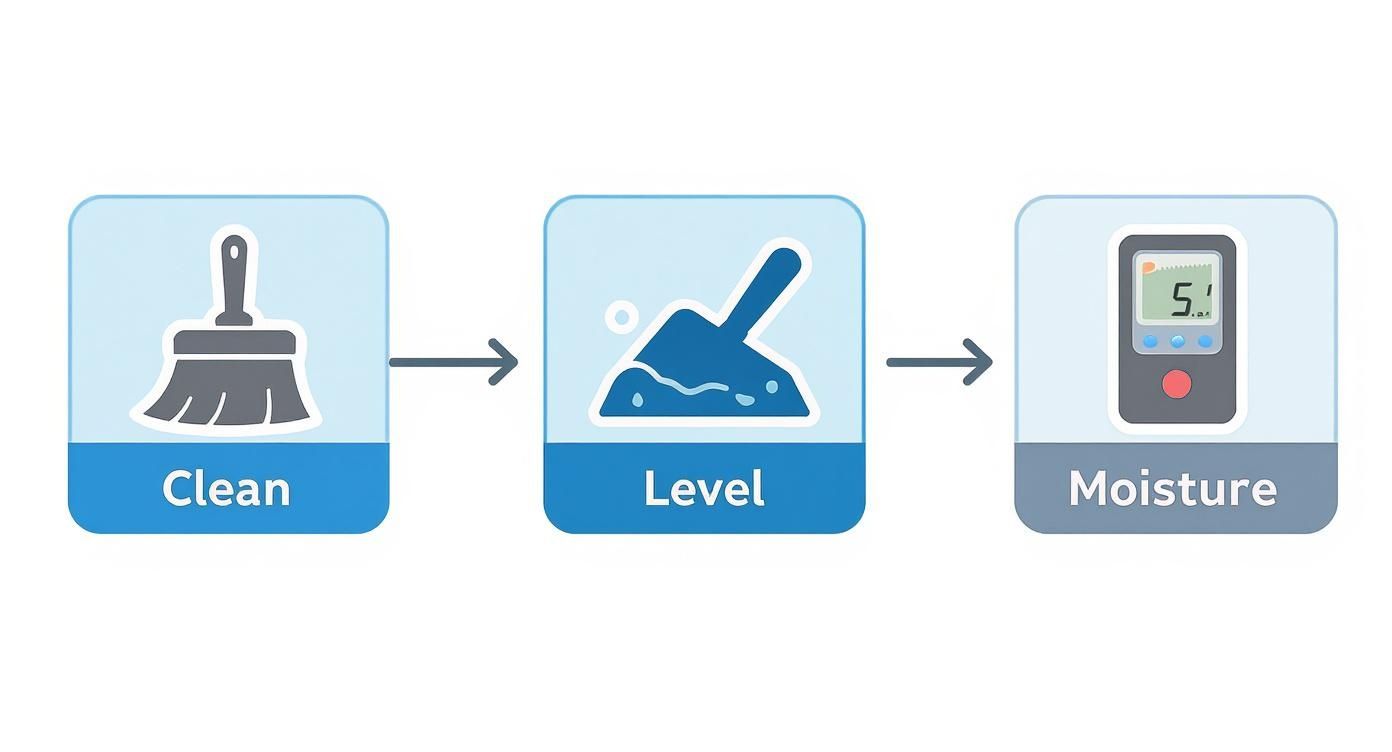
As you can see, it's a logical process: clean, level, and then check for moisture. Each step builds on the last to create that perfect foundation.
The Critical Moisture Check
Now for the one step you absolutely cannot afford to skip, especially with concrete: checking for moisture. Wood is a natural material, and it will expand and contract with changes in humidity. If there's moisture trapped in the subfloor underneath, it's the number one cause of warped, cupped, or buckled floorboards.
You’ll need a moisture meter to get an accurate reading. Here are the numbers you're aiming for:
- Concrete Subfloor: The reading must be below 4% MC (Moisture Content).
- Wooden Subfloor: The reading should be below 12% MC.
- The Difference: Critically, the moisture difference between your wooden subfloor and your new wood flooring shouldn't be more than 4%.
If your concrete floor reads too high, you’ll have to put down a damp-proof membrane (DPM) before the underlay goes on. For a wooden subfloor, a high moisture reading usually points to a bigger issue, like a small leak or poor ventilation under the floor, which you'll need to sort out first.
Take the time to get this right. It’s the difference between a floor you'll love for years and one that causes you headaches.
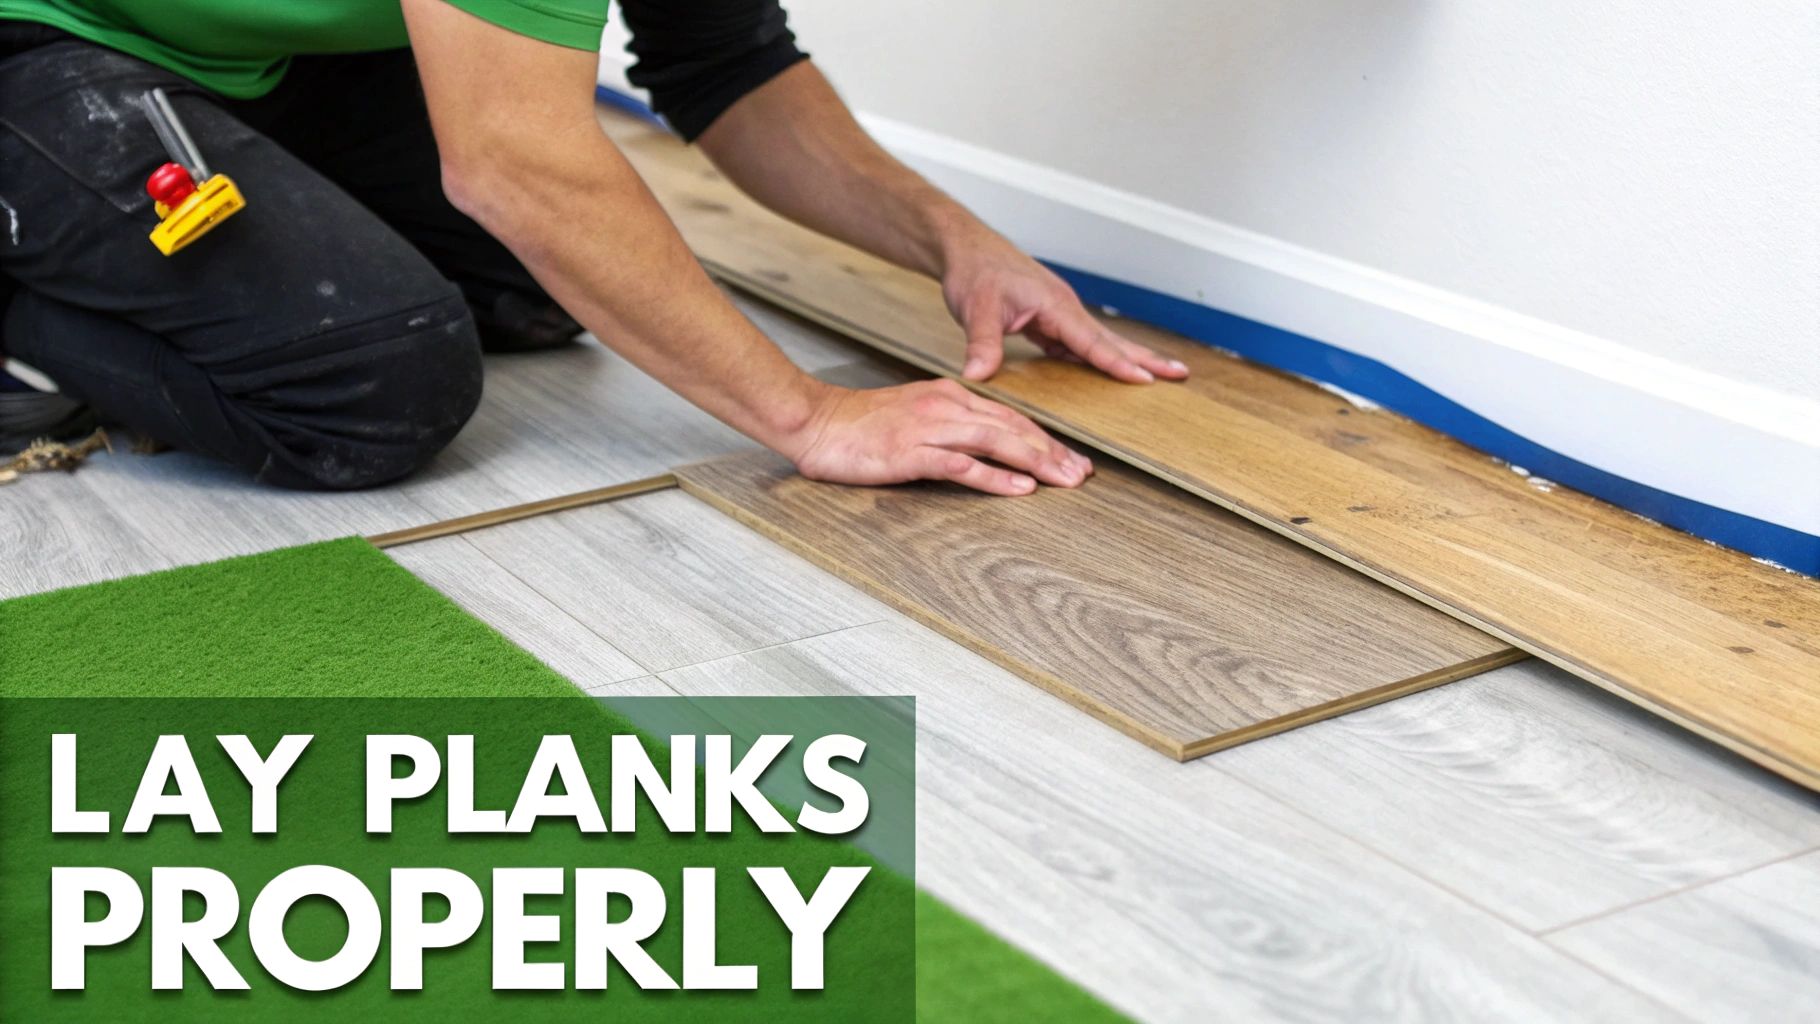
Time to Lay the Planks
This is the moment all that prep work has been for. You're about to see your room completely transform as the new floor goes down. Don't rush this part; laying planks is a methodical process, not a race. Take your time, plan your layout, and you’ll end up with a stunning, professional-looking floor that you can be proud of.
But before a single board touches the floor, there's a non-negotiable step you absolutely cannot skip. It’s the one thing that separates a floor that lasts a lifetime from one that causes headaches within months.
Let the Wood Settle In: The Importance of Acclimatisation
Wood is a natural material. It breathes, expanding and contracting with the temperature and humidity in the air. If you bring your new flooring straight from a chilly warehouse into your warm, centrally heated home, you’re asking for trouble.
This crucial waiting period is called acclimatisation. It's all about letting the moisture content of the wood get used to the conditions in the room. If you skip this, you risk ugly gaps appearing, or worse, the boards cupping or buckling after they’ve been laid.
- What to do: Simply bring the unopened boxes of flooring into the room where they'll be installed.
- How long for: Give them a minimum of 72 hours. If you can spare a full week, even better—that's what I always recommend.
- A pro tip: Lay the boxes flat, but don't stack them more than three high. This lets the air circulate properly around every box.
Honestly, a bit of patience here will save you a world of pain later and ensure your floor stays stable and beautiful for years.
Choosing Your Installation Method
There are three main ways to get a wood floor down, and the right one for you really depends on your type of flooring (solid or engineered) and what kind of subfloor you have (wood or concrete).
-
Floating Floor: This is the go-to for most DIYers and is mainly used for engineered wood. The planks aren't actually fixed to the subfloor. Instead, they click together and sit on top of an underlay. It's clean, it's fast, and it lets the whole floor "float" as one big piece, expanding and contracting naturally with the seasons.
-
Glue-Down Method: With this method, you trowel a special flooring adhesive onto the subfloor and bond each plank down directly. It makes for an incredibly solid and quiet floor underfoot and works brilliantly for both engineered and solid wood, especially over concrete.
-
Nail-Down Method: This is the traditional way to fit solid wood floors over a wooden subfloor. Using a nail gun, you drive nails or cleats through the tongue of each plank at an angle, fixing it securely to the floorboards below.
Your installation method isn't just a matter of preference; it's determined by the materials you've chosen. Always, always check the manufacturer’s guidelines for your specific flooring. The last thing you want to do is void the warranty.
Planning Your Layout for a Flawless Finish
A little forward-thinking here will make a massive difference. Before you permanently fix a single board, do a 'dry run' by laying out a few rows. This simple check helps you spot any potential issues and ensures you don't end up with a ridiculously thin, awkward-looking sliver of a plank for your final row.
A good rule of thumb is to start on the longest, most visible wall in the room—usually the one you see when you walk in. Critically, you must leave a 10-15mm expansion gap between the flooring and every wall. Your flooring spacers are for this exact job. It might look like a big gap, but it's essential for letting the wood move, and it'll be completely hidden by your skirting boards or scotia trim at the end.
The UK's wood flooring market has certainly seen shifts, with trends influenced by the economy and other flooring options. Yet, the timeless appeal of real wood means it’s always in demand. You can learn more about the latest trends in the UK timber market.
Getting those cuts neat around things like door frames and radiator pipes is what elevates the job from 'good' to 'professional'. Remember the golden rule: measure twice, cut once. For door frames, the cleanest finish comes from undercutting the architrave with a handsaw. This lets you slide the plank right underneath, leaving a perfect, seamless join.
Applying the Finishing Touches and Aftercare
You’ve done the heavy lifting, and the main part of laying your wood floor is behind you. Now, it’s all about those final details that really make the difference, turning a good job into a great one. This last stage is where we create that polished, professional look and make sure your new floor is set up to last for years to come.
The first thing to tackle is that all-important expansion gap you left around the edge of the room. It’s a crucial feature, but now it’s time to hide it for a seamless finish.
Hiding the Expansion Gap
You've got a couple of solid options here, and your choice will really depend on whether you decided to remove your old skirting boards or work around them.
- Fitting New Skirting Boards: If you took the old skirting off, this is by far the cleanest approach. Simply fit new skirting boards over the edge of the flooring. Cut them to size, fix them firmly to the wall—never the floor—and then caulk and paint for a perfect, integrated look.
- Using Scotia or Quadrant Trim: Kept your existing skirting boards in place? No problem. A small, decorative moulding, like a scotia or quadrant trim, is the perfect solution. It sits snugly in the corner between the floor and the skirting, hiding the gap beautifully.
Don't forget the doorways. You’ll need to fit transition strips or threshold bars to create a smooth, safe join between your new wood floor and whatever flooring is in the next room, be it carpet, tiles, or even another type of wood.
Long-Term Care and Maintenance
Getting the trim on doesn't quite mean you're finished. Protecting your investment is the real final step, and a simple, consistent care routine will keep your floor looking fantastic for decades. The right care is what stops premature wear and tear in its tracks.
Once your floor is down, proper care is everything. For some great pointers, it’s well worth reading up on maintaining your beautiful new hardwood floors. A little bit of regular attention really does go a long way in preserving the natural beauty of the timber.
If there's one mistake I see people make over and over, it's using the wrong cleaning products. Please, avoid steam mops, buckets of water, and any harsh cleaners with ammonia or abrasives. They can strip the protective finish right off your floor, leaving it dull and open to damage.
A simple maintenance plan is all it takes:
- Sweep or vacuum regularly. Use a soft brush attachment to get rid of the dust and grit that can act like sandpaper underfoot.
- Wipe up spills immediately. Use a dry or just slightly damp cloth. You want to stop any moisture from getting a chance to seep into the wood.
- Use felt protector pads. Stick these on the feet of all your furniture. They’re a cheap and easy way to prevent scratches when things get moved around.
- Clean with the right stuff. A pH-neutral wood floor cleaner, sprayed very lightly onto a microfibre mop, is your best friend. Never spray it directly onto the floor.
Looking after your new floor is a genuinely satisfying final part of the project. By following these straightforward aftercare steps, you’re making sure your hard work remains a standout feature of your home for many years to come.
Common Questions on Laying Wood Floors
Even with the best guide in hand, laying a new wood floor for the first time can leave you with a few nagging questions. I've been in the trade for years and have heard pretty much every query imaginable, so I've put together answers to the ones that pop up most often. Think of this as that extra bit of expert advice to help you get the job done right.
Can I Lay Wood Flooring Over My Existing Floor?
This is a big one, and the honest answer is, "it depends". You can sometimes get away with laying engineered wood (as a floating floor) directly over tiles or old vinyl, but only if that existing floor is rock-solid, completely level, and in great shape.
But here’s a hard and fast rule: never lay a new wood floor on top of an old wood floor or, even worse, over carpet. Carpet and its underlay are far too soft, creating movement that will ruin your new floor. Laying wood on wood is also a bad idea; it can lead to all sorts of problems with height, stability, and expansion. Your best bet is always to take it back to the subfloor and prepare it properly.
What Direction Should I Lay the Planks?
The classic approach, and the one that usually looks best, is to lay the planks parallel to the longest wall. This has a great visual effect, making most rooms feel bigger and more spacious.
Another popular trick is to run the planks in the same direction as the main light source, like a large window. When the light streams down the length of the boards rather than across them, it cleverly hides the seams and gives you a much smoother, more uniform look.
Here's a tip from experience: If you're laying new boards over an old timber subfloor, always run your new planks at a 90-degree angle to the old ones. This adds a ton of structural strength and stops the new floor from dipping into the gaps between the joists or old floorboards below.
How Do I Deal with Tricky Cuts Around Radiator Pipes?
Ah, the dreaded radiator pipes. This is where a little patience really makes a difference. For a truly clean finish, you'll want to use a flat wood bit or a hole saw.
Here’s the process I always follow:
- First, measure with precision and mark the exact centre of the pipes on your plank.
- Drill holes that are slightly larger than the pipe's diameter. This is crucial for giving the wood room to expand and contract with temperature changes.
- Next, make two straight cuts from the edge of the plank out to the sides of the hole, creating a small removable section.
- You can then fit the main part of the plank around the pipes and neatly glue the little off-cut piece back in place behind them.
This method looks infinitely better than just hacking out a square. To finish it off perfectly, grab a pair of pipe surrounds (sometimes called collars or rosettes). They cover any small gaps and give your project that professional touch that shows you know how to lay a wood floor properly.
For all the tools, materials, and expert advice you need to get your project started, Burnt Oak Builders Merchants has you covered. Explore our extensive range of flooring and building supplies at https://www.burntoaktimber.com.