
Before you even think about digging a trench or wiring a plug, the success of your outdoor lighting project hinges on four key stages: mapping out your layout, getting the right kit together, running your cables safely, and finally, mounting the lights themselves. Honestly, if you rush the planning, you’re just making expensive and frustrating work for yourself down the line. A good plan is the difference between a garden that glows and one that just… has some lights in it.
Designing Your Ideal Garden Lighting Scheme
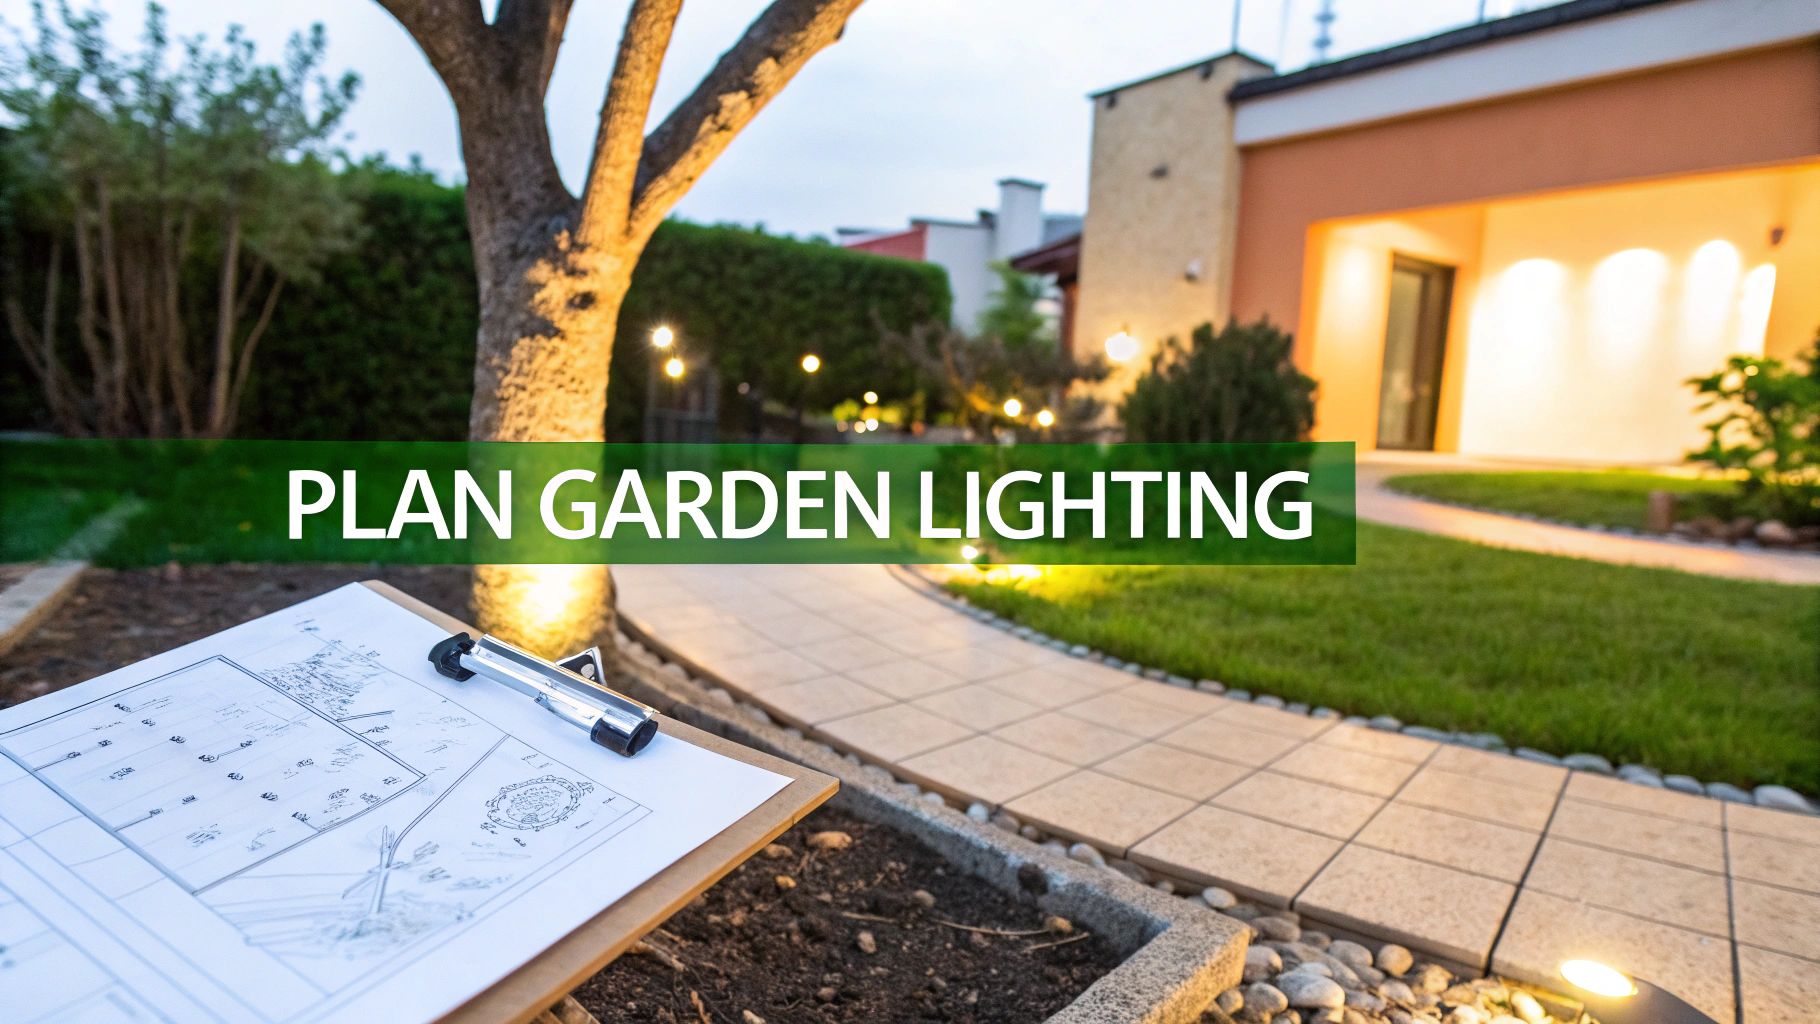
A stunning outdoor lighting setup doesn't happen by accident. It starts with a clear idea of what you want to achieve, long before you pick up a spade. This is where you turn a vague concept into a workable design that not only looks brilliant but also functions exactly how you need it to. Skip this, and you risk random bright spots, unnecessary digging, and a finish that just feels a bit 'off'.
Defining the Purpose of Your Lights
First things first, what job do you want these lights to do? Different parts of your garden have different needs. Are you after a soft, ambient glow on the patio for late-night chats, or do you need bright, practical light over the barbecue? Maybe you want to create a bit of drama by uplighting a beautiful old tree.
It helps to think about the different roles your lights will play:
- Safety and Security: This is the practical stuff. Lighting up paths, steps, and doorways to stop people from tripping and to put off uninvited guests.
- Ambience and Atmosphere: Creating that perfect mood for a glass of wine on a summer evening or just making the garden a relaxing place to be.
- Accent and Feature Lighting: This is the fun part—drawing attention to your favourite plants, a cool statue, or a trickling water feature to give your garden depth and character.
Once you’ve got a handle on these goals, grab a pen and paper and sketch a rough plan of your garden. Mark on the key things you want to light up, pinpoint where your power source is, and start thinking about where the cables could run. A bit of foresight here saves a lot of digging later and helps you figure out exactly how much cable you'll need to buy.
A well-designed lighting scheme doesn't just illuminate; it transforms. By layering different types of light—ambient, task, and accent—you can add depth, drama, and functionality to your outdoor space, effectively creating an extra 'room' for your home.
This planning phase is also the perfect time to choose your system. Are you going for a simple low-voltage (12V) system, which is much safer and easier for a DIY job, or a more powerful mains-voltage (230V) setup? The latter almost always requires a certified electrician, so factor that into your budget.
UK regulations are a big factor here, too. With the government’s ban on halogen bulbs and the steady phase-out of fluorescents, the whole market has shifted decisively towards energy-efficient LEDs. It’s no surprise that LEDs now account for over 65% of bulb sales, and that figure is expected to climb to nearly 85% by 2030. You can discover more insights about the UK outdoor lighting market and see how this trend is shaping installation best practices. It means that planning for low running costs and sustainability isn't just a nice-to-have anymore; it's essential.
Choosing the Right Outdoor Light for Your Garden
With your plan taking shape, you can start picking out the actual light fittings. Different lights do different jobs, so it’s important to match the hardware to your goals. A powerful floodlight is great for security, but it'll ruin the mood on your patio.
Here’s a quick look at common outdoor light fixtures and where they work best in a typical UK garden.
| Light Type | Primary Use | Best Placed | Common Voltage |
|---|---|---|---|
| Spike Lights | Highlighting plants, shrubs, and small trees | In flowerbeds or borders, angled upwards | 12V / 230V |
| Bollard Lights | Marking paths, driveways, and boundaries | Spaced along edges of paths or decking | 12V / 230V |
| Step Lights | Safety and subtle accent on stairways | Recessed into the risers or walls of steps | 12V |
| Wall Lights | General ambient light and security | On walls near doors, patios, or seating areas | 230V |
| Deck Lights | Creating atmosphere and marking edges | Recessed into decking boards or posts | 12V |
| Floodlights | Security and illuminating large areas | High up on a wall or pole, overlooking a garden or drive | 230V |
Getting this right is all about layering. You might use bollards for the path, a few spike lights to show off your prize-winning roses, and some subtle wall lights to provide a gentle background glow.
Assembling Your Tools and Materials
Walking into a project with the right kit makes all the difference. It’s the classic tradesman's motto: having everything you need laid out before you start not only speeds things up but keeps the job safe and professional. This is what separates a smooth weekend project from a nightmare of endless trips back to the builders' merchant.
For a solid outdoor lighting job, you can split your gear into three main piles: the electrical essentials, your standard hand tools, and the garden-specific kit. Each plays a critical role in getting the installation right, from the first spade in the ground to the final flick of the switch.
Your Electrical Toolkit Essentials
This is your non-negotiable list for any wiring work. When you're dealing with electrics, safety is everything, and these tools are designed to protect you and make sure your connections are solid.
- Multimeter: Absolutely vital. Use it to confirm a circuit is dead before you touch anything, and later to check for continuity in your new cable runs.
- Wire Strippers/Cutters: A decent pair makes all the difference, giving you a clean cut and stripping insulation perfectly without nicking the copper conductor inside.
- Insulated Screwdrivers: An absolute must-have. These are your first line of defence against accidental shocks.
Hand and Garden Tools
Beyond the specialised electrical gear, you’ll need a few workshop staples. If you're building up your collection, our guide to the essential tools for homeowners is a great place to start. For this job, you'll definitely want pliers for gripping and twisting wires, plus a decent drill with a good set of bits for mounting fixtures onto brickwork or timber posts.
When you get out into the garden, a trenching spade will be your best friend. Its narrow blade is designed for digging neat, tidy channels for your cables with minimal disruption to the lawn or flowerbeds. A spirit level is also key – nothing looks worse than a wonky wall light or a leaning bollard.
Choosing the right materials is just as important as having the right tools. A fixture with a low IP rating might be cheaper, but it’s a false economy when it fails after the first wet British winter. Always invest in weather-resistant quality.
Finally, think about the specifics of your system. For a mains-voltage (230V) setup, you'll need steel-wired armoured (SWA) cable and the correct glands to terminate it safely into fixtures and junction boxes. If you're going for a low-voltage (12V) system, you'll need an appropriately rated transformer and dedicated outdoor low-voltage cable.
No matter the voltage, every single outdoor connection has to be completely waterproof. That means using either gel-filled waterproof connectors or proper IP-rated junction boxes. When choosing your light fittings, look for an IP rating of at least IP44 for sheltered locations, and bump that up to IP65 or higher for anything that will be exposed to driving rain or ground moisture.
Laying Cables and Connecting Your System
With your design finalised and your tools at the ready, it’s time to bring your outdoor lighting scheme to life. This is where the plan meets the reality of your garden. It's all about careful trenching and secure wiring to build a system that’s not just effective, but safe and built to last.
The Groundwork: Trenching and Cable Runs
Properly burying your cables isn't just about aesthetics; it’s a critical safety measure. For any mains-voltage system in the UK, you absolutely must dig a trench to a depth of at least 450mm. This simple step keeps the cable well clear of garden forks or spades, preventing a potentially lethal accident down the line.
The go-to choice for this job is steel-wired armoured (SWA) cable. Its metallic sheath provides serious protection against accidental damage. When you lay it, bed the cable on a layer of soft sand at the bottom of the trench, then cover it with more sand before backfilling with soil. A smart move is to lay warning tape about halfway up the trench as you fill it in – a clear signal to anyone digging there in the future.
This infographic breaks down the essential tool categories you'll be working with during this phase.
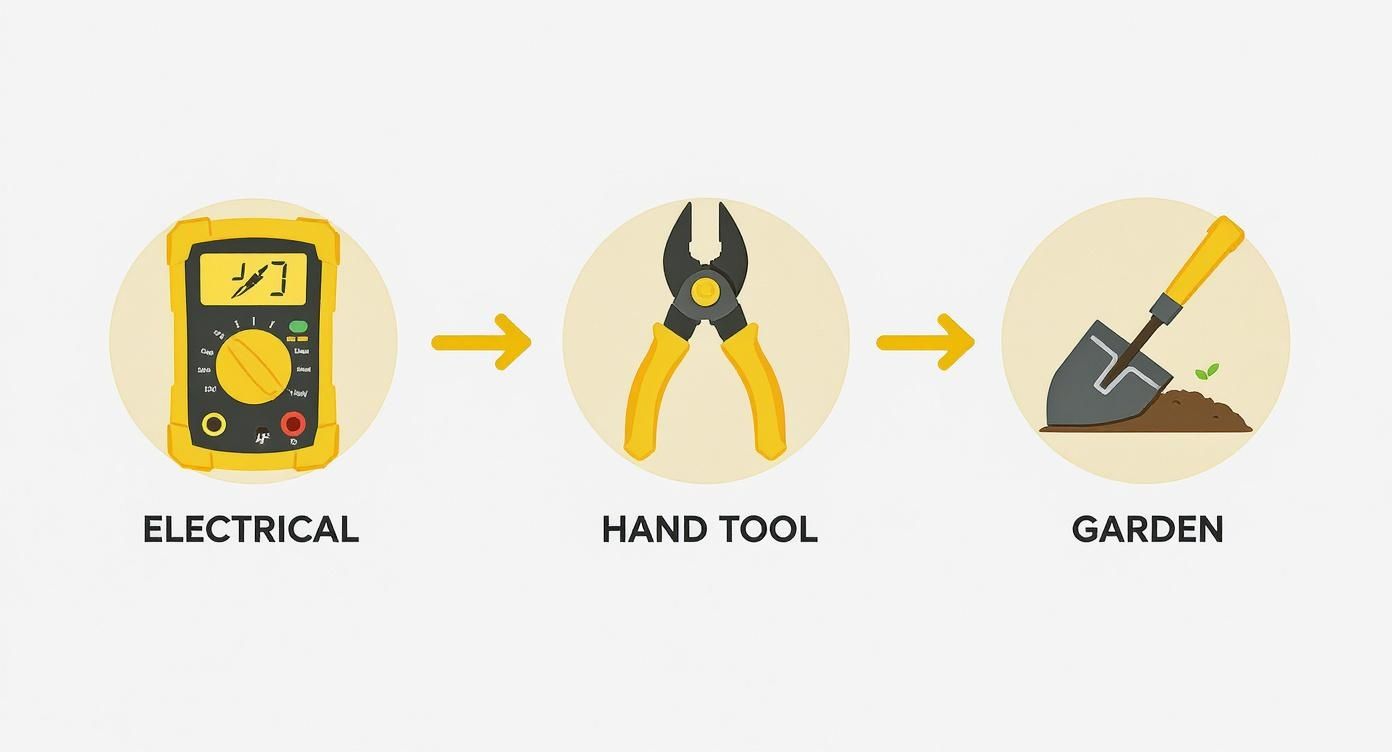
As you can see, a successful installation relies on a mix of specialised electrical gear, general hand tools, and basic gardening equipment.
A Quick Guide to UK Cable Burial Depths
To keep everything clear, here's a quick summary of the minimum depths required for burying outdoor electrical cables according to UK safety standards.
| Location | Minimum Depth for SWA Cable | Why It Matters |
|---|---|---|
| Under a lawn or garden | 450mm | Keeps cables safe from routine gardening activities like digging or aerating. |
| Under a path or patio | 450mm | Provides protection from surface disturbance and light vehicle traffic. |
| Under a driveway | 600mm | Ensures the cable is deep enough to withstand the weight of vehicles. |
Sticking to these depths is non-negotiable for a safe, compliant installation that will stand the test of time.
Low-Voltage vs. High-Voltage Wiring
Low-voltage systems offer a bit more flexibility. Because the power is stepped down by a transformer, the risk is significantly lower. While the cables don't legally require such deep burial, it's still good practice to run them at least 100mm below the surface. This will protect them from stray lawnmower blades and general garden work.
You can find high-quality wiring suitable for these projects, such as the twin and earth cable options available from specialist suppliers.
Creating Watertight Connections
Every single connection you make outdoors has to be completely waterproof. The British weather is unforgiving, and even a tiny amount of moisture can cause short circuits, trip your RCD, and ultimately lead to system failure. Your two best options for a weatherproof seal are IP-rated junction boxes and gel-filled connectors.
A common DIY mistake is underestimating moisture. Using indoor-rated connectors or just wrapping joins in electrical tape is a recipe for disaster. Invest in proper IP67 or IP68 rated connectors; they are the single most important factor in the longevity of your outdoor lighting system.
Gel-filled connectors are fantastic for low-voltage systems. You simply push the stripped wire ends in, and the pre-filled silicone gel creates a perfect waterproof seal. For mains-voltage SWA cables, you'll need a proper IP-rated junction box fitted with the correct glands to create a secure, watertight termination.
This focus on durable, integrated systems is seen right across the UK. The outdoor LED lighting market has grown to approximately £1.5 billion, with factory-sealed fixtures (luminaires) making up a massive 72.5% of the market share. This clearly shows a preference for robust, all-in-one units built to withstand the elements.
One last tip from experience: always leave a little bit of slack in your cable runs near the fixtures. This "service loop" gives you extra cable to play with if you ever need to move a light or make repairs in the future.
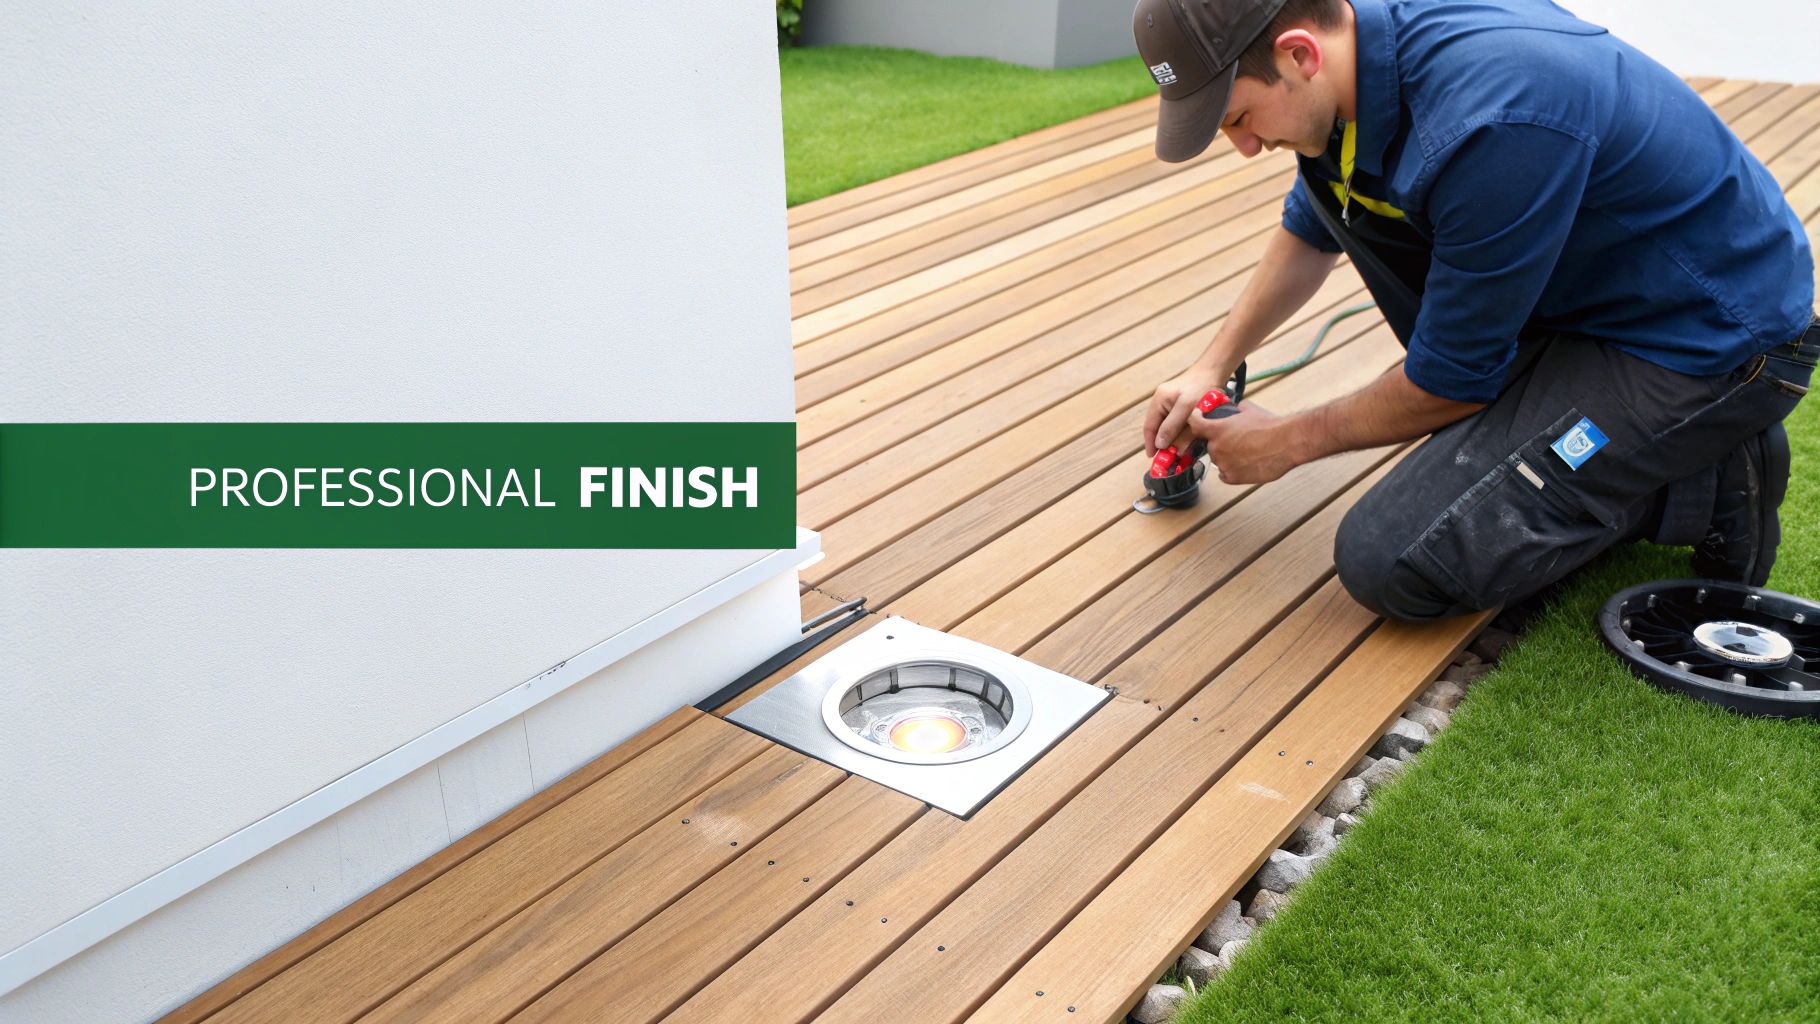
Mounting Fixtures for a Professional Finish
With the wiring backbone in place, you’ve reached the most rewarding part of the job: getting the lights installed. This is where your design starts to take shape, turning all that groundwork with cables and trenches into a beautiful and functional lighting scheme. Mounting the fixtures properly is key—it ensures they're secure, effective, and ready to stand up to the British weather.
The technique really depends on the type of light you're fitting. Each one needs a slightly different approach to get a stable, professional-looking result, which is crucial for both aesthetics and long-term durability.
Securing Different Light Fixtures
Mounting isn’t a one-size-fits-all task. You wouldn't install a recessed deck light the same way you'd put in a spike light, so let's break it down.
- Path Lights: For stake-mounted lights, it’s all about stability. Push the stake firmly into the soil until it feels solid. If you find the ground is too soft or loose, a handy trick is to create a small concrete footing for the stake. It’s a bit of extra work, but it guarantees your lights will stay perfectly vertical and won't start leaning over time.
- Spotlights and Floodlights: These are your workhorses for creating dramatic uplighting on walls, fences, or trees. Always use weather-resistant screws and the right wall plugs for the material you’re drilling into. For some serious illumination, a good quality, adjustable LED floodlight lets you aim the beam with precision, right where you need it most.
- Deck and Step Lights: The goal here is a clean, flush finish that looks like it was designed from the start. This means cutting carefully into your decking or stair risers. Use a hole saw that’s the exact diameter of the fixture—it makes all the difference in getting that snug, professional fit.
Final Connections and Aiming
Just before you secure each fixture, you’ll be making the final electrical connection. This is your last chance to get every join completely waterproof. I always use silicone-filled wire nuts or other IP-rated connectors. Twist them on until they’re snug, then give each wire a gentle tug to be certain the connection is solid.
That final adjustment is just as important as the installation. Make a point to go out after dusk and aim each light properly. A spotlight angled just a few degrees off can be the difference between a beautifully lit tree and a blinding glare for your neighbours.
With the lights connected and mounted, the last job is to aim them. You want to highlight your garden's best features without creating harsh bright spots or unwanted light spill. For uplights, try angling them to graze a textured wall or catch the underside of leaves. For path lights, make sure they cast an even pool of light on the ground without shining up into people's eyes.
Once all the fixtures are in place and aimed to your satisfaction, you can finally backfill the trenches. That completes the physical installation, and now you’re ready for the final testing phase to bring your garden lighting design to life.
Navigating UK Electrical Safety Regulations
Let's be clear: working with outdoor electricity in the UK is serious business. With our famously unpredictable weather, getting this stage wrong isn't an option. A botched job can lead to life-threatening hazards, void your home insurance, and even land you in legal trouble. Before you even think about connecting a wire, you need a solid grasp of the rules.
https://www.youtube.com/embed/E2h2EzraK5k
The big one you need to know about is Part P of the Building Regulations. This is the key piece of legislation for England and Wales that covers electrical safety in and around the home. While plugging in some low-voltage garden lights is one thing, anything that taps into your mains supply demands a much higher level of skill and, more often than not, a professional.
Knowing When to Call a Pro
Part P draws a firm line between minor jobs you can do yourself and 'notifiable' work that has to be signed off by your local building control authority. Here’s the crucial bit: installing a mains-voltage outdoor lighting system, particularly if it means running a brand new circuit from your consumer unit (what we used to call the fuse box), is almost always going to be notifiable.
In practice, this means the law requires the work to be done and certified by a competent person—a registered electrician. They have the authority to self-certify their work, issue the proper electrical installation certificate, and make sure everything is safe, compliant, and properly documented.
I see it all the time—homeowners trying to save a few quid by tackling mains voltage wiring themselves. But for new circuits, a professional installation isn't just a "nice-to-have"; it's a legal requirement. The potential consequences of getting it wrong are so severe that the cost of a qualified electrician is a small price to pay for safety and peace of mind.
The demand for outdoor lighting is booming, driven by everything from new housing developments to smart city initiatives. We've seen a 22% increase in outdoor lighting installations in urban areas recently, and a typical professional job can cost anywhere from £500 to £2,500. With 85% of local councils now pushing for energy-efficient setups, a good electrician is your best bet for getting a modern, compliant system. If you're interested in the bigger picture, you can learn more about trends in the outdoor lighting market to see where things are headed.
The Non-Negotiables: RCDs and Earthing
When it comes to any outdoor mains-voltage circuit, two safety features are absolutely non-negotiable: a Residual Current Device (RCD) and correct earthing.
Think of an RCD as a life-saving device. Its job is to protect you and your family from a fatal electric shock. It works by constantly watching the flow of electricity in a circuit. If it spots a tiny imbalance—like the current finding a shortcut to the ground through a person—it trips the power in a fraction of a second. Every single circuit that feeds outdoor sockets or lighting must be protected by a 30mA RCD. No exceptions.
Proper earthing is just as vital, especially for any light fittings or junction boxes with metal casings. The earth wire is your fail-safe. If a fault occurs, it provides a safe route for the electrical current to flow to the ground, preventing the metal housing from becoming dangerously live. You must always ensure the earth conductor is connected securely at every single connection point, exactly as the manufacturer's instructions specify.
Common Questions About Outdoor Lighting
Even with the best-laid plans, a few questions are bound to pop up when you're in the middle of an outdoor lighting project. It happens to everyone. To help you tackle the job with confidence, I’ve pulled together some answers to the queries we hear most often from builders and keen DIYers alike.
Do I Really Need an Electrician to Install My Outdoor Lights?
This is the big one, and the answer comes down to one thing: voltage.
If you’re working with a simple low-voltage (12V) 'plug-and-play' kit, you’re generally fine to install it yourself. These systems are designed to be safe for DIYers. However, the moment you step up to mains-voltage (230V) lighting, the game changes. If the job involves running a new circuit from your consumer unit, you are legally required to use a qualified electrician under Part P of the Building Regulations. It's not optional.
My advice? If you have even the slightest doubt, call a professional. Your family's safety is worth far more than saving a few quid, and a certified sparky guarantees the job is done right and signed off properly.
Low-Voltage vs. Mains-Voltage: What's the Real Difference?
The main distinction here is between power and safety. Mains-voltage (230V) lights are powerful beasts, wired directly into your home's main supply. They're great for things like security floodlights but come with strict rules. You'll need to use steel-wired armoured (SWA) cable buried at a regulation depth, and as I just mentioned, the installation is a job for a professional.
Low-voltage (12V) systems, on the other hand, are much more forgiving. They use a transformer to drop the power down to a much safer level, which is why they’re perfect for DIY jobs. The cables are safer to handle and don't need to be buried as deep, making them the go-to choice for most garden lighting projects—think lighting up pathways, flowerbeds, or decking.
How Can I Make Sure My Outdoor Connections Are Waterproof?
In our lovely damp British climate, this is absolutely non-negotiable for both safety and the lifespan of your system. You need to use proper IP-rated enclosures—I'd recommend a minimum of IP67—or specialist waterproof connectors made for being buried.
These are usually gel-filled or have heavy-duty rubber seals that create a watertight barrier. Whatever you do, don't even think about using indoor junction boxes or wrapping connections in electrical tape. It’s a recipe for disaster. They will fail, and when they do, you've created a serious electrical hazard. Always stick to the manufacturer's instructions for any connectors you're using.
What Do the IP Ratings on Outdoor Lights Actually Mean?
The IP (Ingress Protection) rating is just a simple, two-digit code that tells you how well a light is sealed against dust and water. It's a quick way to gauge how tough it is.
- For a light tucked away in a sheltered spot, like under the eaves of your house, an IP44 rating is usually sufficient.
- For fixtures out in the open, in-ground lights, or anywhere that might get hit with a jet wash, you'll want to look for at least IP65 (dust-tight and protected from water jets) or even IP67 (which means it can handle being submerged for a short time).
Think of it this way: a higher IP rating means better defence against our famously unpredictable weather, ensuring your lights keep shining for years to come.
For all your project needs, from high-quality SWA cables and IP-rated junction boxes to the perfect LED fixtures, Burnt Oak Builders Merchants has you covered. Explore our extensive range of electrical supplies and get everything you need for a safe and professional installation at https://www.burntoaktimber.com.