Before you even think about rolling up your sleeves, the first real job is picking the right insulation for your home. This single decision will shape your budget, the difficulty of the task ahead, and ultimately, how warm you'll be. Getting it right is crucial for getting the best performance for your money.
Choosing the Right Loft Insulation for Your Home
Let's break down the main contenders you'll find on the market. For most people doing it themselves, the go-to is blanket insulation, which you'll buy in big, easy-to-handle rolls.
The vast majority of DIY projects use this stuff, usually made from mineral wool, glass fibre, or even more sustainable options like sheep's wool. It's affordable, you can find it everywhere, and it's straightforward enough for a competent DIYer to install. Feel free to browse a wide range of loft insulation options here to see what's out there.
The Most Common Insulation Types
If you’ve got a standard loft with joists at regular intervals, mineral wool rolls are almost certainly your best bet. They strike that perfect balance between solid thermal performance and a price that won’t make your eyes water.
What if your loft is a bit awkward? Maybe it has funky angles or is littered with pipes and cables. In that case, loose-fill insulation could be the answer. Made from materials like cork or recycled newspaper, it can be blown into every last nook and cranny. The catch is you often need specialist gear to do it properly.
Then there's the option for lofts you plan to use more seriously—perhaps for storage or even a full conversion. Rigid foam boards (often called PIR boards) are fantastic. They pack a much bigger insulating punch for their thickness but they do cost more and demand a bit more precision when you’re cutting and fitting them.
To make this a bit clearer, here's a quick comparison of the most common materials you'll come across.
Comparing Loft Insulation Materials
This table breaks down the common loft insulation types to help you choose the best option for your home's needs and your DIY skill level.
| Material Type | Best For | Average Cost (per m²) | DIY Friendliness |
|---|---|---|---|
| Mineral Wool Rolls | Standard lofts, budget-conscious DIY projects | £5 - £10 | High |
| Sheep's Wool Rolls | Eco-friendly builds, moisture regulation | £15 - £25 | High |
| Loose-Fill | Awkward spaces with many obstructions | £8 - £15 | Low (needs pro) |
| Rigid Foam Boards | Loft conversions, flooring, high thermal performance | £20 - £40+ | Medium |
Ultimately, the best choice is the one that fits your loft's unique quirks, your budget, and how confident you feel tackling the job yourself.
A Quick Tip from Experience: Every insulation product has an 'R-value', which tells you how well it resists heat flow. It's simple: the higher the R-value, the better the insulation. Always compare R-values, not just thickness, when you're looking at different products.
Why 270mm is the Magic Number
It's not just about the type of material; the depth you install it to is absolutely critical. Current government guidelines call for a depth of 270mm for blanket-style insulation like mineral wool.
There's a good reason for this specific number. Proper loft insulation is one of the single most effective energy-saving upgrades you can make to your house. We're talking about preventing up to 26% of your home's heat from simply vanishing through the roof.
Despite this, millions of homes across Great Britain are still under-insulated—anything less than 125mm is considered pretty poor by modern standards. If you want to make a real, noticeable dent in your heating bills, hitting that 270mm target isn't just a suggestion; it's the goal.
Getting Your Loft Ready for a Safe and Effective Install
Before you even think about cracking open the first roll of insulation, there’s some essential groundwork to cover. It’s tempting to dive straight in, but trust me, rushing this stage is a false economy. A properly prepared loft makes the whole job safer, quicker, and far more effective in the long run.
Your personal safety has to be the top priority. Lofts are often dusty, awkward spaces, and you never know what you'll find up there. Getting the right gear on isn't being dramatic; it’s just common sense. You’ll be kicking up years of dust, not to mention insulation fibres, so a good mask is the bare minimum.
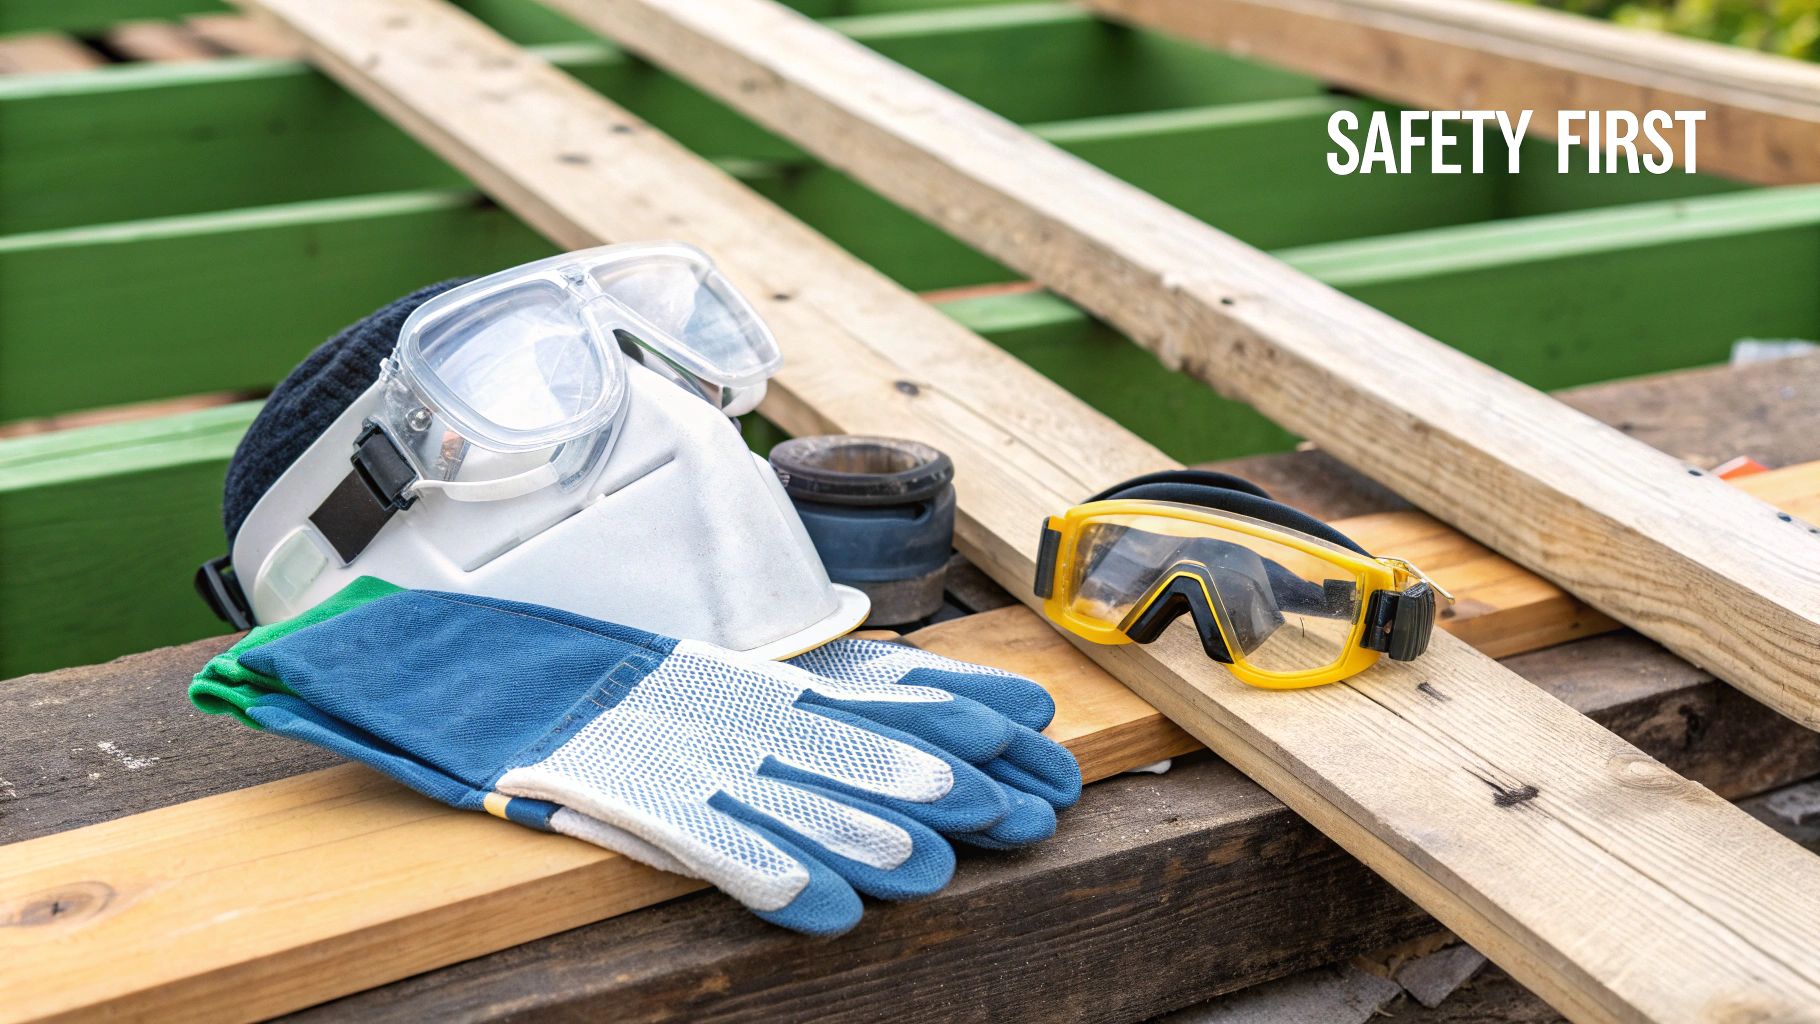
Your Essential Safety Kit
Think of your personal protective equipment (PPE) as your first line of defence against the grime and irritants. Here’s a no-nonsense checklist of what you'll genuinely need:
- A P3-rated Dust Mask: Forget those flimsy paper things. A proper P3-rated respirator is what you want to filter out the really fine particles you don't want in your lungs.
- Safety Goggles: It’s all too easy to get debris or fibres in your eyes, especially when you’re looking up.
- Thick Gloves: Most insulation is incredibly itchy. A decent pair of work gloves will save your hands from a world of irritation.
- Long Sleeves and Trousers: The more you cover your skin, the less contact you’ll have with the insulation. An old boiler suit is ideal.
Aside from what you wear, crawl boards are an absolute must-have. I can't stress this enough: never, ever step directly onto the plasterboard ceiling between the joists. It simply won't take your weight. Laying a few sturdy boards across the joists creates a safe platform to work from and prevents a very dangerous and expensive accident.
Clearing and Inspecting the Space
Once you’re kitted out, the real work begins. The loft needs to be completely empty. Every box, old suitcase, and bag of forgotten toys has to come out. You need an unobstructed view of the entire floor space to do this job right.
With the space clear, grab a powerful torch and have a really good look around. You're hunting for any potential deal-breakers that need sorting before you even think about insulation. Check all the timbers for any signs of damp, rot, or woodworm. A small leak fixed now is a much smaller problem than discovering rotted joists in a few years.
Pay close attention to any signs of pests. Droppings are a dead giveaway that mice, rats, or even squirrels have moved in. You absolutely must get any infestation dealt with professionally before you go any further, as they can chew through wiring and will happily nest in your new insulation.
Working Around Obstacles Safely
Your loft is a busy place, and you’ll inevitably find electrical cables, light fittings, and pipes in your way. How you handle these is critical for safety. If you're new to this, our post on the essential tools for homeowners is a great starting point for getting kitted out.
Electrical cables need to be carefully lifted so they can rest on top of the final layer of insulation. Never bury them underneath. This is a serious fire risk, as the insulation stops the cables from dissipating heat properly.
If you have recessed downlights poking through the ceiling, they need special attention. You must fit fire-rated downlight covers (often called loft caps) over them. These create a protective barrier, keeping the hot light fitting safely away from the combustible insulation. Finally, don't forget to lag any water pipes or tanks with dedicated foam insulation to stop them from freezing over in a cold snap.
Laying Insulation for Maximum Thermal Performance
Right, with all the prep work done, it's time for the main event: laying the insulation. This is where your earlier efforts really start to pay off. A methodical approach here will give you that seamless thermal barrier that makes a world of difference to your home's warmth and your energy bills. It might seem daunting, but once you get into a rhythm, it’s a surprisingly straightforward job.
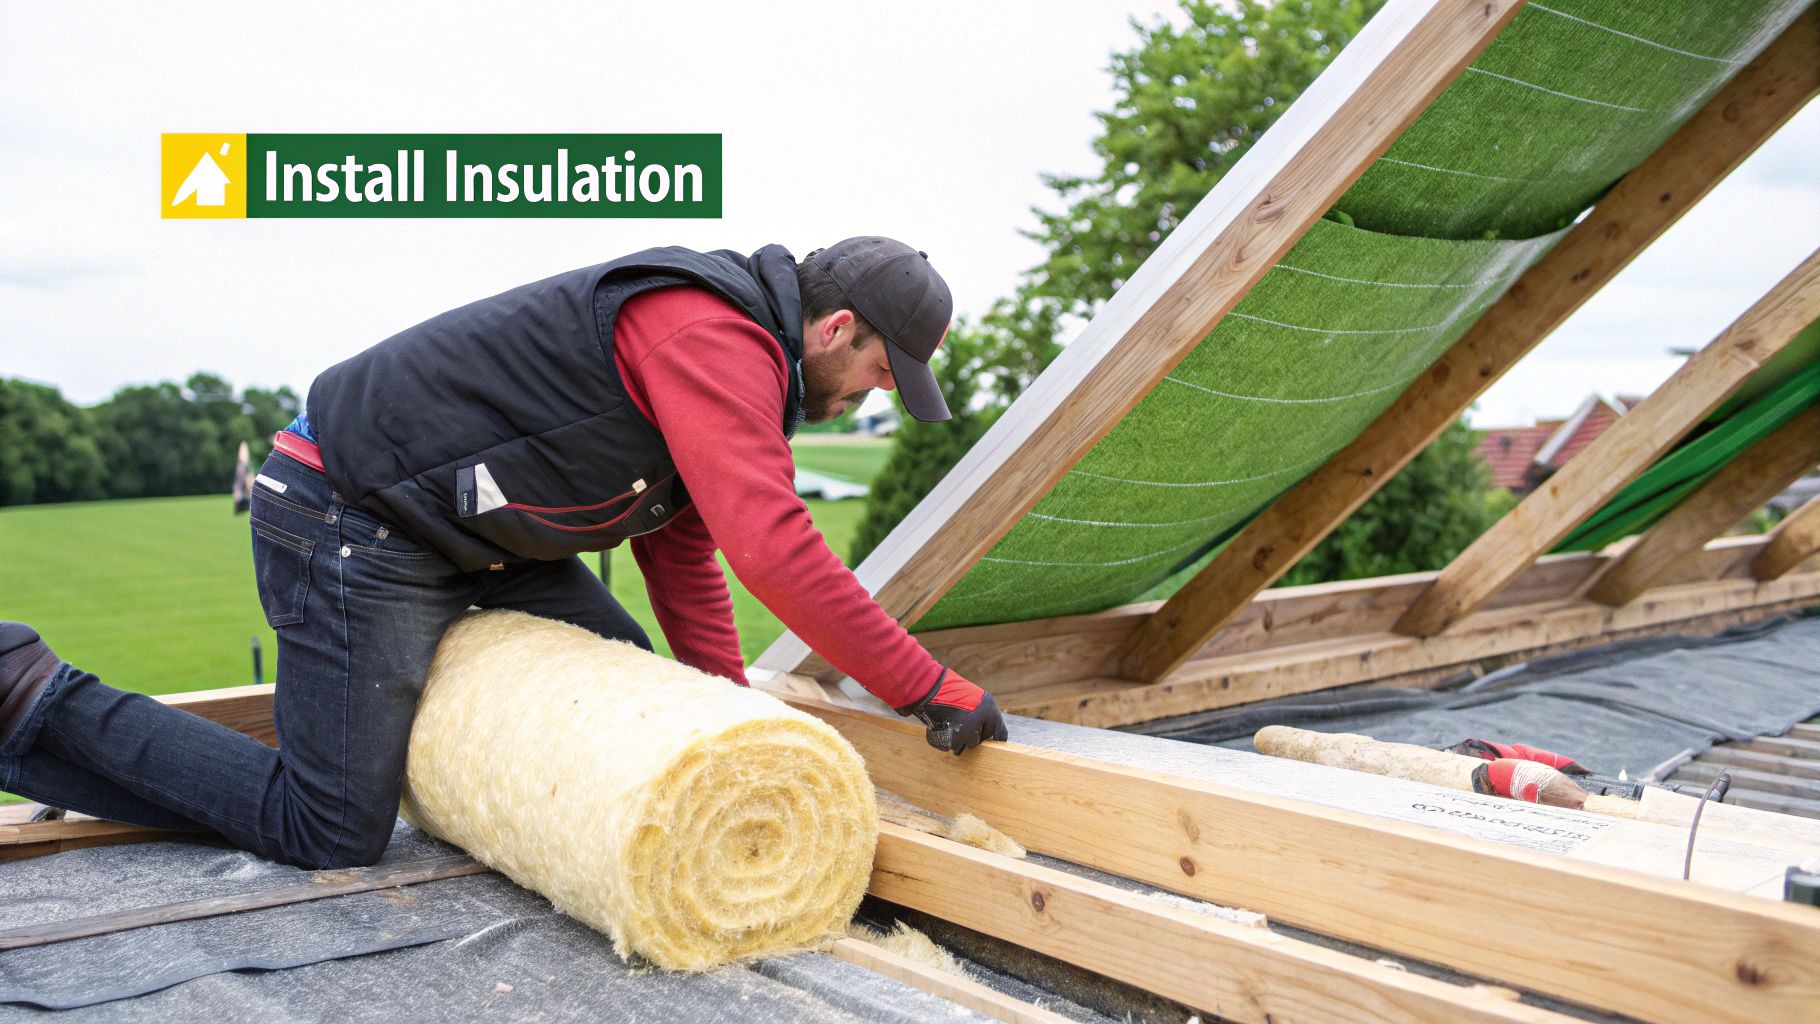
The first layer is all about getting the insulation snug between the floor joists. Always start at the point furthest from the loft hatch and work your way back towards it. Trust me, you don’t want to be crawling all over the insulation you’ve just carefully laid.
Gently unroll your first roll between a pair of joists, pushing it down so it fills the space. It should sit comfortably, just touching the joists on either side. The golden rule here is do not compress it. Insulation works by trapping air, and if you squash it flat, you completely ruin its ability to do its job. If a roll is a tad too wide for the gap, just gently tease the fibres apart to make it fit, rather than ramming it in.
Getting The First Layer Just Right
A professional-looking finish comes down to neat cuts and tight fits. It can be tempting to just tear the insulation to the right length, but this leaves you with ragged edges and, more importantly, gaps where precious heat will find a way to escape.
The best way to get a clean cut is to use a spare board as a straight edge. For the cutting itself, you can’t beat a long, serrated blade – an old bread knife from the kitchen is perfect for the job.
To measure, simply lay the roll over the joists and make a little indent where you need to cut. Then, shift it onto a crawl board, press down firmly with your straight edge, and slice through. This simple technique gives you a perfectly straight edge that will butt up neatly against the next piece.
You're bound to come across obstacles like pipes and timbers. Here, you need to cut the insulation to fit snugly around them. Think of it like a jigsaw puzzle. You’re cutting flaps and custom shapes to wrap around anything in the way, making sure there are no gaps left behind. The more care you take with these fiddly bits, the better your insulation will perform.
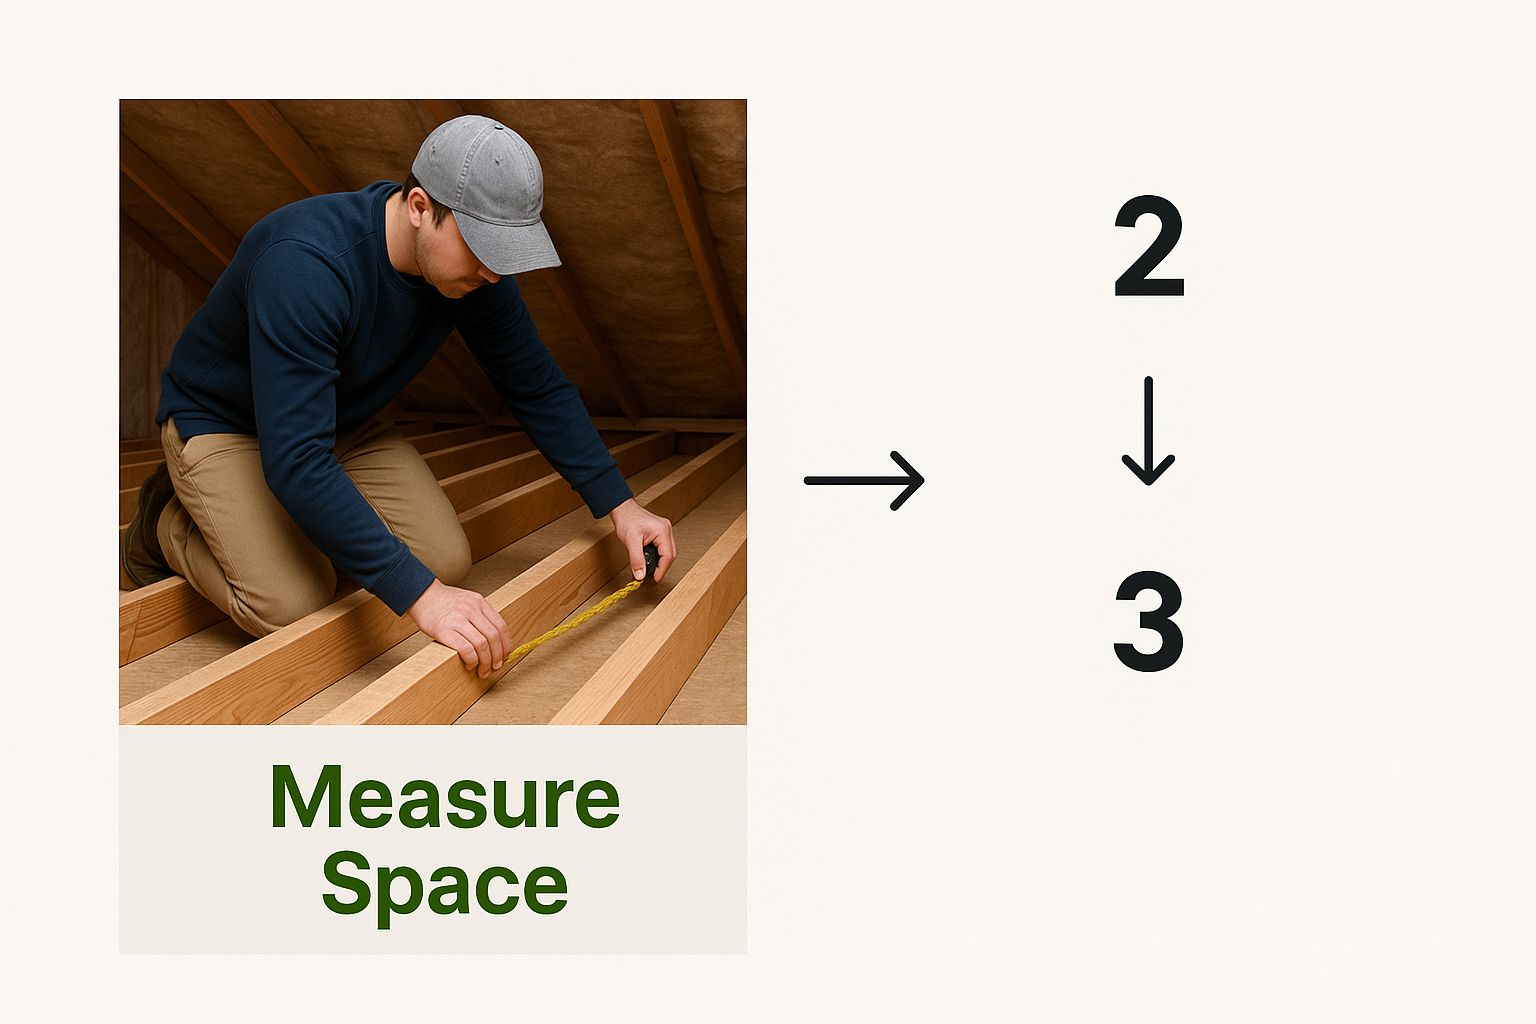
As you can see, spending a few extra moments getting your measurements right is the foundation of a good installation. It saves you from wasting material and guarantees that all-important snug fit for your first layer.
The Crucial Second Layer and Cross-Hatching
Once you’ve filled all the gaps between the joists and the first layer is sitting flush with the top of them, it's time for the second layer. This is arguably the most important part of the whole job.
This time, you’ll lay the insulation at a 90-degree angle to the joists, running it right across them. We call this cross-hatching, and it’s absolutely vital for one simple reason.
Wooden joists are terrible insulators. They act as "thermal bridges," creating pathways for heat to bypass your lovely new insulation and escape straight out of your roof. By laying a continuous second layer over the top, you completely cover these thermal weak spots, creating an unbroken blanket across the entire loft.
Cross-hatching is non-negotiable if you're aiming for the recommended 270mm depth and want to see real savings on your bills. Skipping this step leaves cold spots all over your loft, dramatically reducing how effective the insulation is.
Laying this second layer is much the same process. Start at the far end and unroll it over the joists. Make sure the edges of each new roll butt up tightly against the last one, leaving no gaps. When you're done, the joists should be completely buried under a deep, consistent duvet of insulation. A product like Knauf Loft Roll 44 Combi-Cut is a great choice here, as it's perforated, making it easy to split for the first layer or use at full width for this top one.
Finally, don't forget the loft hatch. The hatch itself needs to be insulated, which you can do by fixing a piece of rigid foam board or an offcut of mineral wool to the back of it. It's also a good idea to build a small raised border around the hatch opening on the loft floor. This stops the insulation from tumbling down every time you open it and keeps your thermal barrier intact. It’s a simple finishing touch that makes a big difference.
Ventilation and Storage: The Finishing Touches for a Healthy Loft
With the main layers of insulation snugly in place, it’s tempting to dust off your hands, shut the hatch, and call it a job well done. But hold on. A couple of final steps are absolutely crucial for making sure your loft stays healthy and you can still use it for storage. Getting this part right is the difference between a job done and a job done properly.
Good ventilation is non-negotiable. Now that your loft is properly insulated, the space itself will be colder. That's the point, after all! But it also means any warm, moist air that creeps up from the house is more likely to condense. Without decent airflow, you’re just inviting damp and mould to set up camp.
Keeping the Air Moving
The most common mistake I see is insulation being stuffed right into the eaves, completely blocking the vents. These little gaps where the roof meets the walls are the lungs of your loft. If you block them, you suffocate the space, and that’s when the problems start.
To stop this from happening, you need to maintain a clear air gap. The easiest way is to fit eaves vent protectors (sometimes called rafter trays) before you start laying the insulation at the edges. They’re just simple plastic channels that sit between the rafters, creating a tunnel for air to flow from the vents into the main loft area, no matter how much insulation you pile on top. Understanding the importance of roof ventilation is key to preventing some really expensive moisture problems down the line.
The UK's drive for energy efficiency has led to millions of homes getting insulation upgrades. In fact, loft insulation makes up 14% of all measures installed under the Energy Company Obligation (ECO) scheme. This push is great for our bills, but it also underlines just how vital it is to get the installation right—especially maintaining ventilation—to avoid creating damp issues in our diverse housing stock. You can find out more about government-backed energy efficiency schemes.
Creating a Raised Storage Area
One of the biggest worries people have is losing their loft as a storage space. The answer isn't to just throw some boards down on top of the new, deep insulation. Squashing it flat will completely ruin its insulating power, defeating the whole object of the exercise.
Instead, you need to build a raised platform that sits comfortably above the full depth of the insulation.
The simplest solution is to use specially designed loft legs. These are basically strong plastic stilts that you screw directly onto the ceiling joists.
- First, figure out the patch of loft you want to use for storage.
- Then, screw the loft legs into the joists, making sure to follow the spacing instructions that come with them.
- Finally, screw your loft boards onto the tops of the legs. This creates a solid, floating floor for all your boxes.
This approach gives you the best of both worlds: you get the full thermal benefit of your uncompressed 270mm of insulation, plus a safe and practical platform to store your belongings.
How Much You Can Expect to Save and Spend
Let's get straight to the point: insulating your loft is one of the shrewdest moves you can make as a homeowner in the UK. This isn't just about feeling a bit toastier in winter; it's about making a real, noticeable dent in your energy bills, month after month. The return on investment is surprisingly fast.
When you look at the numbers, you start to see just how much sense it makes. The initial outlay is often less than people think, particularly if you're up for a bit of DIY and just paying for materials. That spend gets paid back quickly by what you save.
What’s the Initial Outlay?
For a professional to come in and insulate a standard three-bedroom semi-detached house, you’re looking at an average cost of about £930. But if you decide to tackle it yourself, your only real costs are the insulation rolls and a few bits of safety gear. That can bring the price down dramatically.
The Bottom Line: You can expect to slash around £270 off your annual energy bills. In many cases, this means the entire project pays for itself in less than four years, making it a far better investment than many other home improvements.
The Long-Term View: Savings and Carbon Footprint
The financial side of things is compelling, no doubt. But the environmental impact is just as important. Properly insulating your loft significantly shrinks your home's carbon footprint. A typical job can reduce your carbon dioxide emissions by 620 kg every year.
That's a serious contribution to a greener home. And while you're focused on the main loft space, don't overlook other areas. Adding specialised skylight insulation, for example, can trap even more heat and boost your home's overall efficiency.
To give you a clearer picture of the savings, here's a breakdown of what you might expect based on your property type, assuming you're installing the recommended 270mm of insulation.
Estimated Annual Savings by House Type
| House Type | Estimated Annual Saving (£) | Estimated CO2 Reduction (kg/year) |
|---|---|---|
| Detached | £460 | 1000 |
| Semi-Detached | £270 | 620 |
| Mid-Terrace | £240 | 540 |
| Detached Bungalow | £415 | 930 |
Data sourced from the Energy Saving Trust. Figures are estimates based on a gas-heated home and can vary.
As you can see, the savings are substantial across the board, making it a worthwhile project regardless of your home's size.
Are There Grants to Help With the Cost?
It’s always a good idea to see if you can get some help with the funding. The main scheme to look out for in the UK is the Energy Company Obligation (ECO).
This government-backed programme requires the big energy suppliers to fund energy efficiency upgrades for eligible households. This often includes loft insulation. Whether you qualify usually depends on your income, if you receive certain benefits, and your home’s current Energy Performance Certificate (EPC) rating. For some people, these grants can cover the full cost of a professional installation.
Got Questions About Loft Insulation? We’ve Got Answers
https://www.youtube.com/embed/ZmuZbmAWSKo
Even the most straightforward DIY jobs can throw up a few questions. When it comes to insulating your loft, it pays to get things right the first time. Here are some of the queries we hear most often from people getting ready to roll up their sleeves.
How Deep Should My Loft Insulation Be?
This is the big one. To meet current UK building regulations, you should be aiming for a depth of 270mm if you're using a mineral wool type of insulation.
What if you've already got some insulation up there, but it's looking a bit thin? Don't worry about pulling it all out. If you've got an old layer of about 100mm, you can just add a new 170mm layer on top to bring it up to the recommended depth. Getting to that 270mm mark is your ticket to a warmer home and lower energy bills.
Can I Just Lay Insulation Straight Over My Downlights?
In a word, no. This is a serious fire risk, so don't be tempted to cut corners here. Most downlights kick out a surprising amount of heat and burying them in insulation is a recipe for disaster.
You'll need to fit a proper loft cap (or downlight cover) over each light fitting first. These simple devices create a safe air gap, letting the heat from the bulb escape while allowing you to insulate snugly around it. It’s a non-negotiable safety step.
Before you lay a single roll, have a good look for any signs of damp, mould, or black spots on the joists or plasterboard. Covering these up will only trap the moisture and make the problem a whole lot worse, possibly leading to rotten timbers.
What Should I Do If I Find Damp Patches or Mould?
Stop. Before you go any further, you need to play detective. Laying insulation over damp is a huge mistake as it traps moisture and can cause serious structural damage over time.
Your top priority is to find the source of the water and fix it for good. The usual suspects are:
- A cracked or slipped roof tile.
- Condensation caused by poor ventilation.
- A leak from a water tank or pipework in the loft.
Once you’ve sorted the problem and the area is completely dry, then (and only then) can you get back to insulating.
Is It Alright to Squash the Insulation Down to Fit?
Never. The magic of fibre insulation, whether it's mineral wool or sheep's wool, is in the air it traps. It’s these millions of tiny air pockets that actually stop the heat from escaping.
When you compress it, you squeeze all that air out and completely ruin its insulating properties. Always let the insulation expand to its full, fluffy depth to ensure it performs as it should.
At Burnt Oak Builders Merchants, we've got everything you need to get your loft insulation project done right, from the rolls themselves to safety gear and loft legs. Head over to our website to see the full range of building materials at https://www.burntoaktimber.com.