Installing a new door isn't just one job; it's a series of smaller, crucial steps. It all boils down to choosing the right door, getting your tools ready, taking out the old one, and then carefully fitting the new one with all its hardware. If there's one piece of advice I can give, it's this: focus on meticulous planning and dead-on accurate measurements before you even think about picking up a hammer.
Planning Your Door Installation Project
A truly successful door installation starts way before you touch a single tool. Getting the planning right is what separates a smooth, professional-looking job from a weekend-long headache. This is the stage where you make the smart choices that fit your home, your skills, and your wallet.
First up, you need to pick the door. The UK door market is huge—valued at £2.41 billion in 2023 and still growing. A lot of that growth is down to new and improved materials. Whilst traditional timber always has its place, modern options like composite and aluminium doors often win out on durability and thermal efficiency, which are massive factors for any homeowner. Composite doors are especially popular, now making up a huge 54% market share of new installations, mostly because of their tough, steel-reinforced cores and impact-resistant skins.
Pre-Hung vs Slab Doors
One of the biggest decisions for any DIYer is whether to go for a pre-hung door or a slab door. They're very different beasts.
-
Pre-hung Doors: Think of these as a complete, all-in-one kit. The door arrives already hanging in its own frame with the hinges attached. They're perfect for new openings or if your existing frame is rotten, warped, or just past its best. They cost a bit more, but they take a lot of the tricky work out of the equation, which makes them a fantastic choice if you're new to this.
-
Slab Doors: This is just the door, plain and simple. No frame, no hinges. When you buy a slab, the plan is to fit it into your existing frame. This route demands more skill. You'll need to precisely cut out the recesses (mortices) for the hinges and drill the holes for the lockset yourself. It’s definitely the cheaper option, but only if your current frame is perfectly square and in great shape.
Key Takeaway: Your choice between a pre-hung kit and a slab door really comes down to your DIY confidence and the state of your existing door frame. A pre-hung door is more forgiving, whilst fitting a slab requires real precision.
Organising Your Workspace
Finally, get your work area sorted before you start. A cluttered space isn’t just frustrating; it’s a recipe for accidents. Clear everything away from the doorway—rugs, furniture, anything you could trip over. Lay down some dust sheets to protect your floors from the inevitable mess of sawdust and paint.
I always find it helps to lay out all my tools on a nearby table or workbench. It saves so much time compared to rummaging through a toolbox for what you need. This little bit of prep work creates a much calmer, more professional atmosphere and really sets you up for a successful installation.
And if you're working on a project with a unique layout, like a loft conversion, don't forget to look at other options. Sometimes, something like stylish interior bifold doors can be an absolute game-changer for saving space.
Tools and Measurements for a Perfect Fit
Let’s be honest, the difference between a professional-looking door installation and a botched job often comes down to two things: using the right gear and getting your measurements spot on. With the correct kit and a bit of patience, you can sidestep those classic DIY blunders like ugly gaps or a door that scrapes and sticks in its frame. This isn't about owning a high-end workshop; it’s simply about having the right tools for this specific task.
Assembling Your Door-Hanging Kit
You really don't need to break the bank, but a few quality tools are non-negotiable. You'll probably have some of these lying around already, whilst others are a smart investment for any serious DIYer. If you're looking to build up your general toolkit, this guide on the essential tools for homeowners is a great place to start.
Here's a breakdown of what you'll need specifically for this project.
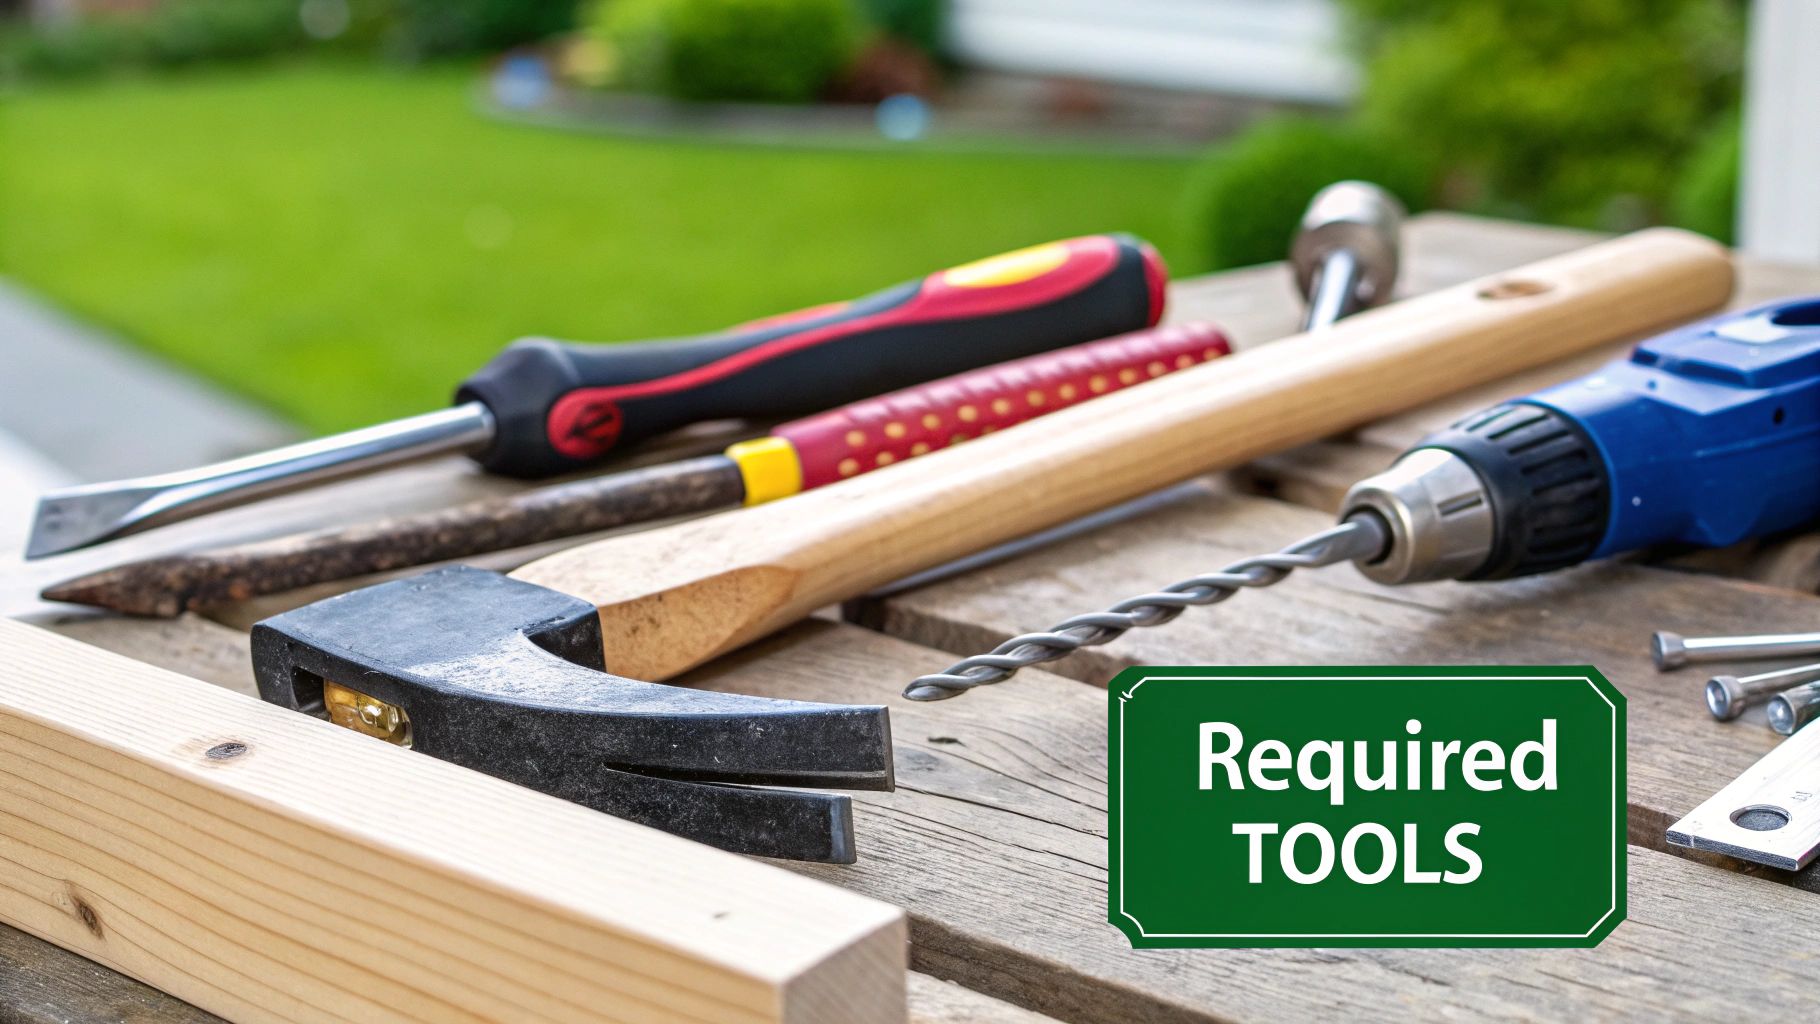
Your Essential Toolkit for Door Installation
This table outlines the core tools you'll need to get the job done properly. I've also included a few extras that, from experience, can make the process a whole lot smoother.
| Tool Category | Essential Tools | Recommended for an Easier Job |
|---|---|---|
| Measuring & Marking | Tape Measure, Spirit Level (60cm+), Pencil, Combination Square | Laser Level, Marking Gauge |
| Cutting & Trimming | Sharp Chisels (18mm & 25mm), Mallet, Handsaw | Power Planer, Circular Saw with Guide Rail |
| Fixing & Securing | Cordless Drill, Wood Drill Bit Set, Screwdriver Set | Impact Driver, Hinge Jig |
| Support & Safety | Sawhorses, Safety Goggles, Dust Mask | Door Lifter, Knee Pads |
Having these items ready before you start will prevent frustrating trips to the hardware shop midway through the job.
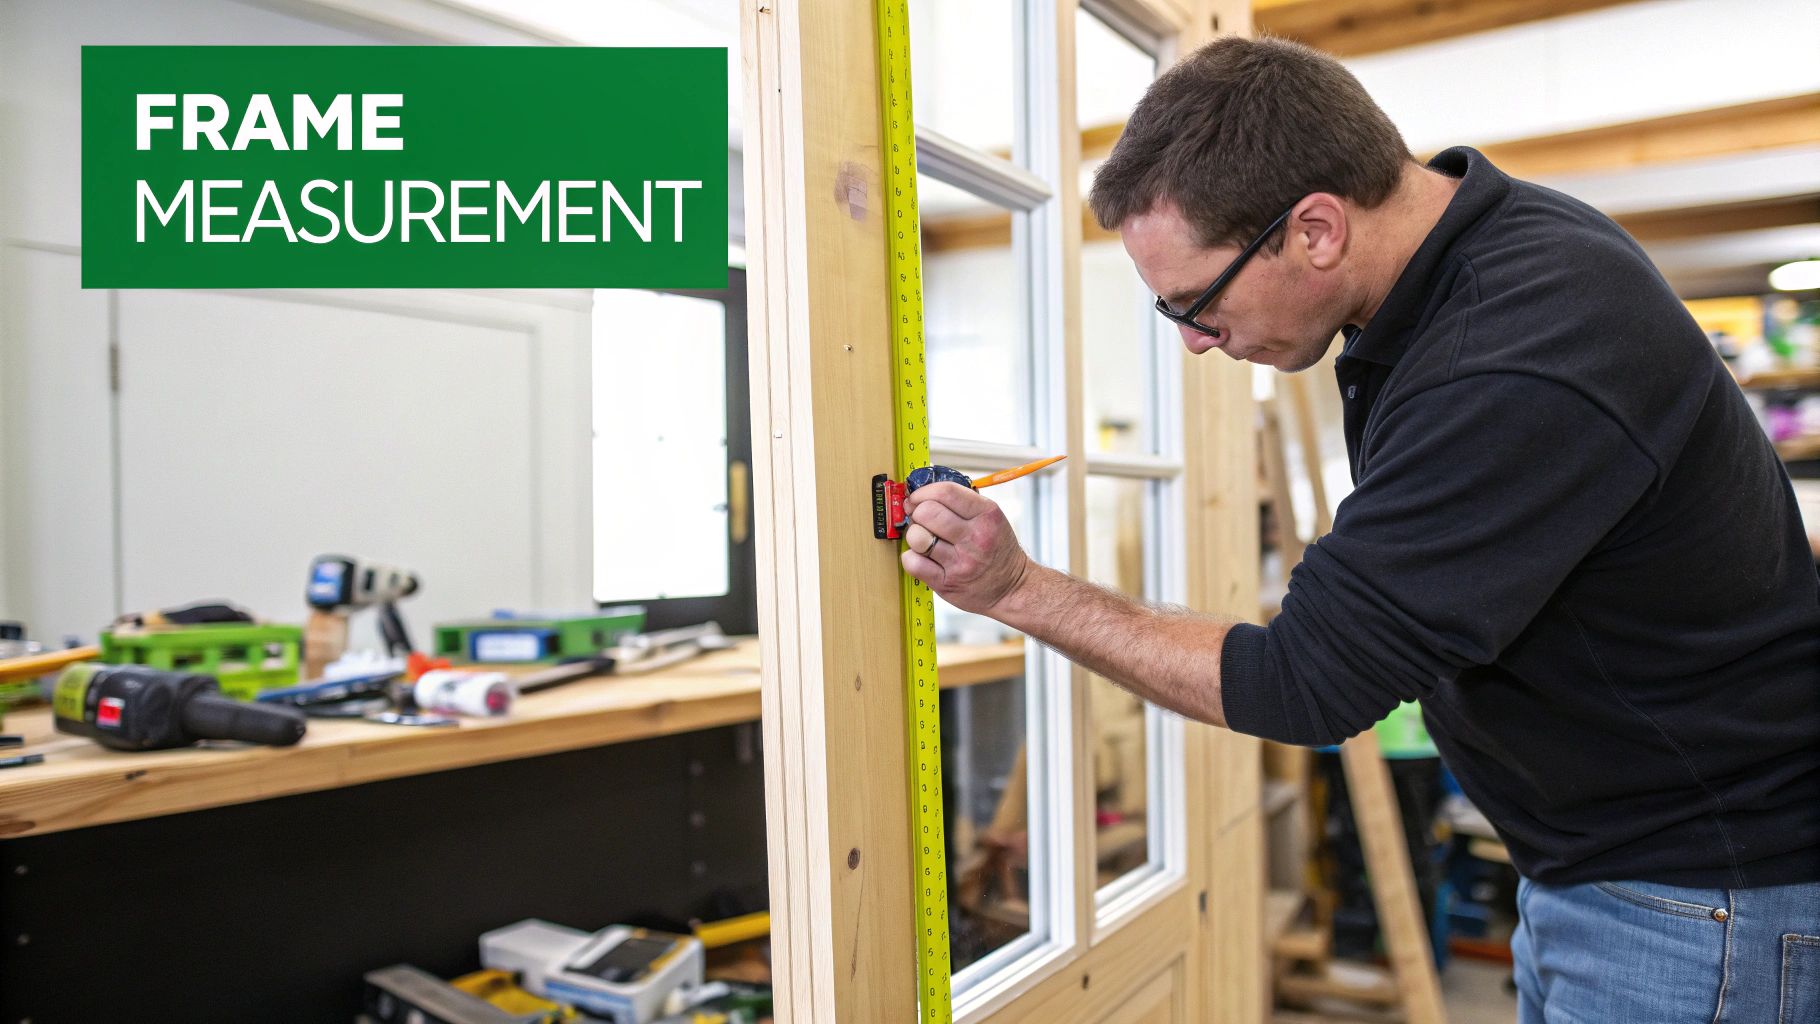
Mastering the Art of Measurement
Here’s a crucial piece of advice I've learned over the years: most door frames, especially in older British homes, are not perfectly square. Not even close. This is the number one reason DIY door hanging goes wrong. Taking a single measurement and hoping for the best is a surefire way to end up with a wonky door.
For a detailed walkthrough, this guide on how to measure a door for a perfect fit is incredibly useful.
First, tackle the width. Measure across the door frame at the very top, in the middle, and right at the bottom. Jot all three down. You’ll use the narrowest of these measurements for your door width. From that number, subtract 4mm. This gives you a 2mm gap on each side—what we call the reveal—which is vital for the door to move without catching.
Now for the height. Measure the vertical length on the left side and then the right side of the frame. Just like before, take the shorter of the two measurements. The gap you leave at the bottom is a bit more variable and depends entirely on your flooring. For hard surfaces like wood or tiles, a gap of about 6-8mm is perfect. If you’ve got a thick, plush carpet, you might need to leave as much as 20mm to stop the door from dragging.
Pro Tip: Never forget the golden rule of carpentry: "Measure twice, cut once." It’s a cliché for a reason. Shaving a little more off a door is easy. Adding a sliver back on is impossible.
Right, before you can get to the satisfying part of hanging your brand-new door, the old one has to come out. It might seem like a job for a bit of brute force, but trust me, a little care here will save you a world of pain later. Go in too heavy-handed, and you risk damaging the door frame, the architrave, or the plasterwork around it – all of which are a real headache to repair.
First things first, let's get those hinge pins out. Close the door and pop a wedge or even a thick book underneath to take the weight. This simple step releases the tension on the hinges, making your life much easier.
Now, grab a nail punch and a hammer. Gently tap the bottom of each hinge pin to drive it upwards. Once you've got enough of it showing, you can get a good grip with a pair of pliers and pull it the rest of the way out. With all the pins removed, you can just lift the door clear of the frame. Find somewhere safe to lean it, well out of the way.
Prepping the Frame for a Flawless Fit
With the old door gone, it's time to turn your attention to the frame. I can't stress this enough: getting the frame right is the single most important part of hanging a new door. A clean, square, and solid frame is the secret to a door that swings beautifully and closes perfectly for years.
Take a good, hard look at the frame. You're playing detective here, searching for any little issues that could cause problems down the line.
Here’s what you need to be looking for:
- Rot or Soft Spots: Get a screwdriver and gently probe the timber, paying close attention to the bottom of the frame where moisture often collects. If the wood feels soft or crumbly, that section needs to be repaired or replaced.
- Cracks and Splits: Small cracks aren't a deal-breaker and can be filled. However, large splits can weaken the frame's structure, meaning it won't be able to hold the new hinge screws securely.
- Warping or Bowing: Hold your spirit level against the two vertical jambs and the top head of the frame. If they aren't straight and true, you'll find it almost impossible to achieve a consistent, neat gap around your new door.
Once you’re happy with the structural integrity, it’s time for a clean-up. Scrape off any old, flaking paint and give the whole frame a good sand to smooth things out. Use a decent wood filler for any old screw holes, dents, or dings, and sand it back flush once it's fully cured.
Expert Insight: Pay special attention to the hinge recesses, which are called mortices. Make sure you clean them out completely. Get rid of any old paint build-up or debris so the new hinges can sit perfectly flat and flush with the frame. It’s a small detail that makes a huge difference.
Putting in this effort now is what separates a professional-looking job from a shoddy one. It's the groundwork that ensures your new door will not only look great but work perfectly from day one.
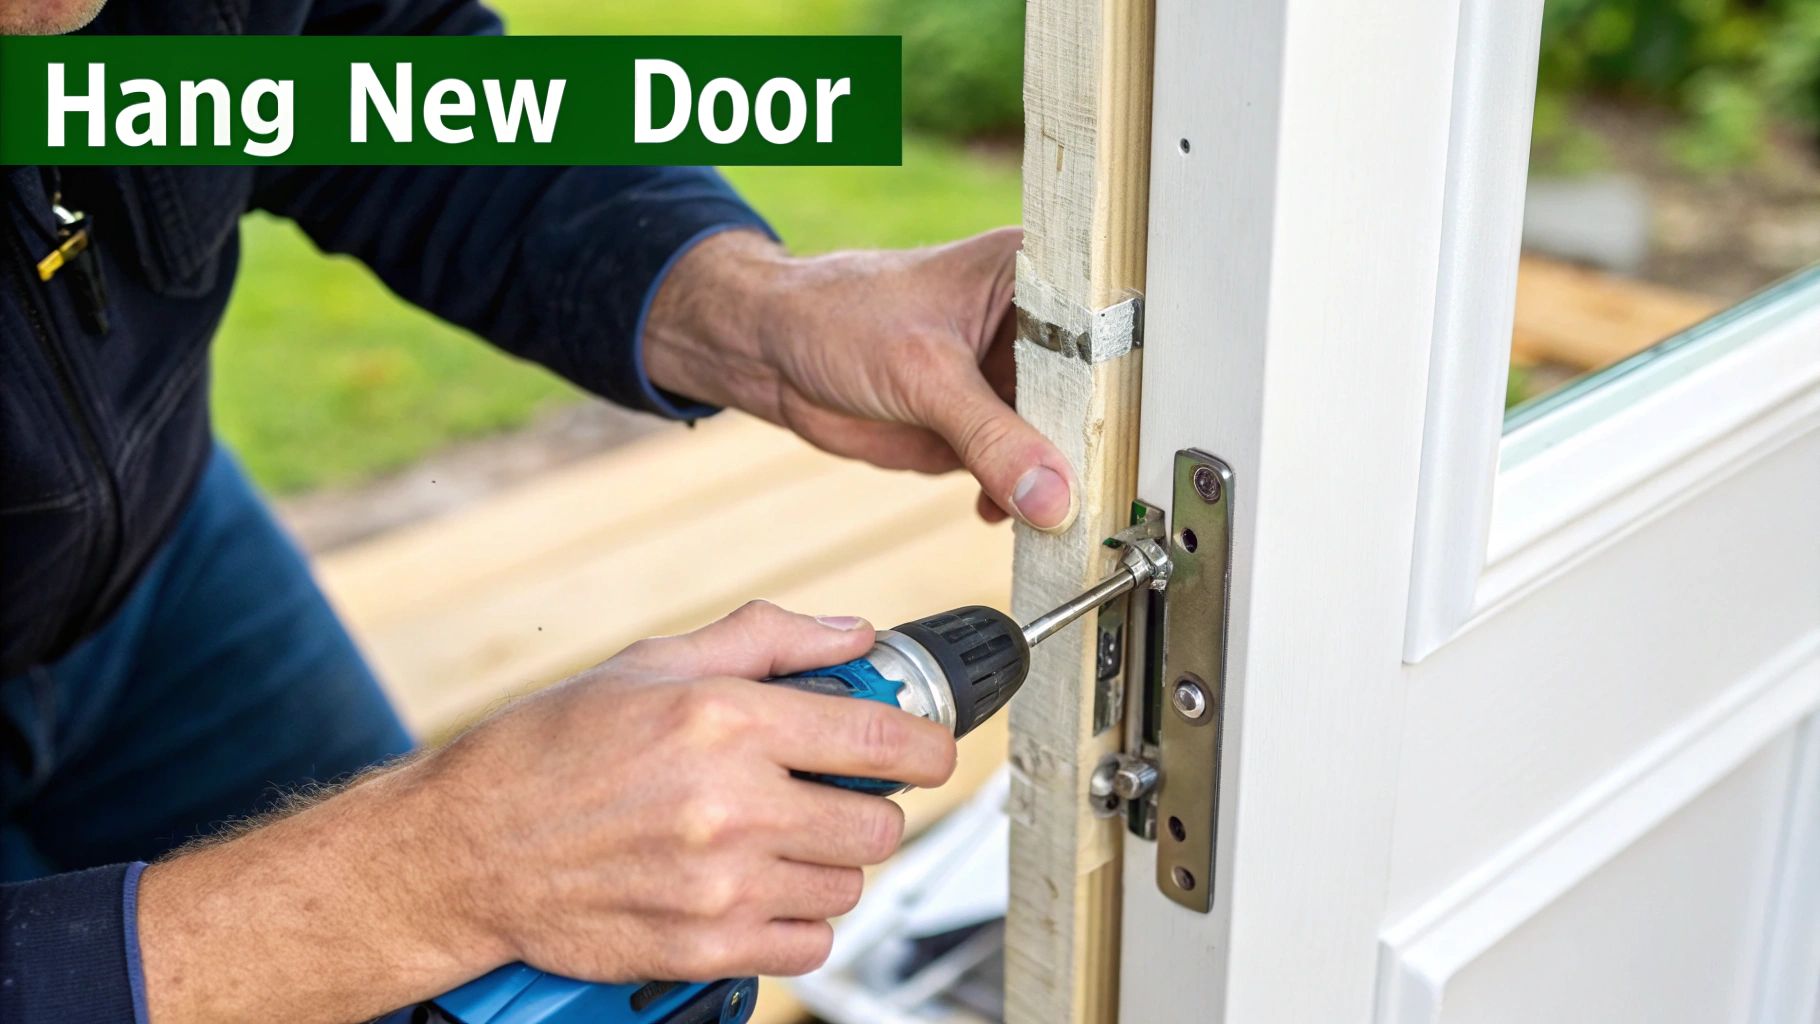
Fitting the New Door and Hardware
With your frame perfectly prepped, we get to the main event: fitting the new door. This is where patience really pays off. Getting this stage right is what delivers that deeply satisfying, solid 'click' when a door closes properly, transforming a simple slab of wood into a functional part of your home.
Unless you've had a door custom-made, it will almost certainly need a few millimetres shaved off for that perfect fit. For a factory-clean, dead-straight edge, a circular saw with a guide rail is your best friend. If you only need to make small adjustments, a power planer will make quick work of it.
Marking and Cutting Hinge Mortices
Creating the recesses for your hinges, known as mortices, is a skill that separates a DIY job from a professional one. A poorly cut mortice means the hinge won't sit flush, which can cause the door to bind or hang crookedly. Accuracy here is absolutely non-negotiable.
To get started, lay the new door on its side, resting on a pair of sawhorses. Figure out where your hinges need to go—a good rule of thumb is to place one about 15cm from the top and another roughly 23cm from the bottom.
Here's how to tackle the mortices:
- Mark the Position: Hold the hinge firmly in place on the door's edge and trace around it with a sharp pencil.
- Score the Outline: Run a utility knife along your pencil lines. This simple step prevents the wood from splintering when you start chiselling.
- Set the Depth: The depth of your mortice needs to match the thickness of the hinge plate exactly. A combination square is the perfect tool for marking this depth consistently.
- Chisel It Out: Using a sharp chisel and a mallet, make a series of cuts across the grain inside your marked area. Then, turn the chisel so the bevel is facing down and gently pare away the waste wood. Your goal is a perfectly flat and smooth base.
You'll need to repeat this entire process on the door frame, making sure the mortices there align perfectly with those on the door. This meticulous approach is the only way to guarantee the hinges sit flush.
The image below gives a quick overview of the first step: getting the old door out of the way.
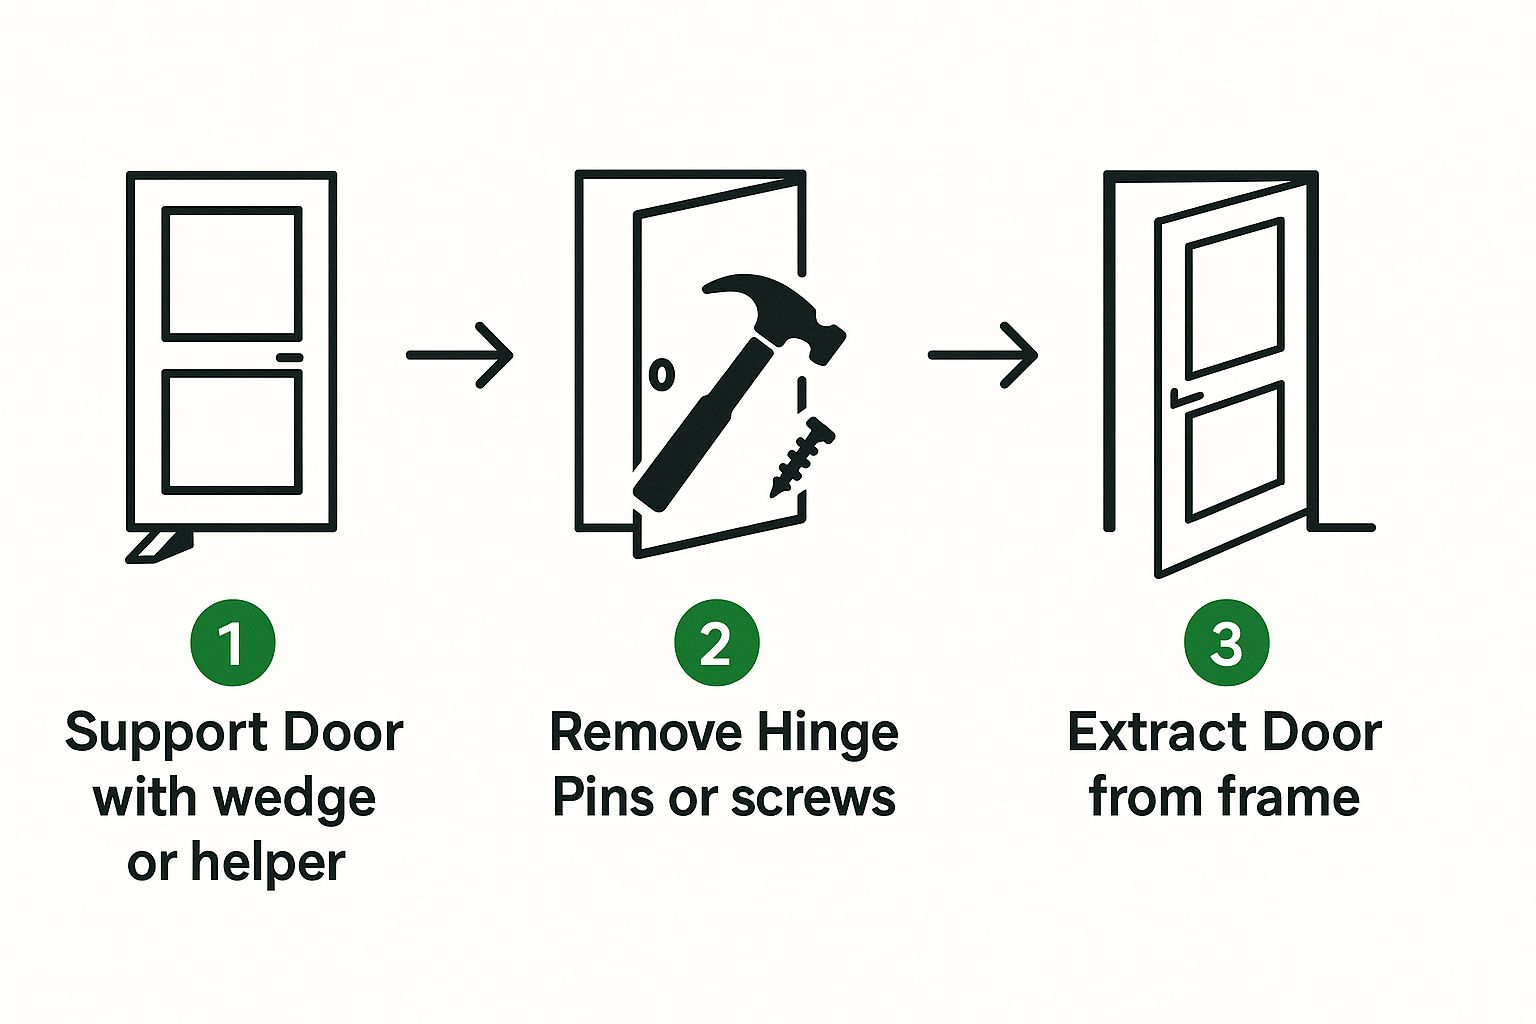
As you can see, supporting the door's weight is key to safely and easily removing the hinge pins and lifting the door free.
Attaching Hardware and Test Fitting
Once your mortices are cut, go ahead and screw the hinge plates to the door. Now, grab a helper—this isn't a one-person job—to lift the door into the frame and attach the other side of the hinges. Just use one screw per hinge for now; this is only a test fit.
Gently swing the door to check the gaps around the edges. You're looking for a consistent, even gap all the way around.
Pro Tip: Keep a pack of shims handy. These thin, tapered wedges of wood are brilliant for making fine adjustments. If the gap at the top is uneven, for instance, a shim under the bottom hinge can lift one side. Tapping a shim behind a hinge can also push the door slightly forward or back in the frame.
The type of door you're working with matters. Metal doors and frames, for example, make up the largest part of the UK's metal door and window manufacturing industry. In fact, about 73% of UK metal doors and frames are fabricated from aluminium, which is popular for being light and durable, whilst steel is reserved for higher security applications.
Of course, a new door isn't complete without the right finishing touches. This is why selecting quality door hardware is so crucial for both long-term function and the overall look.
When you're happy with the fit, install the remaining hinge screws. All that's left is to fit the handle, latch, and strike plate, ensuring everything aligns without a hint of friction. Take your time to get the lockset mechanism sitting perfectly—it’s the final piece of the puzzle for a door that feels secure and operates smoothly every single time.
Applying Finishing Touches and Making Adjustments
A great installation is all in the details. With the door securely hung, it's time for those final touches that take the job from good to truly professional. This stage is where you dial in the function and create that flawless, polished look.
First up, deal with any nail or screw holes in the architrave using a good quality wood filler. Once that's dried, a quick, light sanding will make your fix completely disappear. For a seamless finish that really elevates the look, run a thin bead of decorator's caulk into the join between the architrave and the wall. It’s a simple step, but it closes every tiny gap and makes the frame look like it was always part of the room.
Prepping for Paint or Stain
Now the door is ready for its final look. Don't rush this part – proper preparation is what guarantees a durable finish that won't chip or peel down the line.
Start by giving the entire door a light once-over with fine-grit sandpaper. This creates a "key" that helps the primer and paint adhere properly. Once you're done sanding, wipe every surface with a tack cloth to get rid of every last speck of dust. If you're painting, using a quality wood primer is non-negotiable; it seals the wood and ensures the topcoat goes on smoothly and evenly.
Troubleshooting Common Issues
Even the most careful installation can require a few minor tweaks. These are usually simple fixes, but they make a huge difference to how the door performs day-to-day.
- Door Sticks in Summer: Wood expands in humidity, it's just what it does. You can usually see a faint mark where it's rubbing. Just take a hand planer and shave a tiny sliver off that spot.
- Door Swings Open or Closed: This is a classic sign that the frame isn't perfectly plumb. A quick and clever fix is to pop out the pin from the top hinge, lay it on a hard surface, and give it a gentle tap in the middle with a hammer. This creates a very slight bend, and when you put it back in, the extra friction is usually enough to stop the door from drifting.
- Latch Doesn't Catch Properly: If the latch bolt isn't lining up with the strike plate, you can often solve it by filing the opening in the strike plate a little larger. It's a game of millimetres.
Key Insight: Did you know that homeowner satisfaction with their windows and doors has plummeted from 23% to just 11% in a single year? This really underlines how much people want quality and reliability in their homes. By taking the time to get these final adjustments perfect, you’re ensuring your new door functions flawlessly and directly answers that demand.
Common Questions About Installing Doors
Even with the best guide in hand, you’re bound to have a few questions when you’re tackling a door installation. It’s one of those jobs where the small details really make or break the final result. To give you that extra bit of confidence, here are the answers to some of the queries we hear most often from fellow DIYers.
What’s the Right Gap Around a Door?
This is probably the number one question people ask. Getting the gap, or reveal, right is crucial. For most internal doors, you're aiming for a consistent 2-3mm gap around the top and the two sides. That’s just enough space to stop the door from catching on the frame, but tight enough to look neat and professional.
The gap at the bottom, though, is a different beast altogether. It really comes down to what sort of flooring you have. If you’ve got wood, vinyl, or laminate, a gap of 6-8mm is a good target. But for a room with thick, plush carpet, you might need to leave as much as 20mm to make sure the door can swing clear without dragging.
How Can I Fix a Door That Rattles?
Ah, the rattling door. It’s a classic annoyance, but thankfully, the fix is usually dead simple. The culprit is almost always the strike plate on the door frame—specifically, the little metal tab inside the opening.
Here’s the trick:
- First, close the door and give it a little jiggle to see how much it moves.
- Then, open it up and grab a flat-head screwdriver. Gently bend that small tab a tiny bit towards the door stop.
- Shut the door and check it again. You’ll probably find that a few small tweaks are all it takes to get a snug fit where the latch holds the door firm.
Can I Reuse My Old Hinges?
I know it’s tempting to save a few quid by reusing the old hinges, but I’d almost always advise against it. Over the years, hinges wear out, get caked in layers of paint, and can even bend slightly. All of this can throw off the alignment of your brand-new door.
A new set of hinges is a small investment that makes a huge difference. You'll get a smoother, quieter swing and a much cleaner look. It’s one of those finishing touches that really elevates the whole project.
Expert Tip: When you're fitting a new door into an old frame, the hinge rebates rarely line up perfectly. Don't try to force it. The best approach is to fill the old screw holes and mortice cut-outs with a good quality wood filler, then start fresh by cutting new mortices for a perfect fit.
Nailing these little details is what separates a decent job from a brilliant one. It ensures your door not only looks the part but works perfectly for years to come.
At Burnt Oak Builders Merchants, we know that great results start with great materials. From top-quality doors and hardware to all the tools for the job, we’ve got your back. Check out our full range and get everything you need delivered straight to your door at https://www.burntoaktimber.com.