
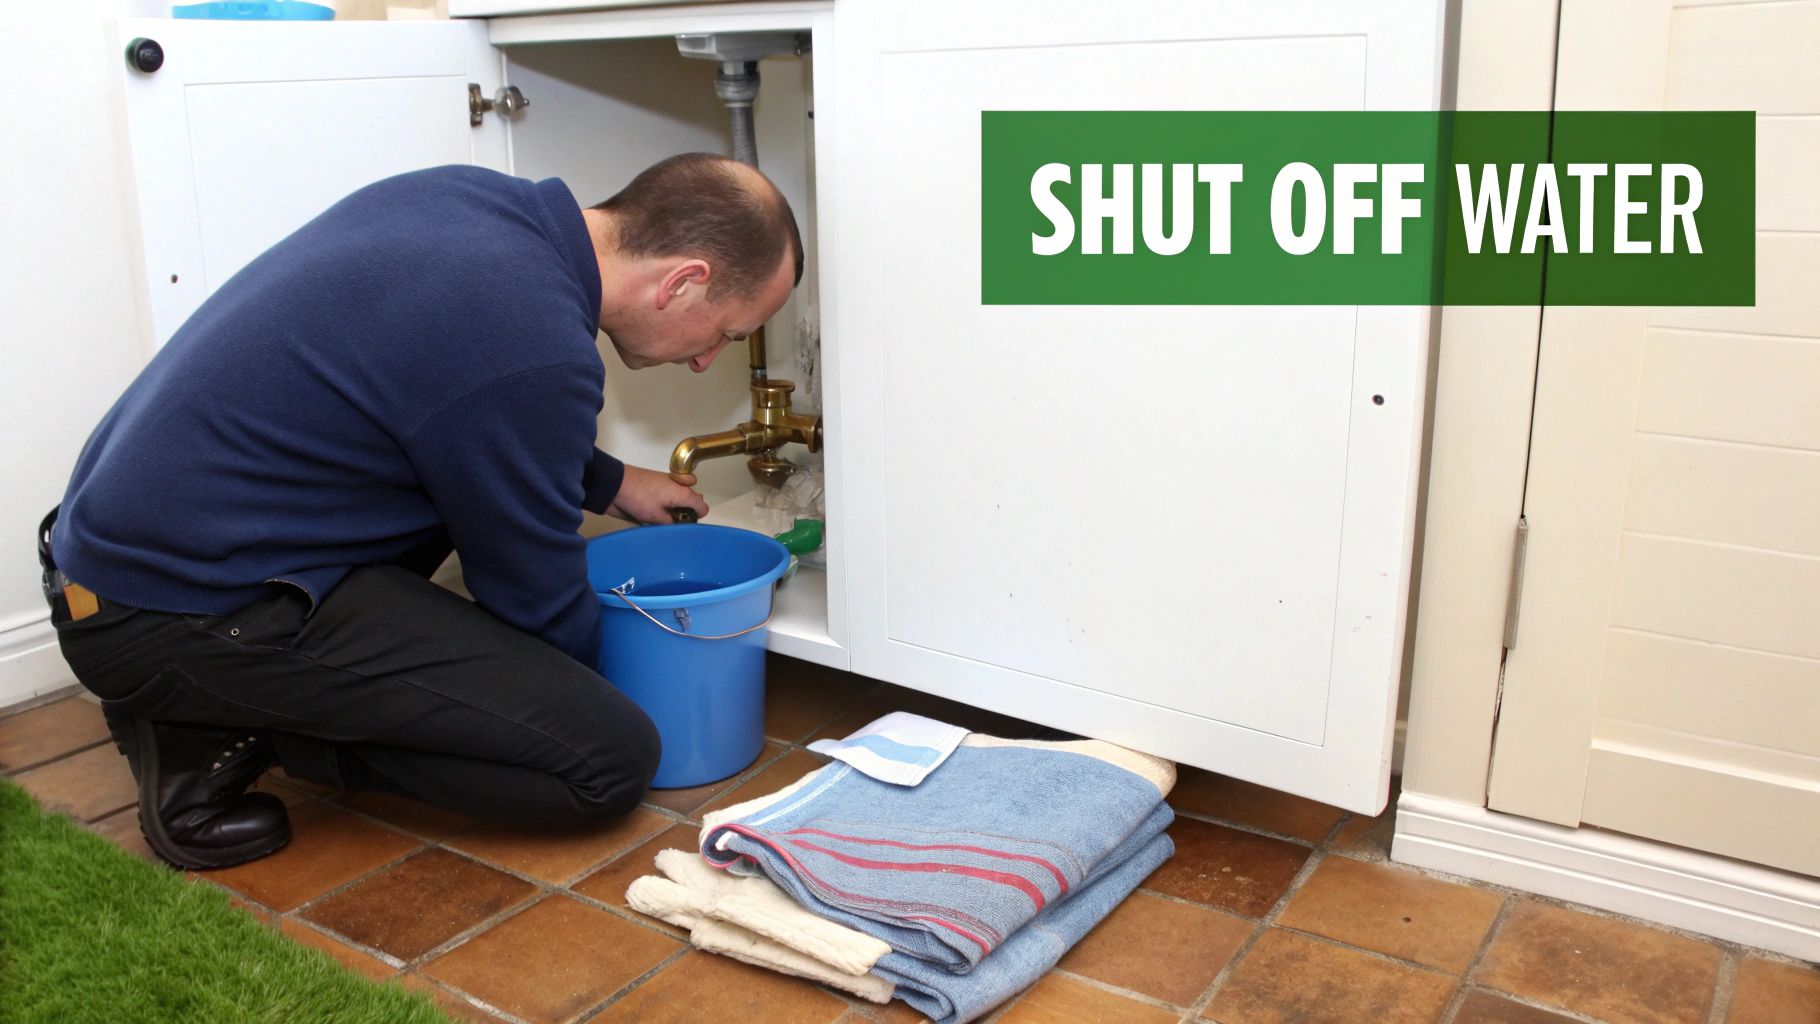
The first thing to do when you spot a leaking pipe is shut off the water. No ifs, no buts. Find the nearest isolation valve or, if you can't, head straight for the main stopcock and turn it off. With the water stopped, dry the area completely so you can see what you're dealing with.
For those tiny, weeping pinhole leaks, you can often get away with a temporary fix like epoxy putty or a pipe clamp. This buys you valuable time to figure out a proper, permanent repair without the pressure of a constant drip.
What to Do the Moment You Find a Leaking Pipe
That sinking feeling when you discover a leak is something most homeowners experience sooner or later. But don't panic. How you react in the first few minutes is what really matters, and taking calm, decisive action will prevent a small problem from spiralling into a full-blown disaster.
Your absolute first priority is to stop more water from escaping. If you're not sure how, this guide on how to turn off your water main is an excellent resource. Taking this one step can save you thousands of pounds in water damage repairs.
Your First Three Actions
With the water flow halted, the next job is to manage the immediate aftermath and make the area safe.
- Mind the Electrics: Water and electricity are a lethal mix. If the leak is anywhere near electrical sockets, light fittings, or appliances, kill the power to that circuit at your consumer unit (fuse box) right away. Never, ever touch anything electrical while standing in water.
- Catch the Drips: Grab a bucket, a washing-up bowl, or even just some old towels and place them directly under the leak. This will catch any water still left in the pipe and protect your floors, ceilings, and furniture from getting soaked.
- Get It Dry: Use a mop and cloths to dry the surrounding area as best you can. A dry space is much safer to work in and makes it far easier to get a clear view of where the leak is actually coming from.
A Quick Tip: Every homeowner should know exactly where their main stopcock is. You'll usually find it under the kitchen sink or in a downstairs cupboard near where the water pipe enters your house. They can get stiff over time, so it's worth checking yours periodically. If it's seized, you might need to think about getting a new brass stopcock 15mm fitted.
Assess the Severity of the Leak
Once the immediate crisis is under control, take a breath and have a proper look at the leak. Is it a slow drip from a joint, a fine spray from the middle of a pipe, or something more serious? Figuring this out will help you decide if it's a job you can tackle yourself or if you need to call in a professional plumber.
To help you make a quick judgement call, here’s a simple breakdown of the most common leaks and what to do.
Quick Leak Assessment Guide
| Leak Type | Common Cause | Immediate Action | DIY Feasibility |
|---|---|---|---|
| Dripping Joint | Loose fitting or perished washer | Try tightening the fitting; prepare for a washer swap | High |
| Pinhole Leak | Corrosion on copper or plastic pipes | Apply a pipe clamp or epoxy putty as a temporary fix | Medium |
| Major Burst | Frozen pipe or catastrophic failure | Shut off water immediately; call a plumber | Low (Call a Pro) |
| Under-Sink Drip | Loose P-trap nut or faulty tap connector | Hand-tighten the connections first | High |
This table should give you a good starting point for diagnosing the problem. Remember, if you're ever in doubt, especially with a major burst, the safest option is always to call a qualified plumber.
Getting Your Plumbing Repair Kit Sorted
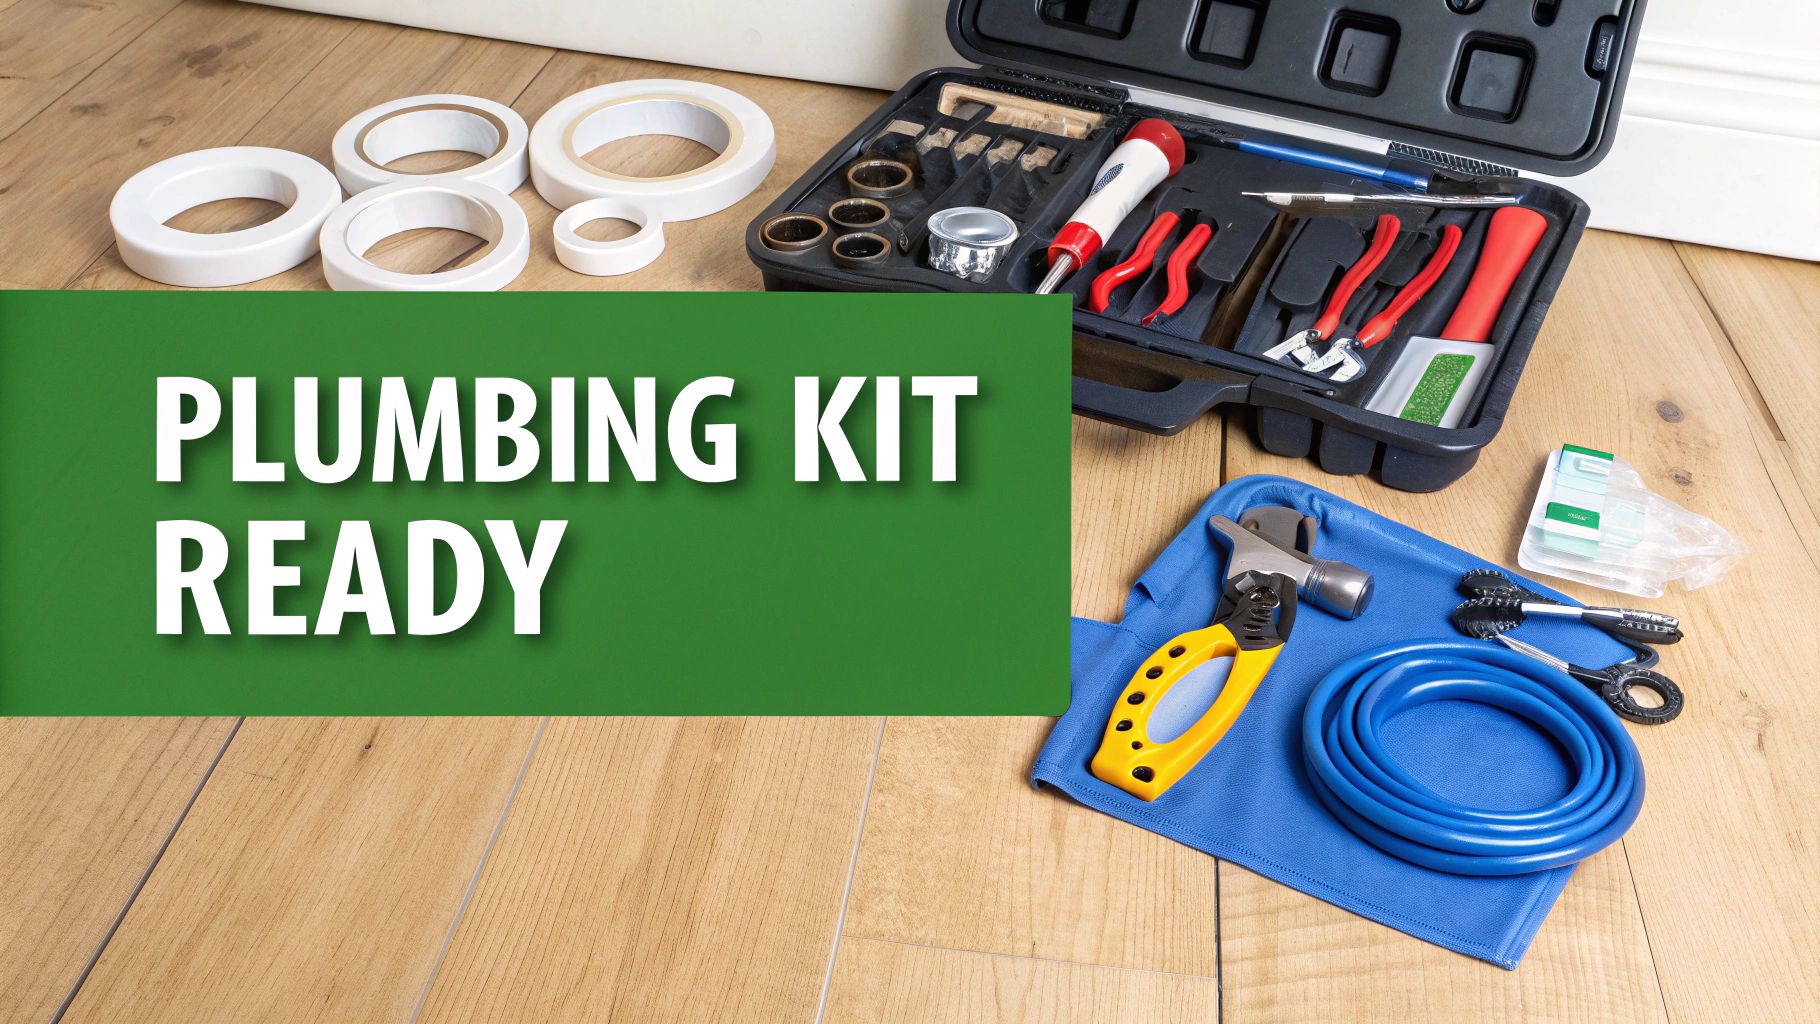
Before you can even think about fixing a leaking pipe, you need the right gear. There’s nothing worse than discovering a spreading puddle and then having to scramble for tools. A well-stocked plumbing kit is your first line of defence, turning a potential disaster into a manageable task.
You don't need to break the bank putting one together, either. Start with the basics for tackling common household leaks and you can always add to it over time. The idea is to be ready for this leak, and any others that might pop up down the line.
The Right Tools for the Job
Your kit needs a solid foundation of tools for gripping, cutting, and tightening. These are the workhorses that will see you through most basic repairs.
- Adjustable Spanners: Get two. Trust me on this. You'll use one to hold the pipe steady while using the other to loosen or tighten a fitting. This simple trick stops you from accidentally twisting and weakening the entire pipe.
- Pipe Cutter: While you can use a hacksaw, a proper pipe cutter gives you a clean, square cut every single time. This is absolutely crucial for ensuring new fittings create a perfect, watertight seal.
- A Good Torch: Leaks love dark, cramped spaces like the back of a cupboard or under the sink. A bright torch or, even better, a headlamp that leaves your hands free, is a must-have for seeing what you're actually doing.
Materials for Quick Fixes and Proper Repairs
Alongside your tools, you need the bits and bobs that actually stop the water. These are brilliant for both emergency patches and more permanent solutions.
Having a small selection of repair materials on hand can be the difference between a small puddle and a major insurance claim. Items like self-fusing tape and epoxy putty can stop a leak in minutes, buying you valuable time to plan a proper repair.
- Self-Fusing Silicone Tape: This stuff is fantastic for a temporary fix. You just stretch it and wrap it tightly over a pinhole leak or small crack, and it bonds to itself to form a really strong, waterproof seal.
- Epoxy Putty: This is a two-part putty you knead together. Once mixed, you can mould it over the leak, and it sets rock-hard in a few minutes. It's an incredibly effective patch.
- Pipe Clamps: For something a bit more robust, a pipe clamp is a great temporary solution. It's basically a metal sleeve with a rubber lining that you tighten over the leak with a couple of screws.
And of course, don't forget the real heroes of any plumbing emergency: a bucket and a stack of old towels to catch every last drop. For a wider look at what every homeowner should have in their toolkit, check out our guide to the essential tools for homeowners.
Applying a Temporary Fix to Stop a Leak Fast
You’ve found a leak. Panic starts to set in. But whether it’s the middle of the night, a bank holiday, or you’re just waiting for a plumber to arrive, you don’t have to stand by and watch the damage spread. A good temporary fix can be your best friend, stopping a leak dead in its tracks and saving you from a potential repair bill that could run into thousands.
Before you even think about slapping on a patch, though, you absolutely must shut off the water and get the pipe bone dry. Any repair is only as good as its seal, and even a little moisture will ruin your chances. I usually give the area a good wipe with an old towel and then hit it with a hairdryer for a minute to be certain.
Using a Pipe Clamp for Pinhole Leaks
If you’re dealing with a fine spray or a tiny pinhole on a straight section of pipe (copper or plastic), a pipe clamp is probably the sturdiest temporary fix you can get. Think of it as a metal sleeve with a rubber gasket inside that you tighten over the hole to create a seal.
To get it right, place the rubber gasket squarely over the pinhole – this is the part that does the real work. Then, wrap the metal casing around the pipe and begin tightening the screws. The trick is to tighten them evenly, a bit on one side, then a bit on the other, just like you would when changing a car tyre. This ensures the pressure is distributed perfectly and stops you from accidentally crushing the pipe.
The Right Way to Use Self-Fusing Silicone Tape
Self-fusing silicone tape is a fantastic bit of kit for any emergency plumbing box. It’s not sticky like duct tape; instead, it bonds to itself when you stretch it, forming a solid, waterproof rubber barrier. This makes it perfect for sealing leaks around awkward joints or small cracks where a clamp just won't fit.
Start wrapping about 5cm to one side of the leak. The key is to pull the tape tight as you wrap, stretching it to at least double its length. It’s this stretching that makes it fuse. Overlap each new layer by about half the width of the tape, moving across the leak and finishing about 5cm past it. A few good layers will create a seal that's surprisingly strong and can easily hold for weeks if you need it to.
A common mistake I see is people not stretching the silicone tape enough. The tension is absolutely critical for it to bond to itself. If it feels loose or baggy, it’s not going to work. Pull it until it’s taut and flat against the pipe with every single wrap.
Applying Epoxy Putty for Small Drips
For those really small, weeping leaks or drips, especially on odd-shaped fittings where clamps and tape are a nightmare, epoxy putty is a lifesaver. It’s a two-part material that looks like a small stick of modelling clay.
Just slice off a small piece – only what you need – and knead it between your fingers until the colour is completely uniform. That’s your sign that the resin and hardener are properly mixed. Once it's pliable, press it firmly over and around the leaky spot, moulding it into the pipework so it gets a solid grip. The putty starts to harden within a few minutes and cures into a rock-solid, waterproof patch.
Permanent Repair Methods for Common Pipe Leaks
https://www.youtube.com/embed/lwfRCwo_0eo
While a temporary fix is great for stopping a panic, it’s just a plaster. A permanent repair is the only way to sleep soundly, knowing your plumbing is secure. Moving beyond the quick fixes of clamps and putties requires a bit more confidence and the right technique, but a lasting solution is absolutely within reach for a determined DIYer. Learning how to fix leaking pipes for good is a skill that protects your home from serious damage down the line.
The real trick to a successful, permanent repair is matching your method to the pipe's material. Most UK homes have a mix of copper pipes for hot and cold water and PVC (or uPVC) for waste pipes, and they each need their own specific approach to get a durable, professional-grade seal.
Fixing Leaks on Copper Pipes
Copper pipes are the workhorses of the water supply in many British homes. When they leak, it's usually at a joint or as a tiny pinhole caused by years of corrosion. For a permanent fix, you have two main options: replacing the damaged section using compression fittings or, if you're feeling brave, soldering a new joint.
For most people, compression fittings are the way to go. They create a powerful mechanical seal without you having to bring a blowtorch into a tight space, which makes them a much safer and more accessible option.
Here’s how you do it:
- Cut and Clean: After shutting off the water and draining the system, use a proper pipe cutter to remove the leaky section. Getting a clean, square cut is crucial here. Once it's cut, grab some wire wool or a deburring tool and clean the inside and outside of the pipe ends until they’re shiny and smooth.
- Assemble the Fitting: Next, slide the compression nut onto the pipe, followed by the little brass ring, known as an ‘olive’. Push the end of the pipe all the way into the fitting body.
- Tighten Securely: Tighten the nut by hand first. Then, using two adjustable spanners—one to hold the fitting still and the other to turn the nut—give it another one-and-a-half turns. This action compresses the olive, creating that all-important watertight seal. Be careful not to go overboard, as overtightening can damage the pipe or the fitting itself.
This infographic shows some of the immediate fixes you can use before tackling a more permanent solution like a compression fitting.
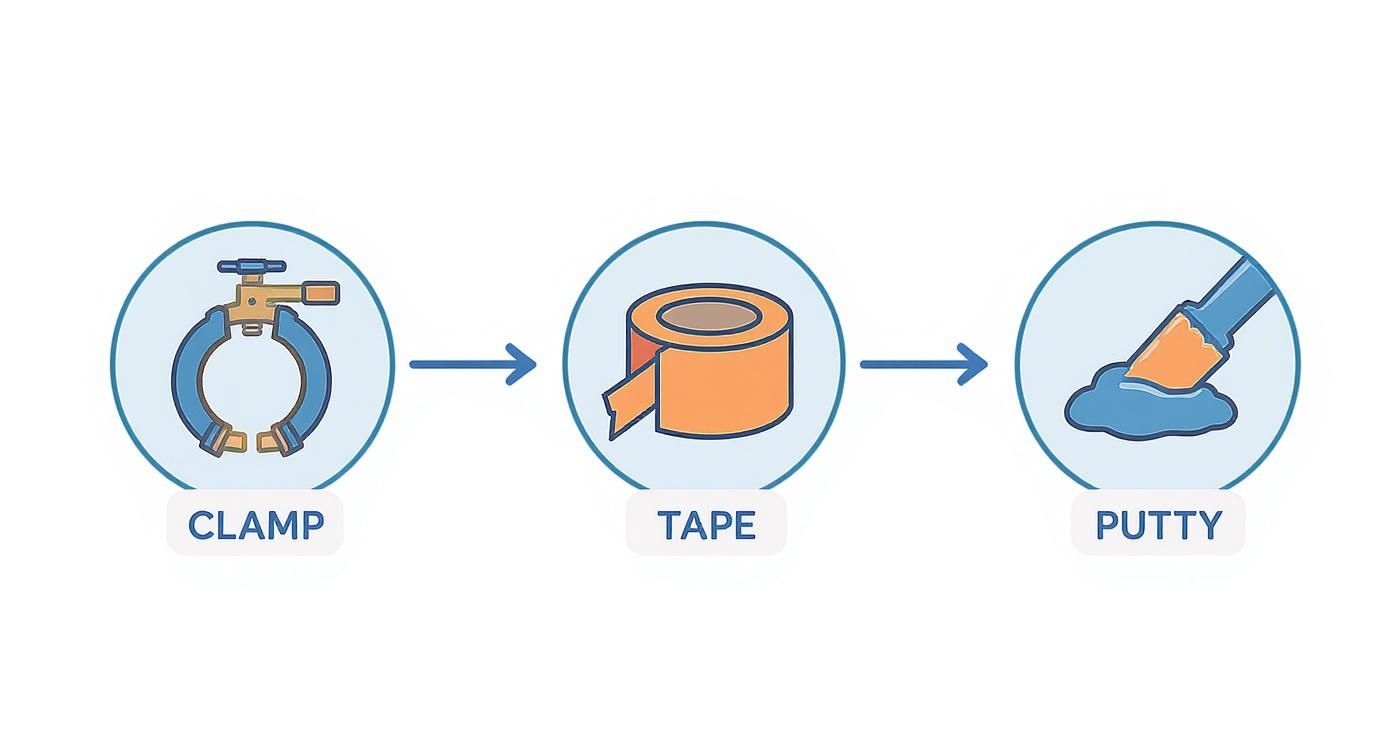
Quick fixes with clamps, tape, or putty are designed to stop water damage in its tracks, buying you the precious time you need to gather your tools and prepare for a proper repair.
Repairing PVC Waste Pipes
PVC pipes, the white plastic ones you find under sinks, baths, and toilets, are generally fixed by cutting out the damaged bit and cementing a new piece in its place. The process is pretty straightforward, but getting the preparation right is everything.
You’ll need to cleanly cut out the damaged area. The fix involves using a special solvent cement to essentially "weld" a new section of pipe or a fitting onto the existing pipework. You apply the cement to both surfaces and push them together firmly. It’s a chemical bond that sets fast, forming a single, solid piece of plastic that’s as strong as the original pipe.
The single biggest mistake people make with solvent cement is rushing. You have to make sure both the pipe and the fitting are perfectly clean and dry. Apply a thin, even layer of cement to both surfaces, push them together with a firm, decisive movement, and give it a quarter-turn. This little twist ensures the cement spreads evenly for a perfect, leak-proof seal.
Solving Common Under-Sink Leaks
Ah, the classic under-sink leak. They're incredibly common but thankfully, they’re often the easiest to sort out. For a detailed walkthrough of a typical scenario, this guide on how to fix a leaking pipe under your sink is a great resource.
More often than not, the culprit is a loose compression nut on the U-bend or a perished washer. Before you do anything else, put a bucket underneath and try gently tightening the plastic nuts by hand—they can work themselves loose over time.
If that doesn't stop the drip, the rubber or plastic washer inside the fitting has probably worn out. This is an easy fix. Just unscrew the fitting, pop out the old washer, and replace it with a new one of the exact same size. Reassemble, and you're done. It's a simple, cheap repair that solves the vast majority of those annoying under-sink drips.
The constant need for these kinds of repairs is a major reason the UK plumbing sector is projected to be worth around £24 billion in 2025. It’s a demand that keeps skilled plumbers busy, with hourly rates anywhere from £20 to £95, which really shows the value in learning to tackle these simpler jobs yourself.
How to Prevent Future Pipe Leaks in Your Home
Fixing a leak is one thing, but preventing the next one from ever happening is the real victory. It’s about shifting your mindset from repair to prevention to protect your home from the stress and expense of water damage.
Thankfully, you don't need to be an expert. A bit of awareness and a few good habits are all it takes to safeguard your home’s plumbing system and keep you from having to go through this whole repair process again.
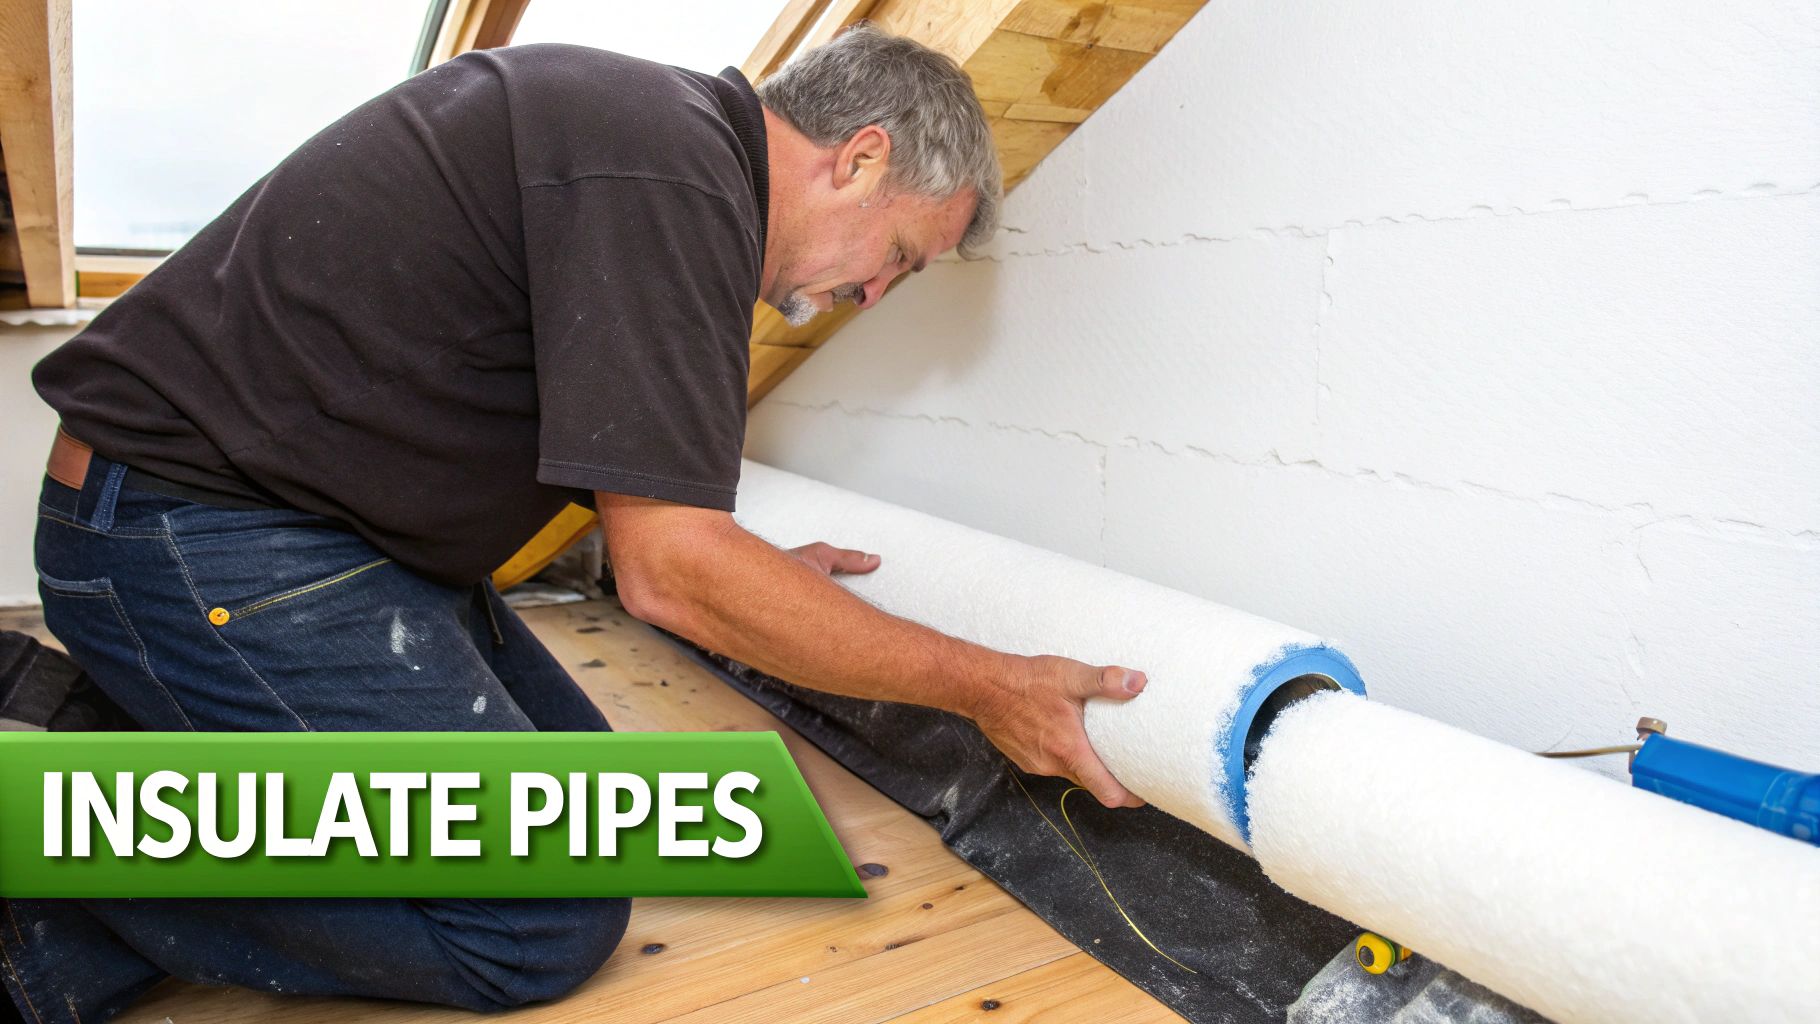
Insulate Pipes Against the Cold
Here in the UK, the cold is public enemy number one for plumbing. When the temperature plummets, water inside an uninsulated pipe can freeze and expand with enough force to split it wide open. This is a massive risk for pipes running through colder spots like lofts, garages, or along external walls.
Wrapping these vulnerable pipes with foam insulation, commonly known as lagging, is a cheap and brilliantly effective preventative measure. It’s an easy DIY job that could save you from a disaster during the next cold snap. You can find plenty of good pipe lagging options to get your system ready for winter.
Keep an Eye on Your Pipework
Making a habit of checking your plumbing every so often can save you a world of trouble. You're not looking to become a plumber, just to spot problems before they escalate.
- Look for Corrosion: Check older copper pipes for any greenish stains or little bumps on the surface. These are tell-tale signs of corrosion that can eventually turn into pinhole leaks.
- Check Under Sinks: Once a month or so, shine a torch under your kitchen and bathroom sinks. You're looking for any tell-tale drips, water stains, or dampness around the joints and waste pipes.
- Inspect Appliance Hoses: The rubber hoses on your washing machine and dishwasher won't last forever. Give them a quick check for cracks, bulges, or brittleness. It's a good rule of thumb to replace them every five years regardless.
Keeping on top of your plumbing is a fundamental part of looking after a home. It's no surprise that the repair and maintenance sector, which deals with these exact issues, saw its output climb by 17.7% in 2022. It just goes to show how common these problems are, whether your house is old or new.
Common Questions About Fixing Leaking Pipes
Even after you've successfully tackled a repair, a few questions can easily pop into your head about the job you've just done and what to expect next. Knowing how to fix a leaking pipe is a fantastic skill to have, but getting your head around the costs, insurance implications, and different plumbing methods is what really gives you confidence.
Here are some of the most frequent queries we come across from homeowners across the UK.
How Much Does a Plumber Cost to Fix a Leaking Pipe?
This is a classic "how long is a piece of string?" question. The cost really depends on where you live, how tricky the leak is to get to, and whether you've had to call someone out in the middle of the night.
For a simple, easy-to-reach drip on a copper pipe, you're probably looking at somewhere between £80 and £150. This usually covers the plumber's time and any small parts they use.
But if the job is more involved – say, cutting out a section of pipe buried in a wall or tucked under floorboards – the cost can quickly climb past £300. And remember, emergency call-outs will always carry a premium. The best advice is always to get a clear quote before they start work.
Can I Claim for a Leaking Pipe on My Home Insurance?
This is a really important one to understand. Most standard home insurance policies in the UK will pay for the damage caused by the leak. This is often called "escape of water" cover, and it's what pays to replace your soggy carpets, re-plaster a wall, or fix a warped wooden floor.
Here's the catch: the policy often won't cover the cost of repairing the pipe itself. Insurers tend to see that as general home maintenance. Some more comprehensive policies might include "trace and access" cover, which helps pay for the work needed to find a hidden leak, but it's not always standard. Dig out your policy documents and check the wording – it’s the only way to be certain.
What is the Difference Between a Compression Fitting and a Soldered Joint?
A soldered joint is the traditional, permanent way to join copper pipes. It involves using a blowtorch to heat the pipe and fitting, then melting solder wire into the joint to create a super-strong, seamless bond. It's a fantastic, professional finish, but it definitely requires skill, practice, and the right tools.
A compression fitting, on the other hand, is a mechanical solution. It's a clever bit of kit that uses a threaded nut to squash a small brass ring (known as an 'olive') between the pipe and the fitting. Tightening the nut creates an incredibly effective watertight seal just through pressure. They're a firm favourite for DIY repairs because you only need a couple of spanners and there's no flame involved.
How Do I Know if a Leak is a Real Emergency?
A leak tips into emergency territory when you can't stop the water. If you've turned the stopcock off and water is still pouring out, that’s a clear sign you need help, fast.
Another red flag is any leak near electrics. Water and electricity are a dangerous mix. Likewise, if you see a ceiling starting to bulge or water is causing damage at an alarming rate, it's time to make an urgent call. A slow, steady drip that you can catch in a bucket is less of a panic, but it still needs sorting quickly to avoid long-term problems like damp, mould, and rot.
For all your plumbing repair needs, from compression fittings to essential tools, Burnt Oak Builders Merchants has you covered. Find everything you need for a professional-quality fix at https://www.burntoaktimber.com.