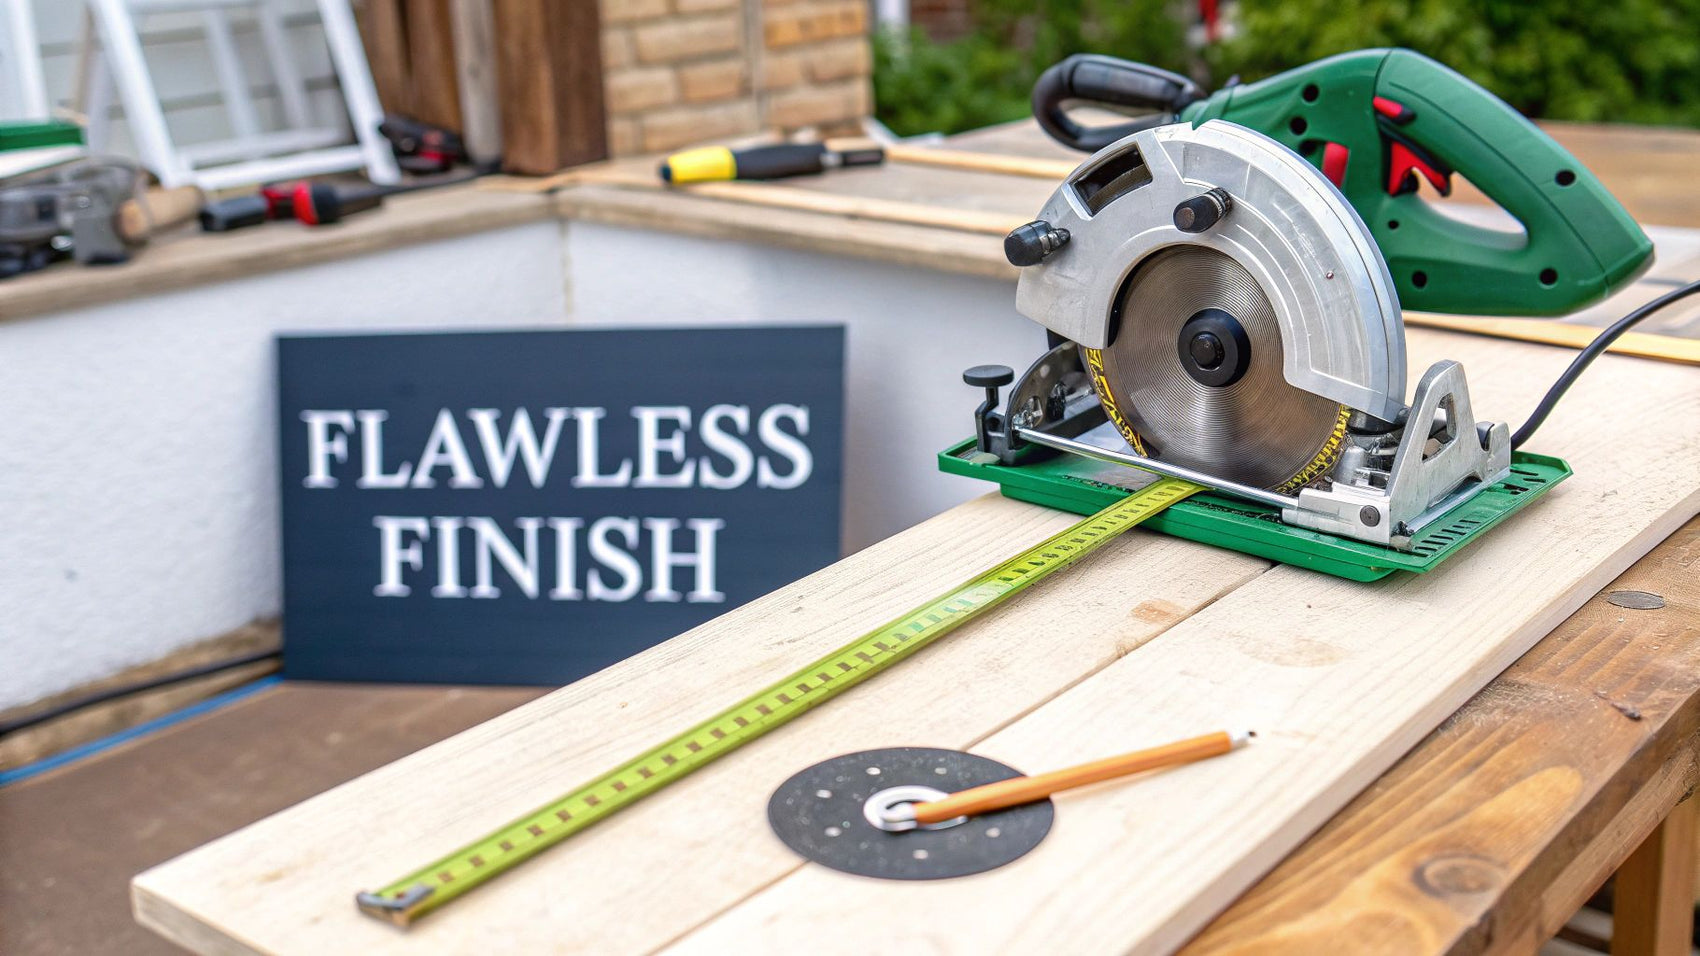
When it comes to cutting kitchen worktops, precision isn't just a goal—it's everything. The difference between a beautifully finished job and a costly mistake all comes down to careful measurement and having the right kit for the job. Honestly, the secret is to have the whole process mapped out before the saw even gets switched on.
Your Blueprint for a Perfect Worktop Cut
I've seen it time and time again: the groundwork is what makes or breaks a project. Before you even dream of cutting, spending a bit of extra time on preparation will save you a world of pain later. This isn't just about measuring your space; it's about getting to know its little imperfections.
You'd be surprised how many kitchens, particularly in older properties, don't have perfectly square corners or laser-straight walls. Just measuring the length along the back wall and calling it a day is a classic rookie error that leads to frustrating gaps. You really need to measure the depth and length at several points to catch any variations.
Accurate Measuring for Real-World Kitchens
To get a true picture, take at least three measurements for both the length and depth—one at the back, one in the middle, and one at the front. Here's a pro tip: always use the largest measurement as your cutting guide. It's infinitely easier to trim a worktop down to fit a slightly wonky wall than it is to try and patch a gap.
Don't forget to factor in the worktop overhang. A standard overhang past the cabinet doors is usually between 20mm and 30mm. It looks much neater and does a great job of protecting your cabinet fronts from drips and spills. Add this to your final measurements.
For tricky L-shaped or U-shaped kitchens, I can't recommend this enough: make a template. You can use thin strips of hardboard or even some sturdy cardboard. This physical guide helps you see exactly how it will fit and double-check your numbers before you commit to that final, irreversible cut.
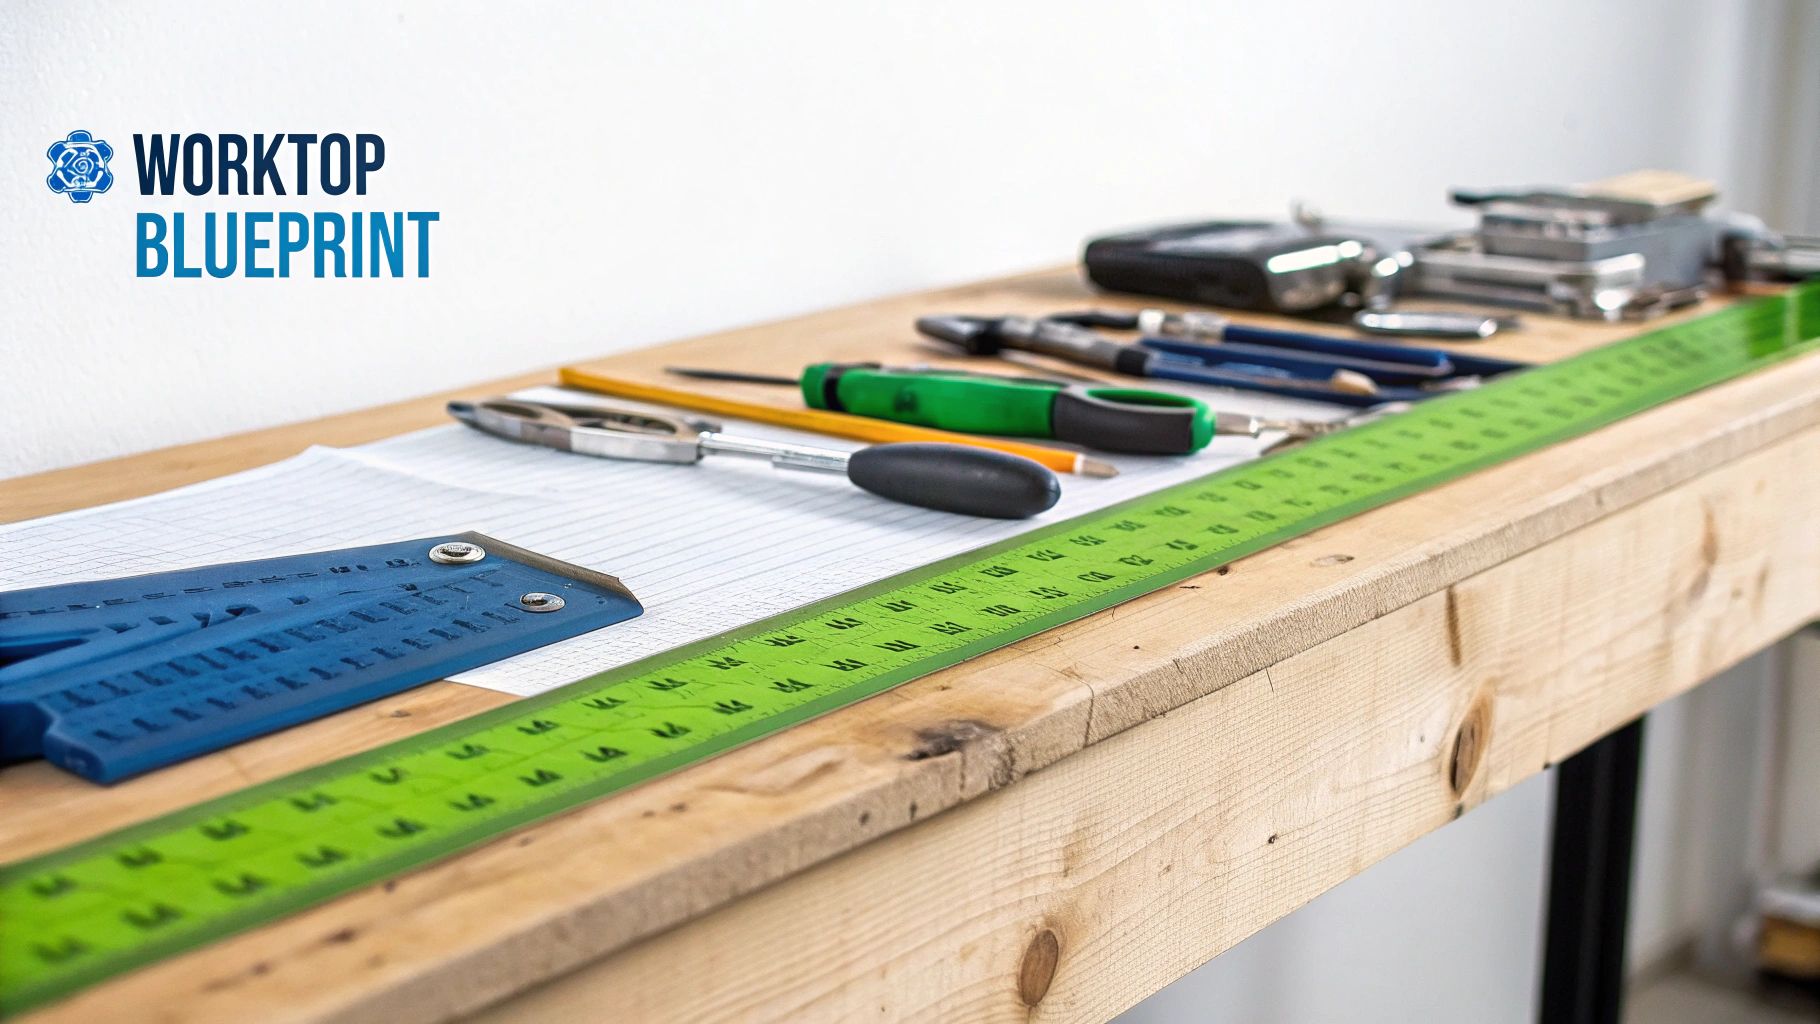
Gathering Your Essential Toolkit
Getting all your tools organised and within arm's reach isn't just good practice; it's crucial for safety and getting a quality finish. The last thing you want is to be scrambling for a clamp mid-cut. Your basic toolkit should always have these items:
- A high-quality tape measure: This is your best friend. Don't skimp on a flimsy one.
- A long spirit level or straightedge: Absolutely essential for drawing straight lines and, more importantly, guiding your saw.
- Pencils for marking: Keep a few sharp pencils handy. You need your lines to be crisp and clear.
- A set of clamps: You'll need at least two solid G-clamps to lock your straightedge guide in place so it doesn't budge.
Of course, these are just the basics. Depending on the job, you might need other specific bits of timber. For instance, if you're building temporary supports or jigs, knowing about different materials, like those covered in this guide to 9mm plywood sheets, can be a massive help.
With your measurements checked, your template made, and your tools ready to go, you can finally set up a stable cutting area and get started on the right foot.
Matching Your Tools to the Worktop Material
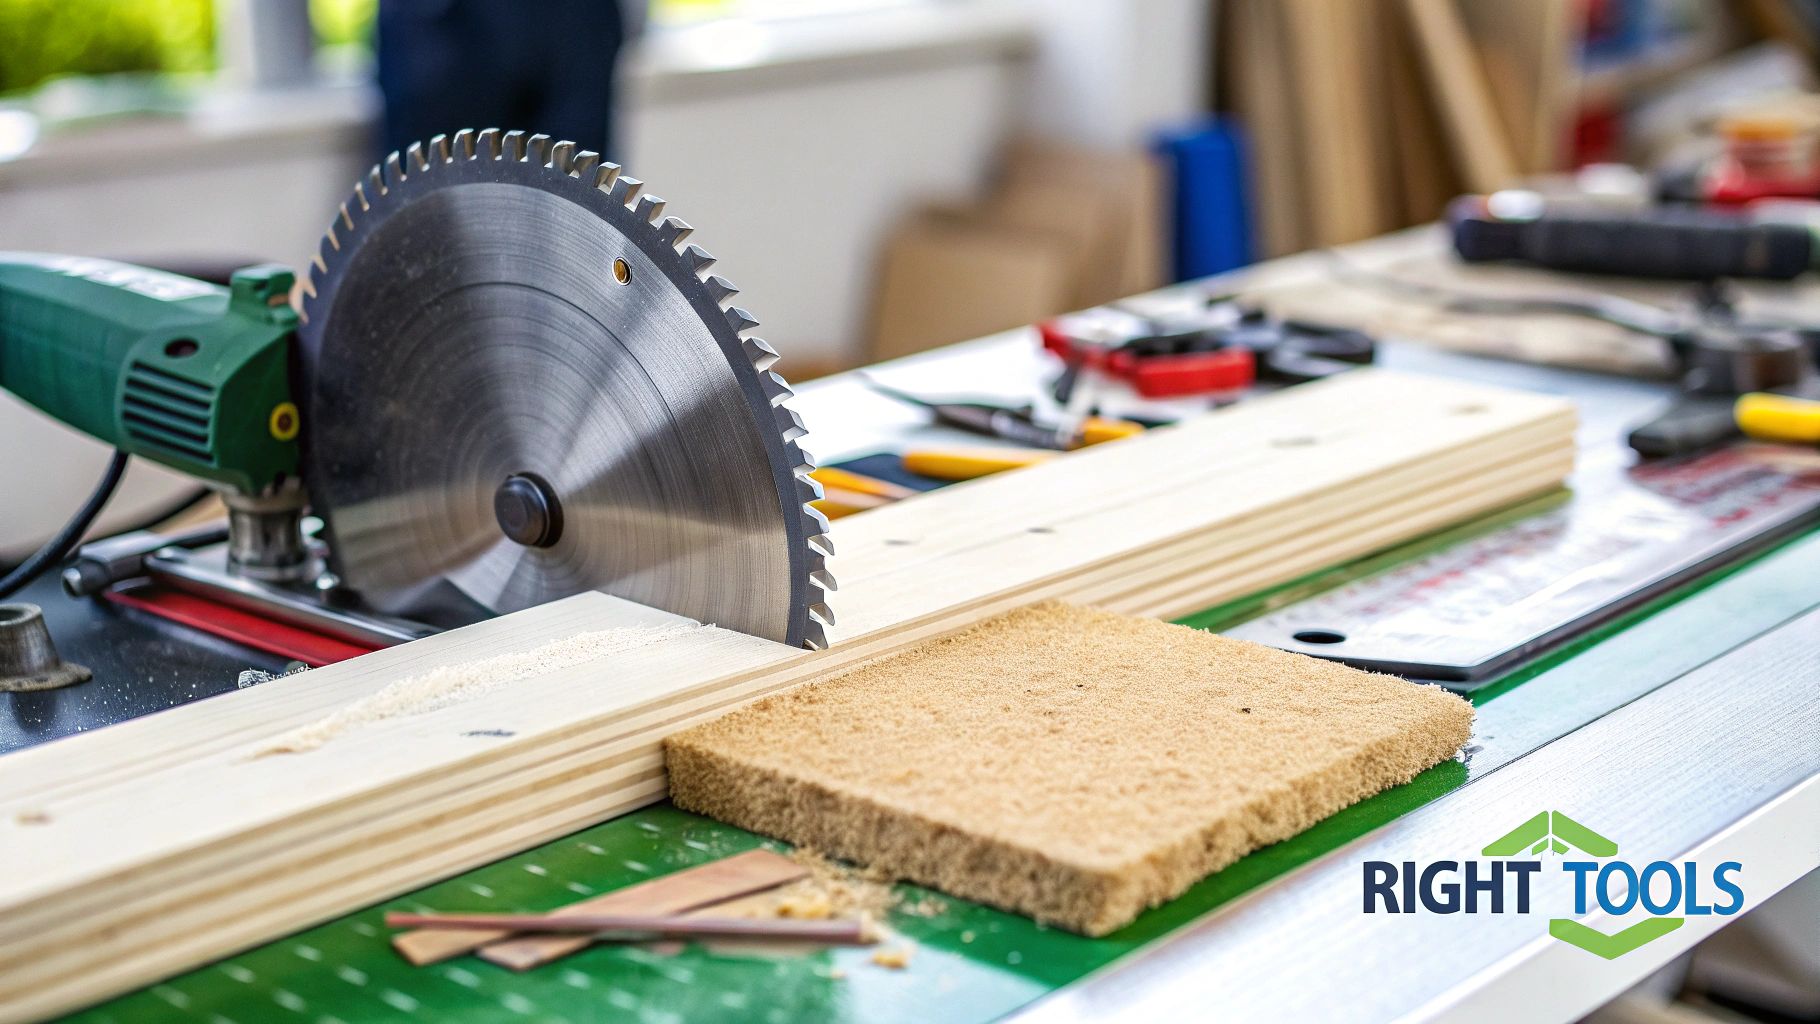
Choosing the right tool for cutting a kitchen worktop is genuinely half the battle. If you've ever tried it, you'll know that using the wrong saw or blade for your specific material isn't just slow; it's a guaranteed way to get a chipped, splintered, or downright ruined finish. The real secret to a professional-looking job is matching your equipment to the demands of the material in front of you.
Take laminate, for example. It's notorious for chipping along the cut line if you’re not careful. For those long, straight cuts, a circular saw is your best friend. The trick is to pair it with a fine-toothed blade—I'm talking 60 teeth or more—to get that crisp, clean edge with minimal tear-out.
With solid wood worktops like oak or beech, preventing splintering is the top priority. Again, a circular saw with a sharp, fine-toothed blade is the ideal choice. Here’s a pro tip: apply masking tape along your cut line before you start. It provides an extra layer of protection by holding the wood fibres in place as the blade passes through.
Tools for Different Cutting Tasks
A perfectly fitted kitchen involves more than just straight lines. You'll need different tools for different jobs, each with its own specific strengths. It's far better to think of it as having a specialist for every task rather than relying on a single jack-of-all-trades tool.
Here's a quick rundown of the essentials:
- Circular Saw: Absolutely unbeatable for long, straight runs. When you use it with a straightedge clamped down as a guide, it delivers a factory-quality precision that's almost impossible to achieve by hand.
- Jigsaw: This is your go-to for any curves and cut-outs, like the openings for sinks and hobs. For laminate, make sure you use a down-cut blade to prevent it from chipping the top surface as you cut.
- Router: For joining two worktops at a corner with a mason's mitre joint, a router is non-negotiable. It creates those perfectly clean, recessed channels for the worktop bolts, ensuring a tight and seamless join.
Having a good selection of power tools is a game-changer for any serious DIYer. If you're looking to build up your kit, you can find a great breakdown of the essential tools for homeowners that will serve you well far beyond this project.
A crucial safety and quality tip: always set your circular saw’s cutting depth correctly. The blade should only protrude about 5-6mm below the bottom of the worktop. This massively minimises the risk of dangerous kickback and also gives you a much cleaner cut.
Choosing the right tool and blade combination can feel daunting, but it's all about matching the tool's action to the material's properties. This table breaks down the best approach for the most common worktop types you're likely to encounter.
Tool Selection Guide for Different Worktop Materials
| Worktop Material | Primary Cutting Tool | Recommended Blade | Key Technique |
|---|---|---|---|
| Laminate | Circular Saw | Fine-tooth (60+ teeth) | Cut from the underside to prevent chipping the decorative top layer. Use masking tape. |
| Solid Wood | Circular Saw | Fine-tooth, sharp blade | Apply masking tape along the cut line. Ensure a slow, steady feed rate to avoid burning. |
| Composite | Circular Saw | Carbide-tipped blade | Requires a powerful saw. Slower feed rate is essential to prevent melting or chipping. |
| Quartz/Granite | Wet-cut Tile Saw | Diamond-tipped blade | Professional job only. Requires water cooling to prevent cracking and control dust. |
As you can see, the complexity and equipment needs ramp up significantly with harder materials. Being prepared is key to success.
Knowing When to Call a Professional
While laminate and solid wood are perfectly manageable for a confident DIYer with the right tools, some materials demand professional expertise. Tough composites, and especially stone worktops like quartz or granite, are in a different league entirely.
Trying to cut these materials without the proper diamond-tipped blades and water-cooling systems will almost certainly result in a cracked worktop and a burnt-out tool. It's simply not worth the risk. The cost of professional cutting is also influenced by wider economic factors; for instance, recent years have seen price increases of 10-20% on some imported stone due to tariffs and raw material costs.
Ultimately, being honest about the limits of your tools and your own skills is the most important step towards getting a fantastic result.
Making the Perfect Cut
You've got your tools, you've checked your measurements twice (maybe even three times), and now it's time for the main event. This is where all that careful prep pays off. Getting this stage right is what separates a shoddy DIY job from a finish that looks like it was done by a seasoned pro.
First things first, let’s talk about marking up. A common rookie error is to just draw a line on the top surface and call it a day. For a truly accurate cut, you need to mark both the top and the bottom of the worktop. This gives you a guide from every angle and lets you spot any inconsistencies before the saw even touches the surface.
If you’re working with laminate, I’ve got a brilliant tip for you: lay down a strip of masking tape along your cut line and mark on top of that. It’s a simple trick, but it does wonders to prevent the fragile laminate from chipping, leaving you with a much cleaner edge.
Using a Guide for a Factory-Fresh Edge
Let me be blunt: cutting freehand with a circular saw is asking for trouble. If you want that dead-straight, professional-looking edge, a guide is non-negotiable. A dedicated guide rail made for your saw is the gold standard, but a solid, straight piece of timber or even a long spirit level will do the job perfectly.
You’ll need to position the guide so the saw's baseplate runs flush against it, ensuring the blade lines up exactly with your mark. Don’t forget to factor in the offset – the distance from the edge of the baseplate to the blade itself. Once it's in position, lock it down tight with at least two hefty G-clamps. It absolutely cannot move an inch.
This quick visual breaks down the key steps to getting that flawless cut.
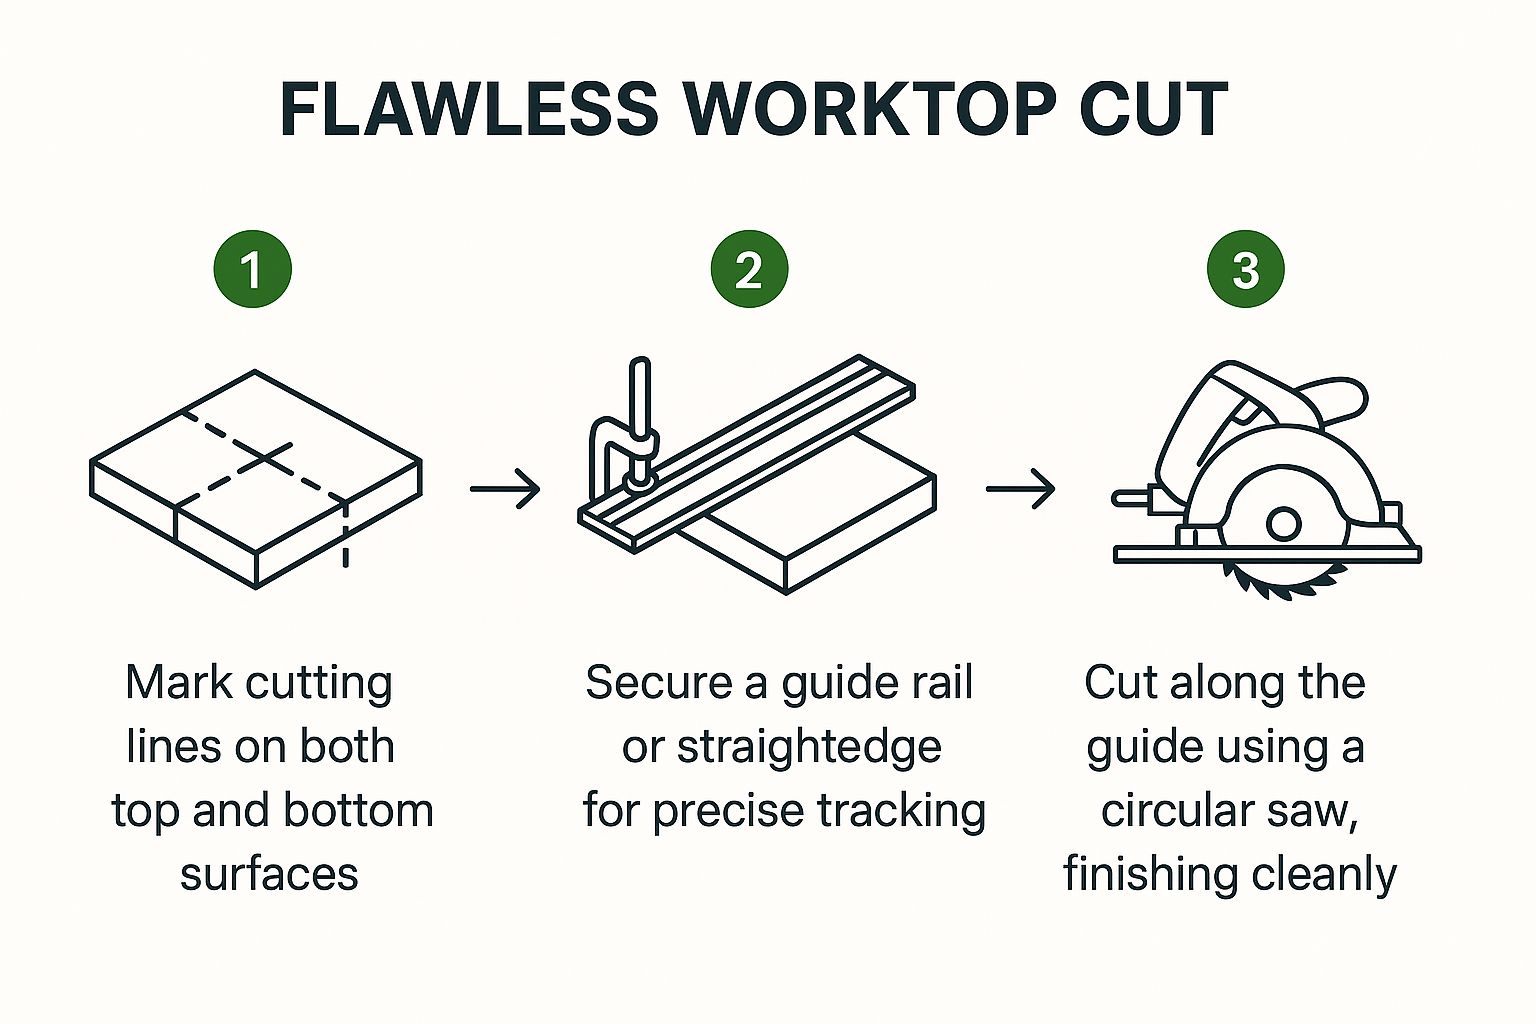
As you can see, a great result is all about the methodical process. It’s the prep work that really makes the difference, not just the final act of sawing.
Nailing Cut-Outs for Sinks and Hobs
When it's time to cut a hole for a sink or a hob, the jigsaw is your best friend. Start by marking out the shape on the worktop. Your new appliance should have come with a template – use it! If not, you can trace around the appliance itself and then draw another line about 10mm inside that trace to act as your cut line.
With the shape marked, drill a pilot hole inside each corner. Make these holes big enough for your jigsaw blade to slip in and turn easily. This is your entry point and it saves you from trying to force the blade around tight corners, which is a surefire way to snap it.
Pro Tip: As you cut the final side of a sink opening, the heavy centre piece will suddenly have no support. It can drop out and tear a nasty chunk out of your worktop at the last second. To avoid this kitchen-fitting heartbreak, get a helper to support it from below, or simply screw a couple of timber offcuts across the cut-out to hold it in place until you're done.
The Finer Points: Starting and Finishing Your Cut
The way you start and end the cut is just as crucial as the bit in the middle. Never start the saw with the blade already resting on the worktop. Instead, bring it up to full speed a split second before it makes contact.
As you guide the saw along your line, maintain a smooth, steady pace. Forcing it will only strain the motor and can cause burning or splintering, particularly with solid wood. Just let the blade do its job. Once you get to the end, push the saw cleanly through and past the edge. Stopping suddenly or pulling away too soon is how corners get chipped. It’s these small details that really elevate the quality of your work.
Finishing Cut Edges Like a Professional
A clean cut is a great start, but it's the finish that really makes a kitchen worktop look professionally installed. A raw, exposed edge is a dead giveaway of a rushed job, so spending a little extra time on these final touches is what separates the amateur from the expert.
Of course, how you finish the edge depends entirely on the material you're working with. For laminate, the aim is to create a seamless, hard-wearing edge that looks like it's part of the main surface. With solid wood, it’s all about getting that smooth, tactile feel while protecting it from the rigours of kitchen life.
Applying and Trimming Laminate Edging
Your new laminate worktop should have come with a matching roll of edging strip. This strip has a heat-activated glue on the back, and getting it on is a simple process that yields great results if you're patient.
First, cut a length of the edging strip just a bit longer than the edge you're covering. Position it carefully and then grab a standard household iron, setting it to medium-hot. Press down firmly and glide the iron slowly along the strip. This melts the adhesive, creating a solid bond with the worktop's core.
Let it cool for a few minutes so the glue can fully set, then it’s time to trim the excess. For the cleanest cut, I’d recommend using a sharp block plane or a purpose-made edge trimmer. To get that truly polished finish, take a fine-toothed file and lightly run it along the top and bottom corners at a slight angle. This creates a tiny bevel that stops the edge from feeling sharp or catching on your clothes.
Sanding and Oiling Solid Wood Edges
With a solid wood worktop, the goal is different. You want an edge that’s lovely to touch and properly sealed against spills and splashes. A freshly sawn edge is often quite harsh and can splinter, so the first job is always sanding.
Start with a medium-grit sandpaper, something around 120-grit, to knock down any saw marks and gently round over the sharp corners. Then, move up to a finer grit, like 220-grit, to get it silky-smooth. A quick tip: always sand with the grain, never against it, to avoid leaving unsightly scratches.
Once you’ve wiped away every speck of dust, it's time to seal it. Apply several coats of a good quality worktop oil with a lint-free cloth. This doesn't just protect the wood; it nourishes it and brings out the natural beauty of the grain, creating a durable, water-resistant barrier.
Creating the Perfect Mason's Mitre Joint
Joining two worktops at a corner is where real precision comes into play. The industry standard is the mason's mitre joint, created with a router and a worktop jig. It gives you a tight, almost invisible seam and is the go-to method for both laminate and solid wood.
The technique involves routing corresponding profiles into the ends of each worktop. These profiles then slot together perfectly. On the underside, you'll rout out channels for worktop bolts, which are then used to pull the two pieces together for an incredibly strong and neat joint.
The secret to a flawless mason's mitre joint is all in the setup. Don't even think about attempting it without a high-quality router jig; it's the only way to guarantee your cuts are perfectly aligned. It’s a meticulous process, but the result is a strong, seamless corner that’s well worth the effort.
This level of detailed finishing is more in demand than ever. With 171,300 new homes completed in England in the year ending March 2024 alone, the need for skilled kitchen fitters who can deliver a high-end finish is constantly growing. You can see more data on this by checking out insights into the growing UK kitchen furniture market, which is a key driver for these installation trends.
Prioritising Safety on Your DIY Project
https://www.youtube.com/embed/qSbS5zhH7cE
Working with powerful tools to cut kitchen worktops demands your full attention and a healthy dose of respect. It’s easy to get absorbed in chasing that perfect finish, but letting safety slide can lead to serious, life-altering accidents. Honestly, looking after yourself is the single most important part of any DIY job.
Your Non-Negotiable Safety Kit
Before you even think about plugging in a saw, you need to gear up. Your Personal Protective Equipment (PPE) isn't optional; it's your armour.
Here's the absolute minimum you should have on:
- Safety Goggles: To protect your eyes from flying debris.
- Dust Mask: A good quality one is crucial.
- Ear Defenders: Power saws are incredibly loud and can cause permanent hearing damage.
It’s especially important to be aware of the material you’re cutting. When you're working with engineered stone or quartz, the dust is more than just a nuisance. You need to be understanding the risks of respirable crystalline silica, as inhaling these fine particles can be seriously hazardous to your health over time.
Essential On-the-Job Safety Habits
Wearing the right gear is only half the battle; how you work is just as critical. Handling a power saw requires a steady hand and a clear head. Always be conscious of your footing and body position to stay balanced, and make sure you know how your saw's kickback prevention features work before you start.
Electrical safety is another big one. Always, always use an RCD (Residual Current Device) protector. This simple plug-in adapter is designed to cut the power in a split second if it detects a fault, which can be the difference between a small fright and a serious electric shock.
A wobbly worktop is a dangerous worktop. Before making any cut, you must ensure the worktop is securely clamped to a stable workbench. This not only prevents accidents but also guarantees a much cleaner, more accurate cut.
The UK kitchen worktop market was valued at approximately £7.1 billion in 2024, with a lot of that growth coming from home renovations that need precise, custom-cut materials. This just shows how many people are tackling these kinds of projects.
Finally, a tidy workspace is a safe workspace. Keep the area clear of clutter, trip hazards like cables, and any other distractions. A clean setup lets you focus entirely on the cut.
You can explore our full range of safety equipment and PPE to make sure you have everything you need to complete your project safely and professionally.
Common Questions We Hear About Cutting Worktops
No matter how well you plan, there are always a few little questions that pop up mid-job. When it comes to fitting a kitchen worktop, getting these details spot-on is what separates a decent job from a truly professional one. Let's tackle some of the most common queries we get asked.
Which Way Up Should I Cut a Laminate Worktop?
This is a classic, and getting it wrong means a chipped, messy edge. The right way up depends entirely on the saw you're using.
-
Jigsaws & Handsaws: Keep the decorative laminate side facing up. These tools cut on the upstroke, which means the teeth pull upwards into the material. This ensures any potential chipping happens on the underside, leaving your top surface crisp and clean.
-
Circular Saws: Do the opposite. Cut with the decorative side facing down. A circular saw blade spins upwards into the workpiece, so flipping it over protects that all-important laminate finish from splintering.
Can I Just Cut the Worktop While It's In Place?
It might seem tempting to save yourself the hassle of moving a heavy worktop, but I'd strongly advise against cutting it in-situ. Honestly, it's a recipe for disaster for most DIY projects.
You'll find it nearly impossible to get the support you need for a perfectly straight cut, and the risk of gouging your new cabinets, tiles, or walls is incredibly high. Plus, the amount of dust a circular saw kicks out indoors is immense. For a much better result and your own sanity, always take the worktop outside or to a workshop where you can secure it properly.
A great finish starts with good planning, and that includes the clean-up. Dealing with old worktops and offcuts is part of the job. As you near the end, looking into skip hire options for your kitchen makeover is a smart move to handle the waste properly and keep your site clear.
How Do I Make the Cut-Out For a Sink?
The easiest way is to use the paper template that almost always comes with a new sink. Just position it and trace the outline directly onto your worktop.
If you don't have a template, no problem. Turn the sink upside down on the worktop, trace carefully around the edge, and then draw a second line about 10mm inside that one. This inner line is where you'll actually cut.
Drill a hole inside each corner of your cutting line, large enough to fit your jigsaw blade. Then, using the jigsaw, carefully cut along your line from one hole to the next. A key tip: as you approach the final cut, get someone to support the cut-out piece from below. Otherwise, its weight can cause it to drop and split the laminate at the last second.
At Burnt Oak Builders Merchants, we've got all the high-quality tools and materials you'll need for a flawless finish. Take a look at our range online at https://www.burntoaktimber.com.